How to Protect Vegetables from Groundhogs, Rabbits and Squirrels, Part 1: A Chicken Wire Raised Bed Cover

Dear Messrs. Groundhog, Rabbit, and Squirrel,

My friends over at Gardening Gone Wild asked me to write to you to discuss the status of our current dispute. While I have such a harmonious relationship with so much of the other wildlife in the garden–the birds, the toads, the salamanders–I regret that our relationship has become so acrimonious, particularly as it relates to the vegetables.

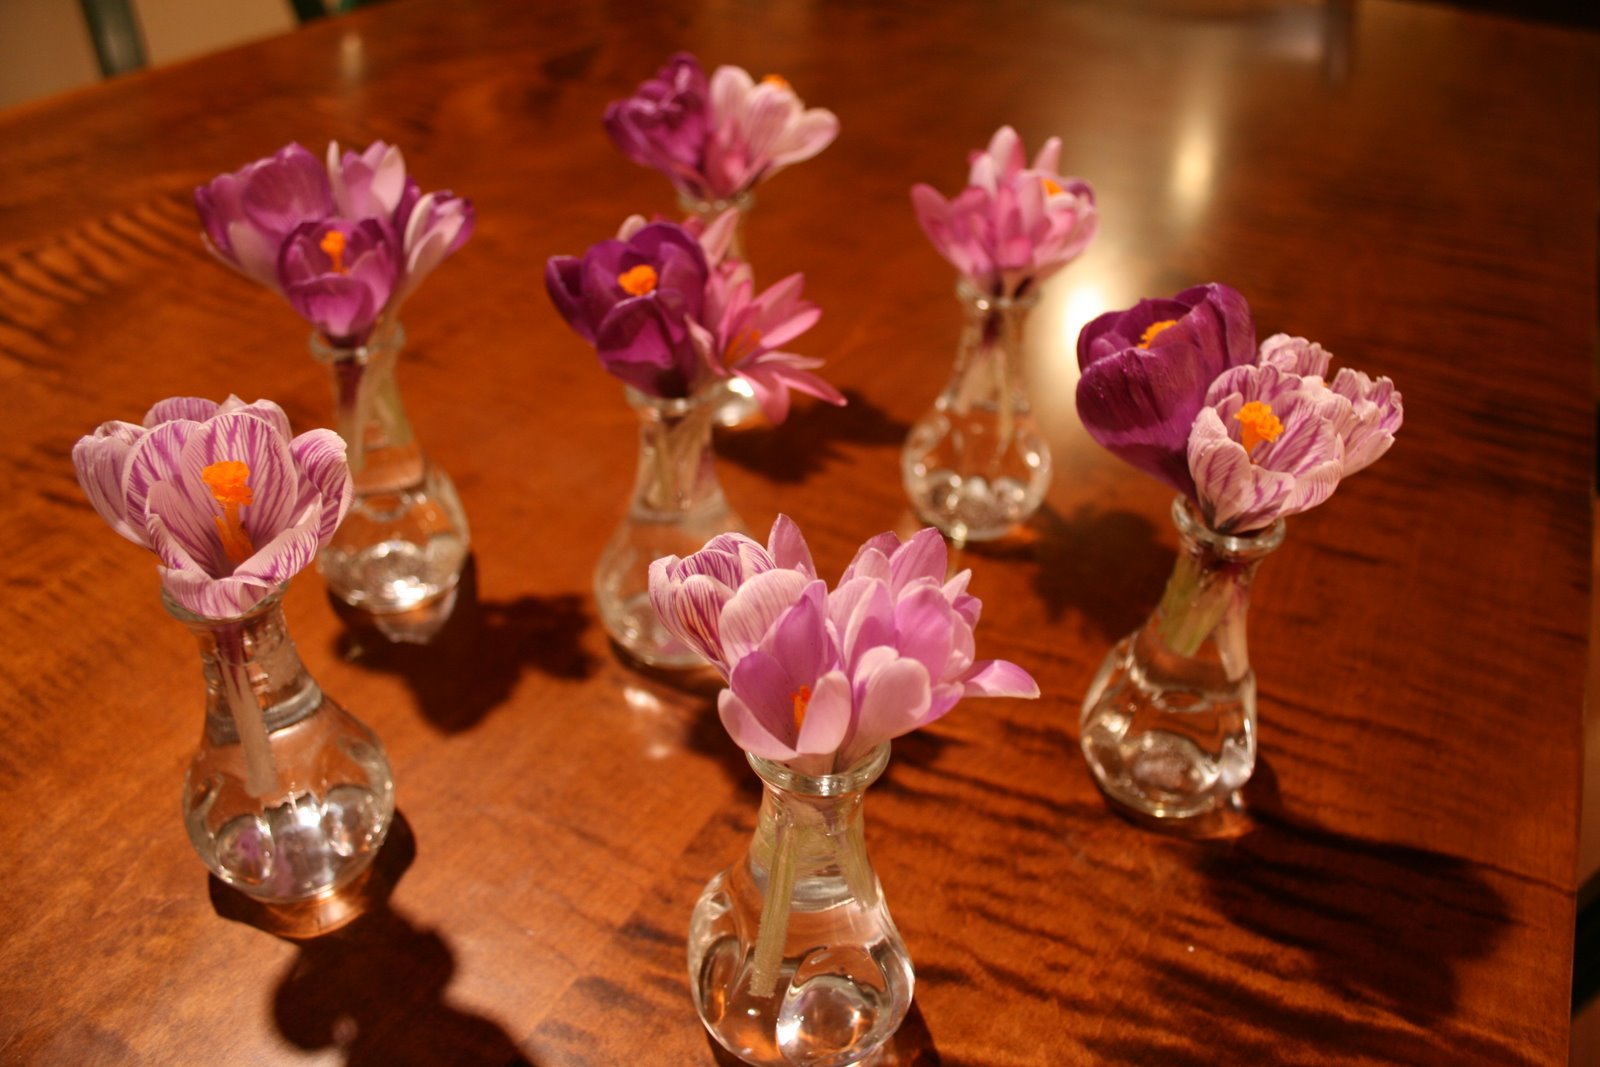
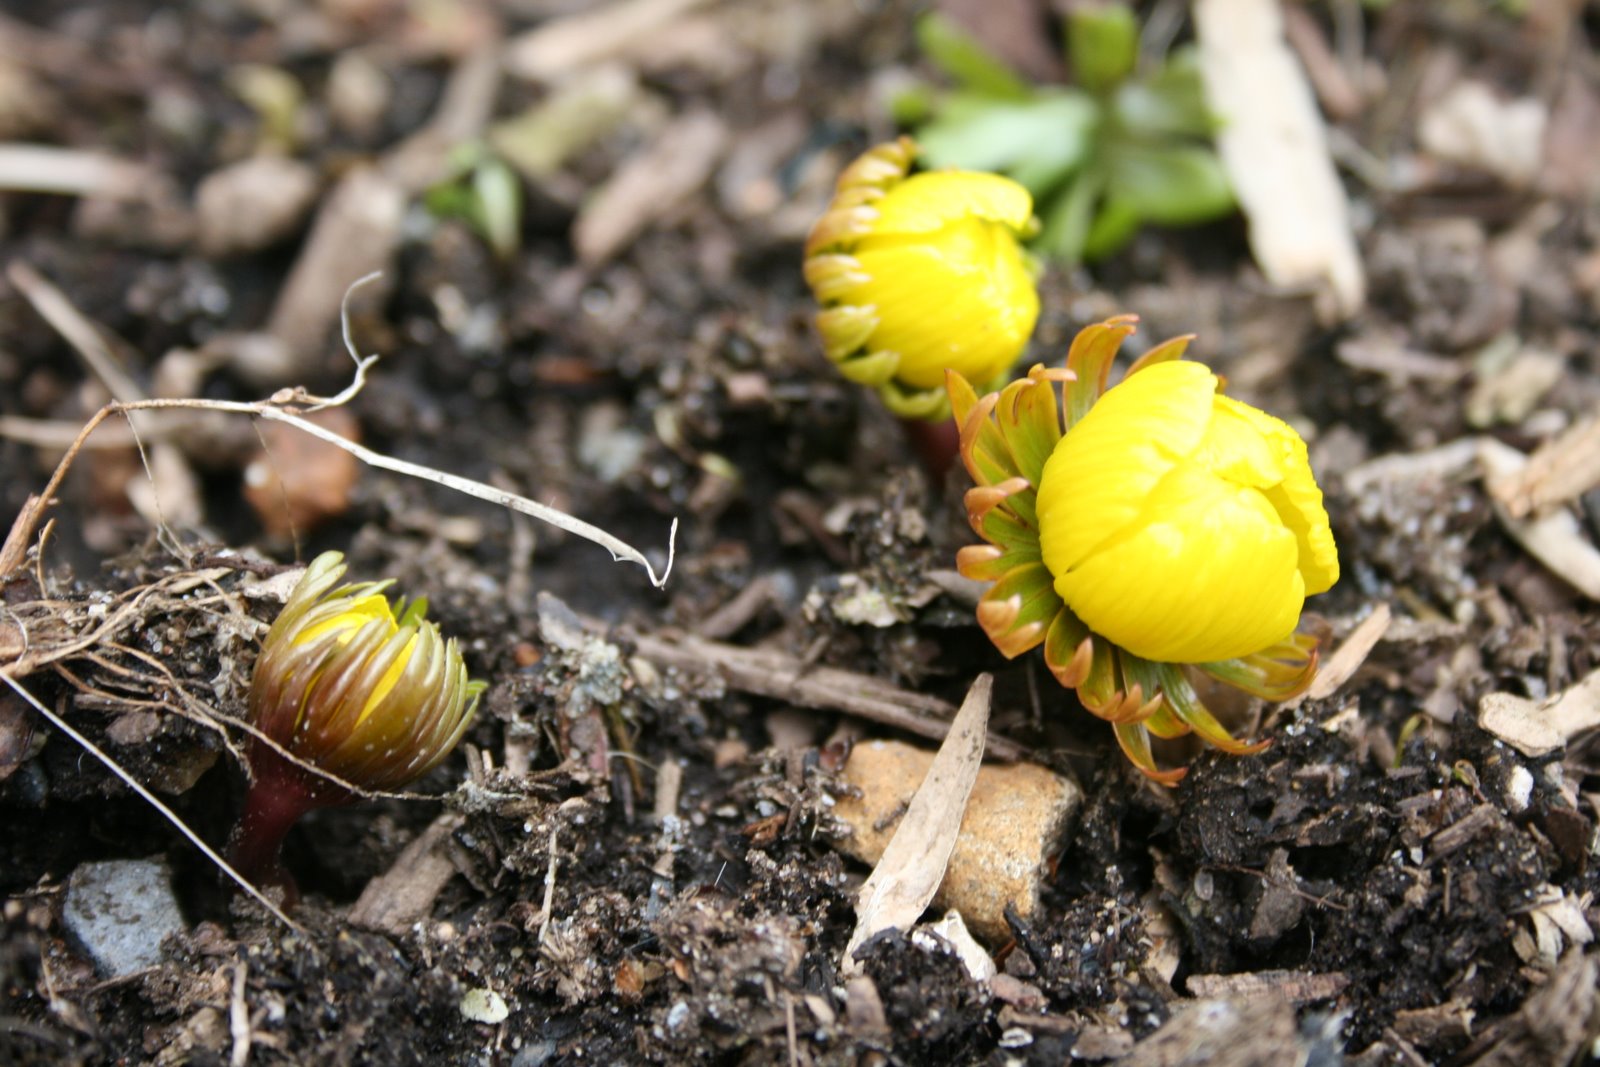
While I am flattered that you like the vegetables as much as (or perhaps even more than) we do, I find that your appetites leave something to be desired, namely leftovers. Last year, the garlic spray kept you away from many of the vegetables, but I was disappointed to still find teeth marks on my vine-ripened tomatoes and zucchinis, not to mention the fruitless pumpkin and watermelon vines whose flowers you devoured. I can no longer bear your rude interruptions.

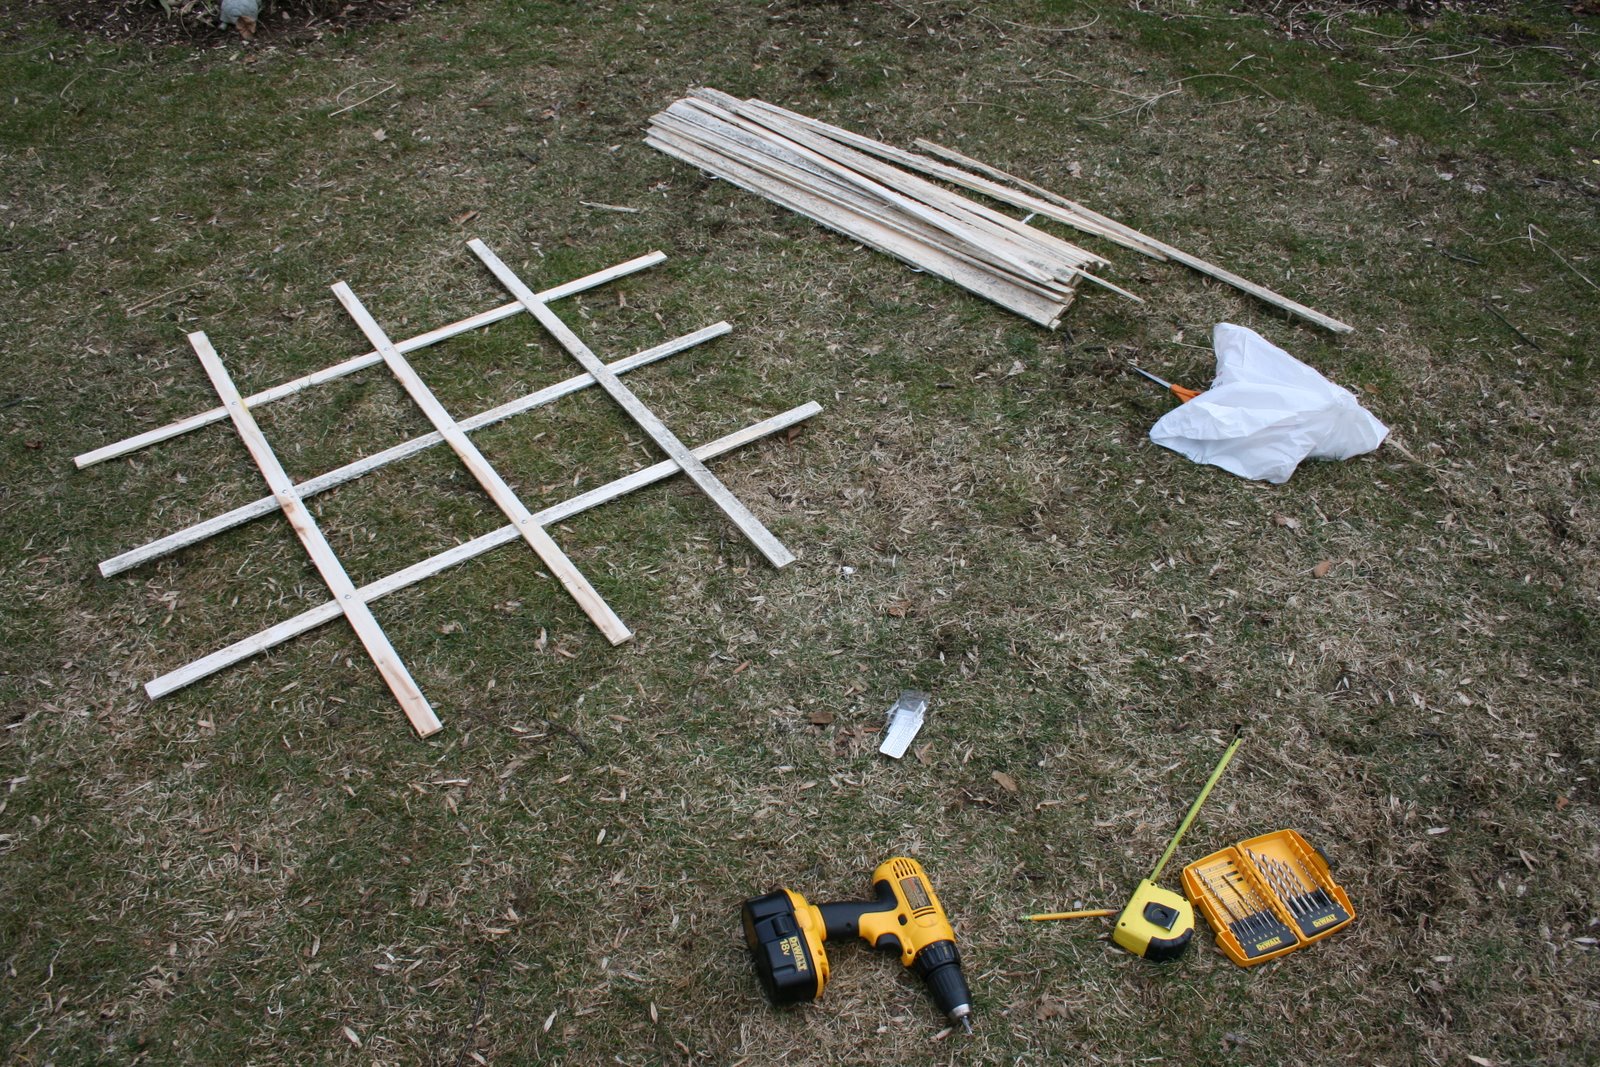
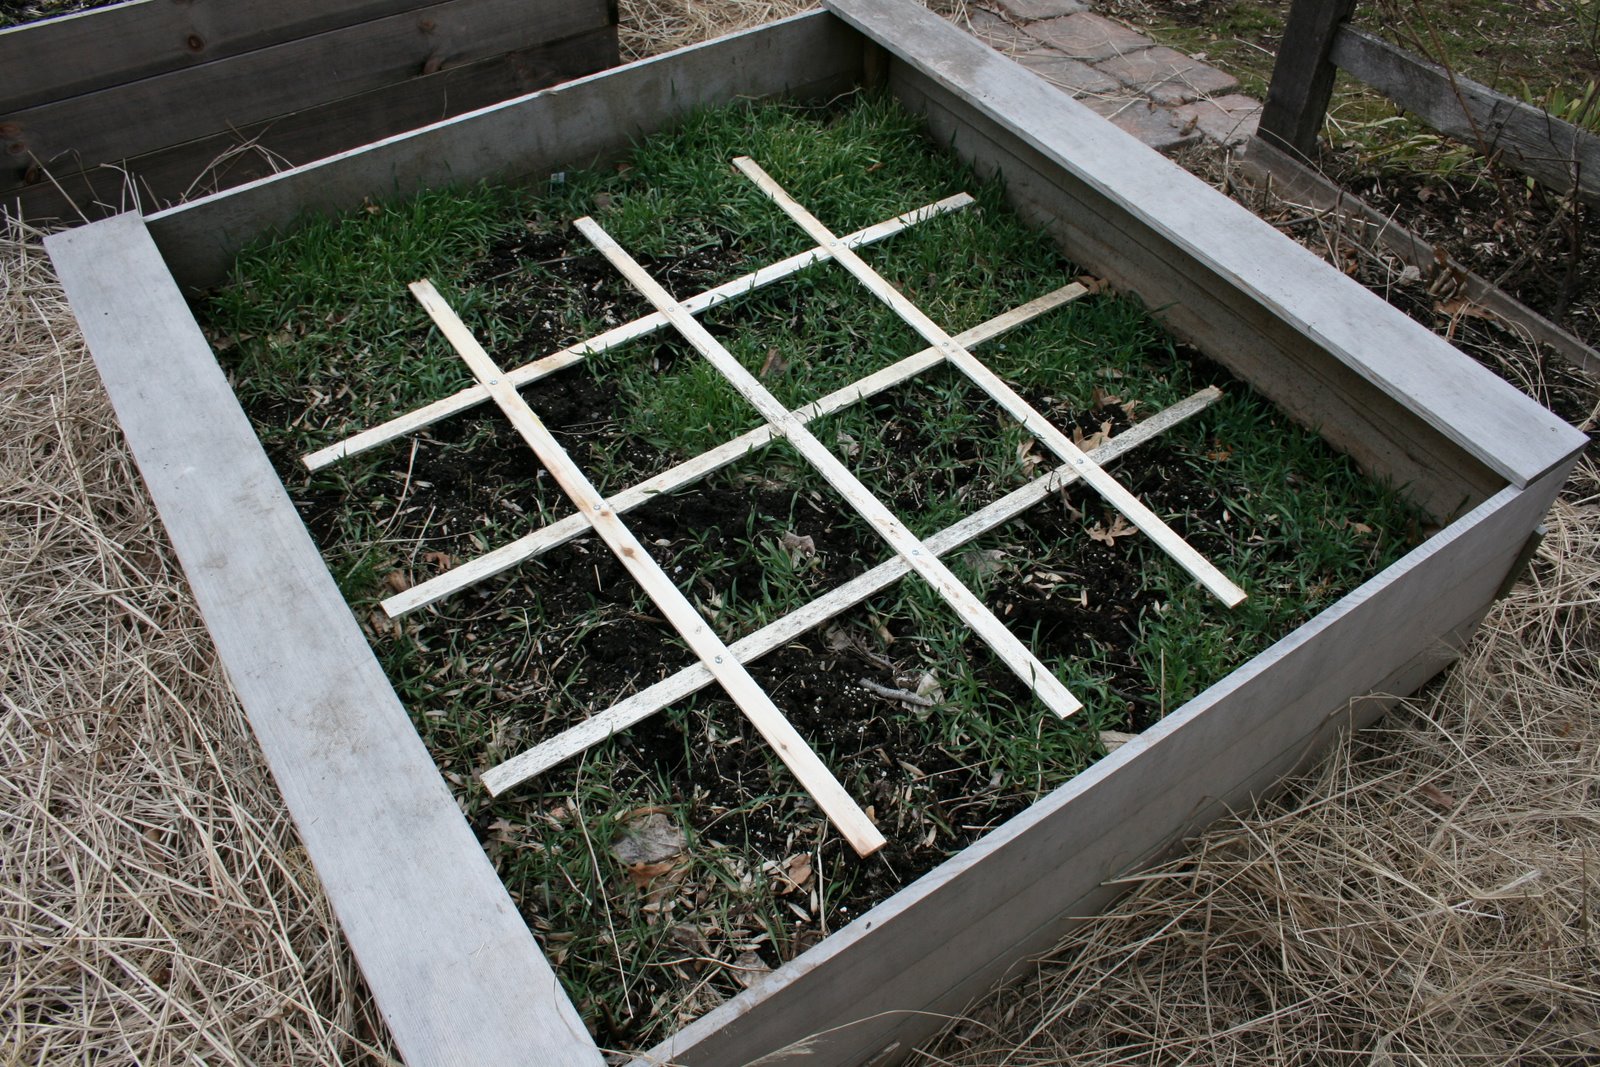
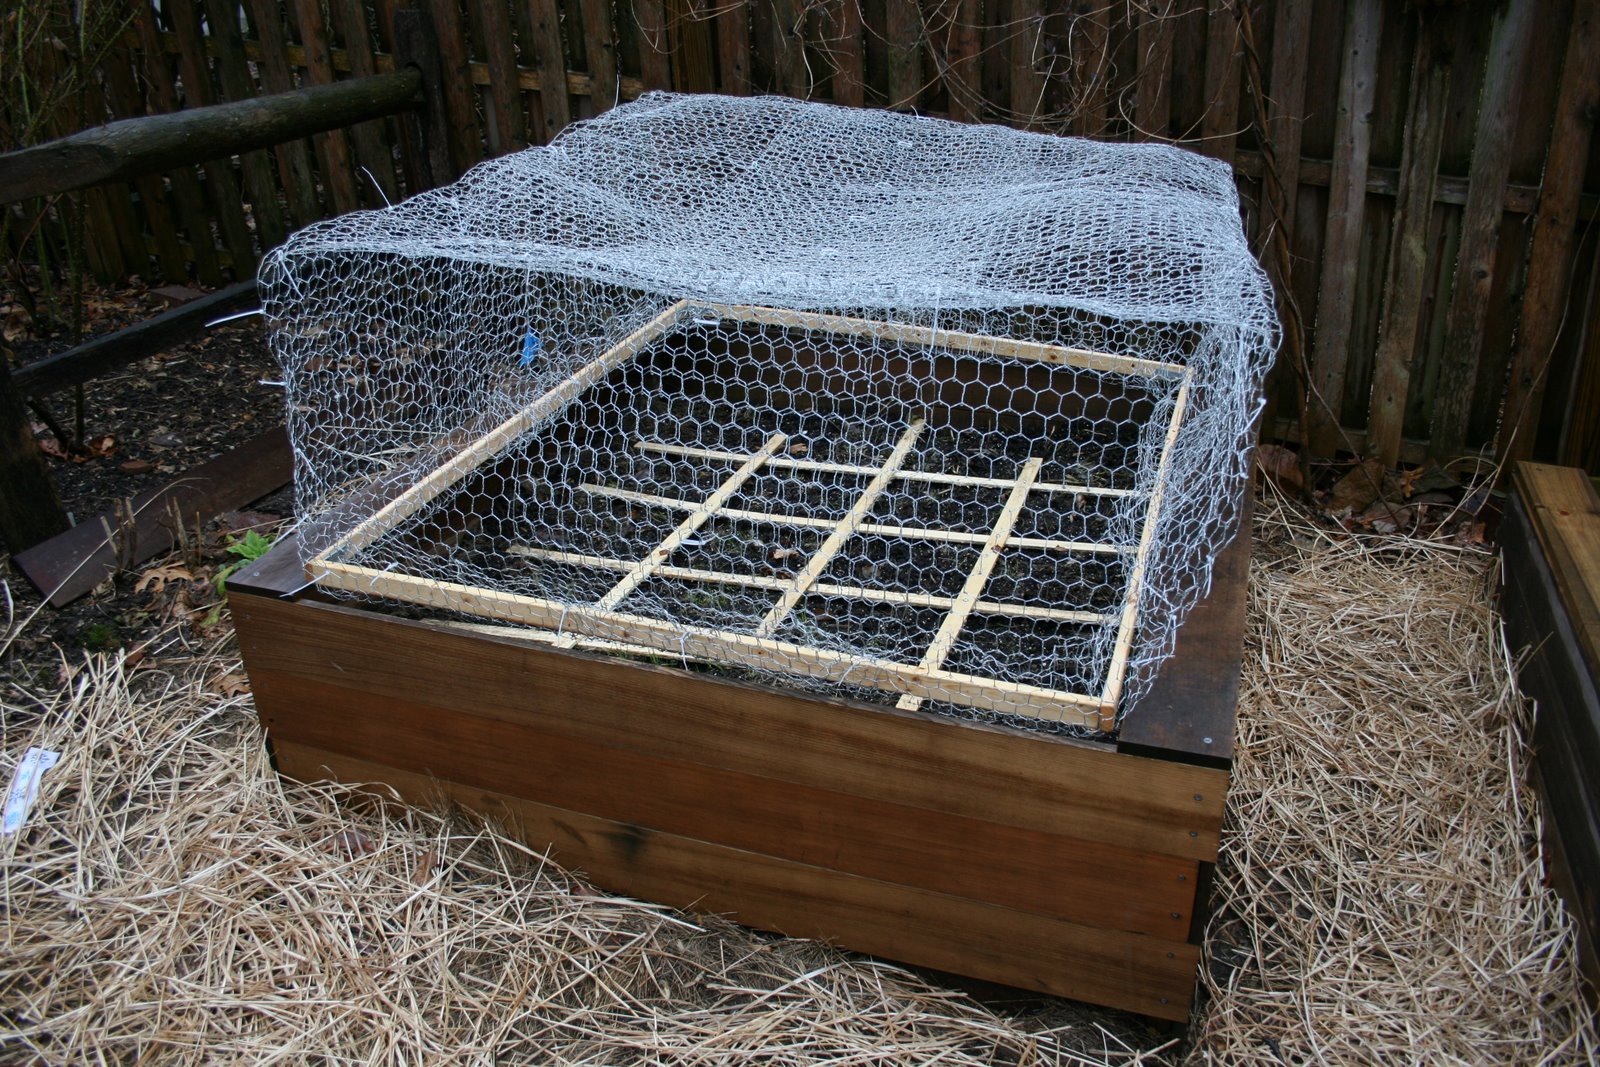
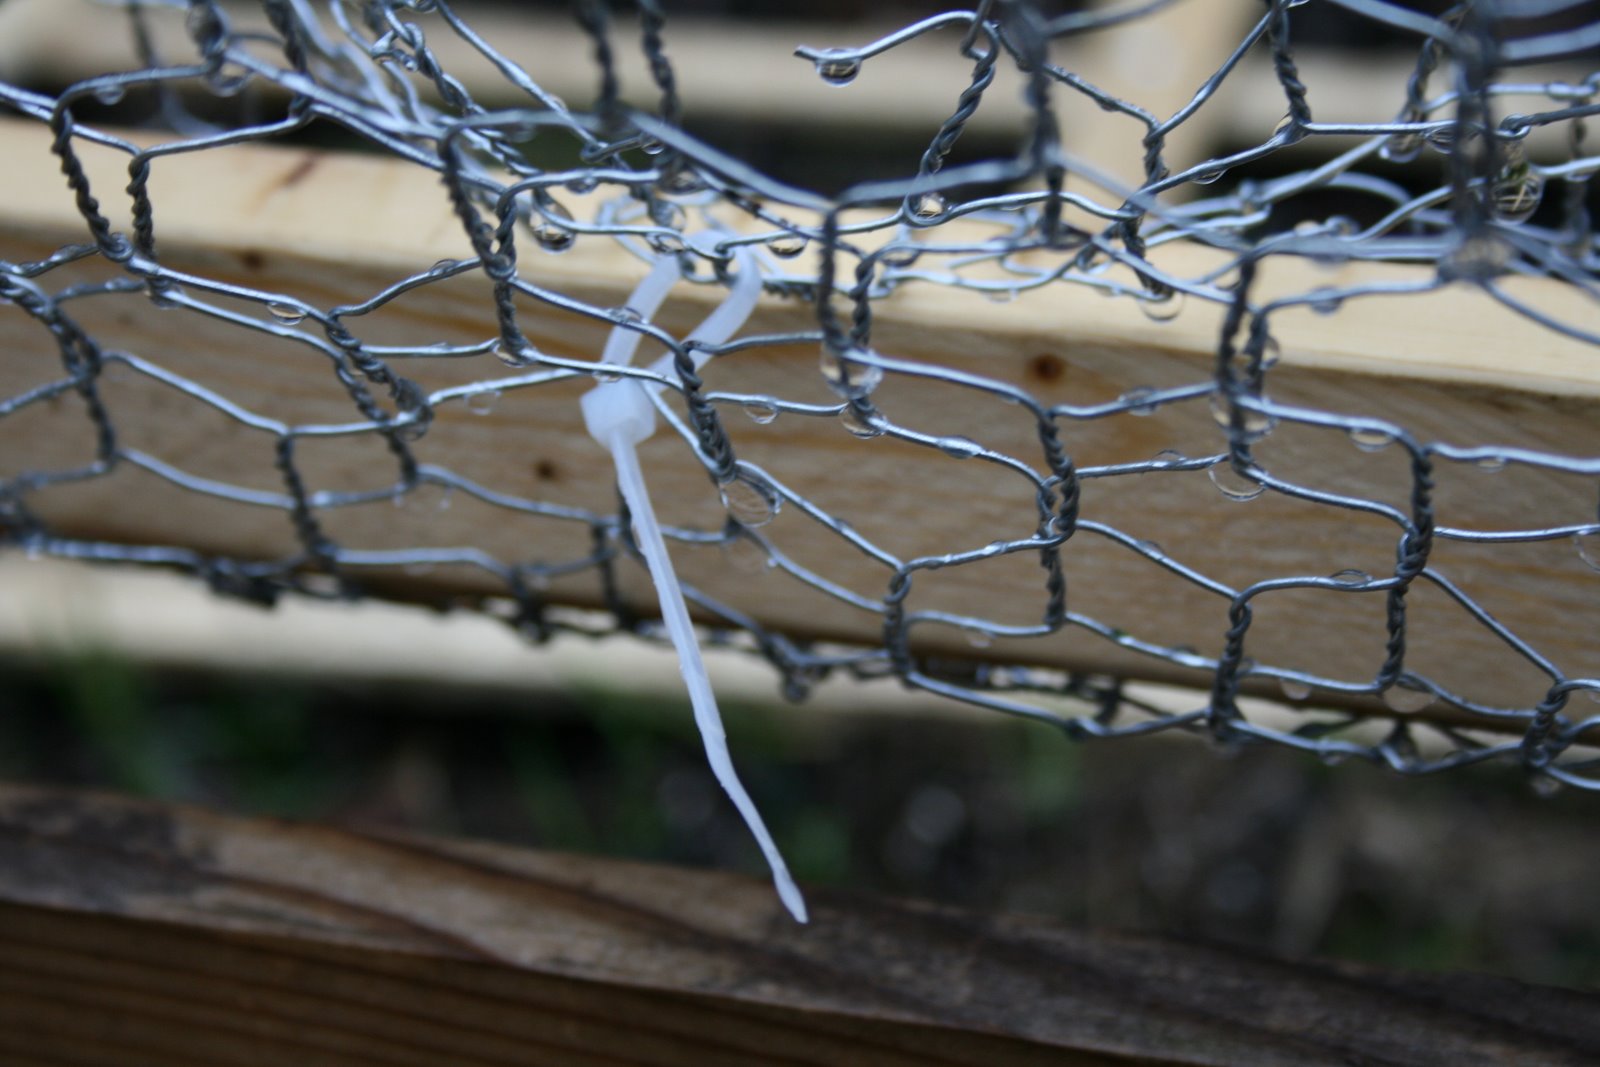
In response, I have asked my dear husband to make a simple, custom-fit chicken wire vegetable box cover to keep you away. What it lacks in aesthetic contribution to the garden, I hope it makes up in efficacy. In the future, please find food elsewhere in the wild or, if I may be so bold to suggest, cultivate your own vegetables.

Best wishes,

Heirloom Gardener
.
UPDATE: Part 2 of this series discusses adding chicken wire around the post and rail fence. Part 3 of this series discusses reinforcements to chicken wire raised bed cover after a break-in.
.
Related posts:

Freshly Cut Crocuses from the Garden

In my post on Ten Tips for Planning a Children’s Garden, tip #6 was “Allow [the children] to cut flowers…They love making vases for our home and to give to friends.” The children have been making vases of the snowdrops and winter aconite for a few weeks now, but just this week, enough of the crocuses that I posted for March’s Bloom Day are starting to blossom that they have begun to cut them too. For these small, early spring bulbs, I like using bud vases like the ones pictured that you can place all around the house.

The Best of Heirloom Gardener (updated as of March 2009)

I. Trees, Shrubs, and Plants

II. Pruning

III. Hardscaping

IV. Gardening With Children

V. Vegetables and Herbs

VI. Pest Control

Planting Early Spring Cool Season Crops and Vegetable Gardening 101

Last week, I turned over the cover crops in my raised vegetable beds. Having let the soil rest for a week, I am now ready to plant my first cool season crops: loose leaf lettuces, shelling peas, and sugar snap peas. I am planting all of them from seeds purchased from Baker Creek Heirloom Seeds.

The lettuce seeds need some light to germinate, so all you have to do is press them into the soil. The pea seeds are planted at a depth twice the length of the seed which is easy to do by simply poking your finger into the soil. From here, you don’t really water them. You just mist them enough so that they stay slightly moist and don’t dry out. How frequently you do this depends upon the weather.

*****

Vegetable Gardening 101: Tips from a Beginning Heirloom Vegetable Gardener

How to Build a Planting Grid for Square Foot Gardening

In preparation for this year’s vegetable gardening, I’ve been reading Mel Bartholomew’s All New Square Foot Gardening (see below). One idea that I got from the book was to build a planting grid with wood lathes to stay true to the square foot gardening philosophy. Just as the book promised, it was easy to build and hopefully will make my vegetable gardening easier and my yield greater. Here’s how I did it:
~
1. Gather together your materials and tools: 6 four foot wood lathes for each 4×4 foot grid you want to make; nuts and bolts to hold your grid in place; tape measure and pencil; and power drill.
~
2. Measure and mark your wood lathes in one foot increments.
~
3. Pre-drill the holes in your wood lathes at each one foot increment. Pre-drilling is important as the wood lathe would likely break without doing so.
~
4. Screw in your nuts and bolts to hold together your grid. At this step, I found that I actually needed to re-drill some of the holes, as my wood lathes were not all perfectly straight.
~
5. Take apart and put back together again. Well, hopefully you won’t have to take this step, but I did. As you see in the second picture, I realized that the grid was 4 x 4 for sixteen squares, but what I really wanted for my raised vegetable beds was 4 x 5 for twenty squares, so I wound up taking the grid apart and re-attaching one set of lathes at 6, 18, 24 and 30 inches.

http://rcm.amazon.com/e/cm?t=heirlgarde-20&o=1&p=8&l=as1&asins=1591862027&fc1=000000&IS2=1&lt1=_blank&m=amazon&lc1=0000FF&bc1=000000&bg1=FFFFFF&f=ifr

Protect Your Roses Now: Spray Dormant Oil Before Your Roses Leaf Out

This weekend, I applied Dormant Oil to all of my roses. This is the best organic pest protection that you can give to your roses, as it smothers over-wintering insects and their eggs. As I wrote in a post last year:

“The dormant oil is horticultural oil diluted in water. Horticultural oil is available at most nurseries. As a dormant spray, the horticultural oil is less diluted than it is when its used after plants have leafed out. The importance of the horticultural oil for the organic rose gardener is that it suffocates many pest and their eggs before they become active as the weather warms up. It’s good as a control for aphids, spider mites, scale, sawfly, and thrips. The dormant oil should be applied all over the canes of the roses. The easiest time to do it is after pruning because all the unnecessary wood has been removed; but, if you will not complete your rose pruning until the leaves have already begun to emerge, do it now. The only brand that I know of is Bonide All Seasons Horticultural & Dormant Spray Oil.”

Beautiful Display of Forced Ceris Branches

Of all of my forced branches this season, this display of ceris Forest Pansy branches is the highlight. About three weeks ago, I cut about eight branches three to four feet in length. The first week, little appeared to be happening. The second week, the buds really began to swell. And this week, I was rewarded with this beautiful display. For a close-up of the flowers, click here.