How to Protect the Vegetable Garden from the Groundhog, Part 3: New Eight Foot Tall Screens Around the Raised Beds

One of this season’s projects has been to better protect the vegetable garden. As frequent readers of this blog know, enemy number one is the groundhog that lives next door in my neighbor’s yard. The extra tall fence around my backyard keeps out the deer and my one year-old cat effectively deters most of the smaller pests–rabbits, squirrels and chipmunks. Unfortunately, I have been ineffective against the groundhog.
.
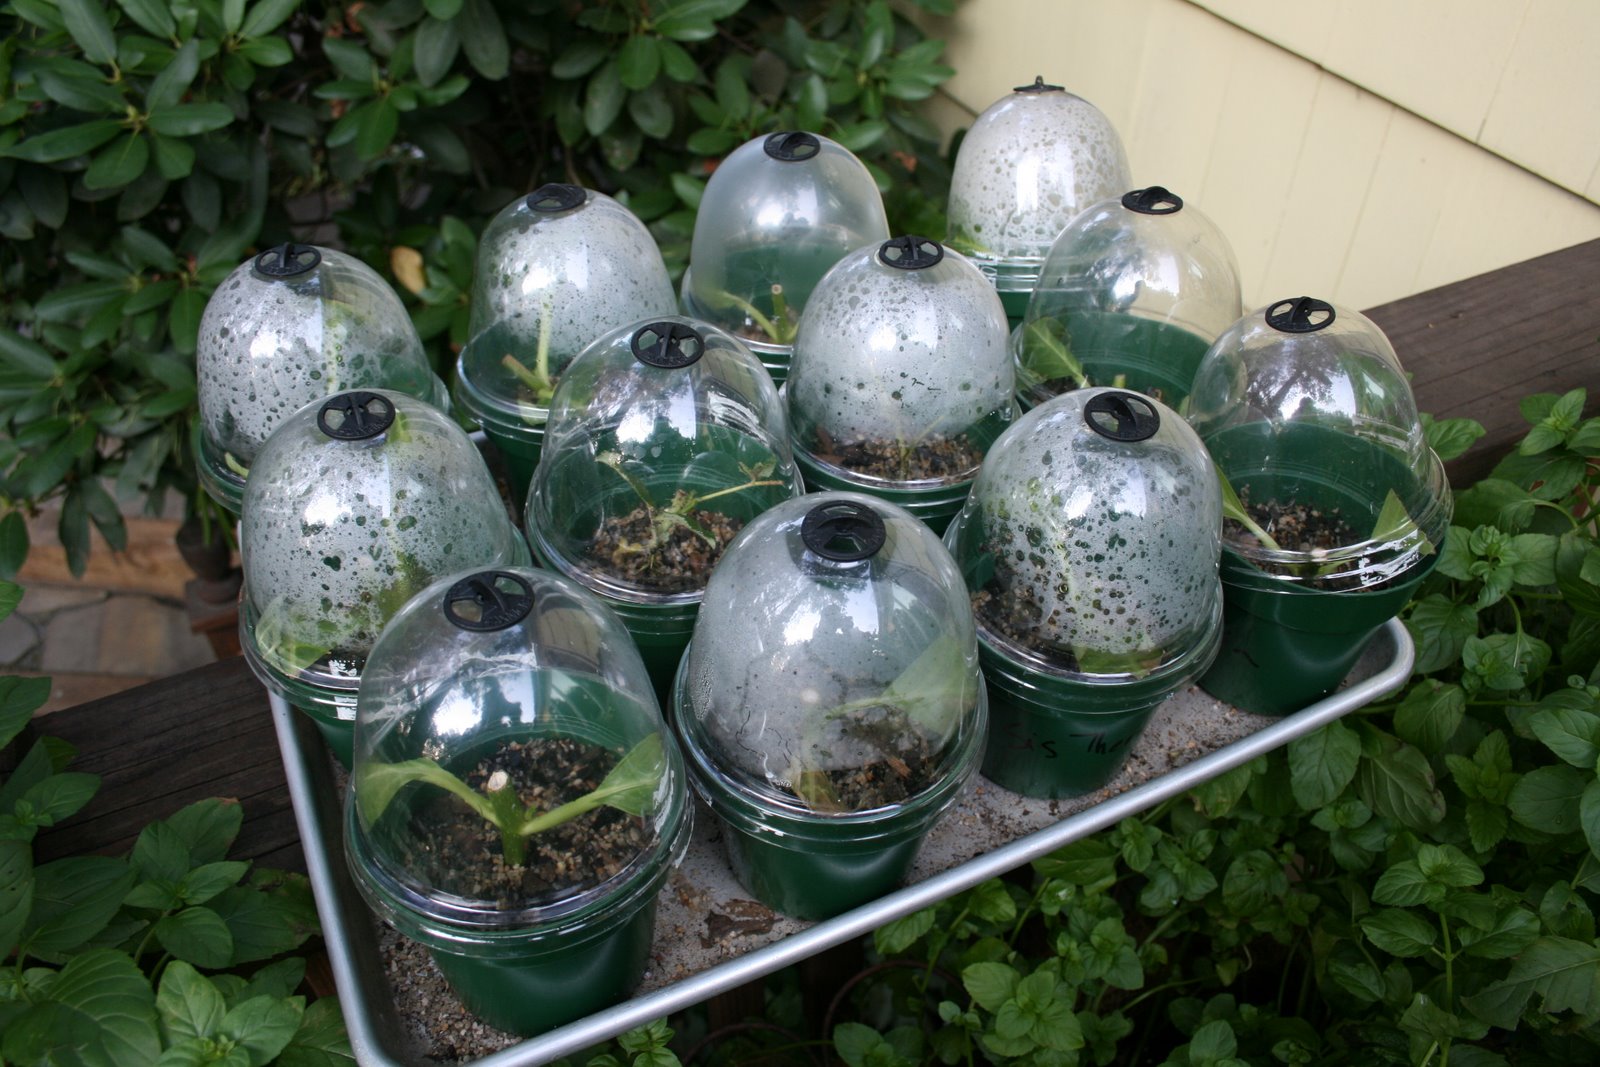
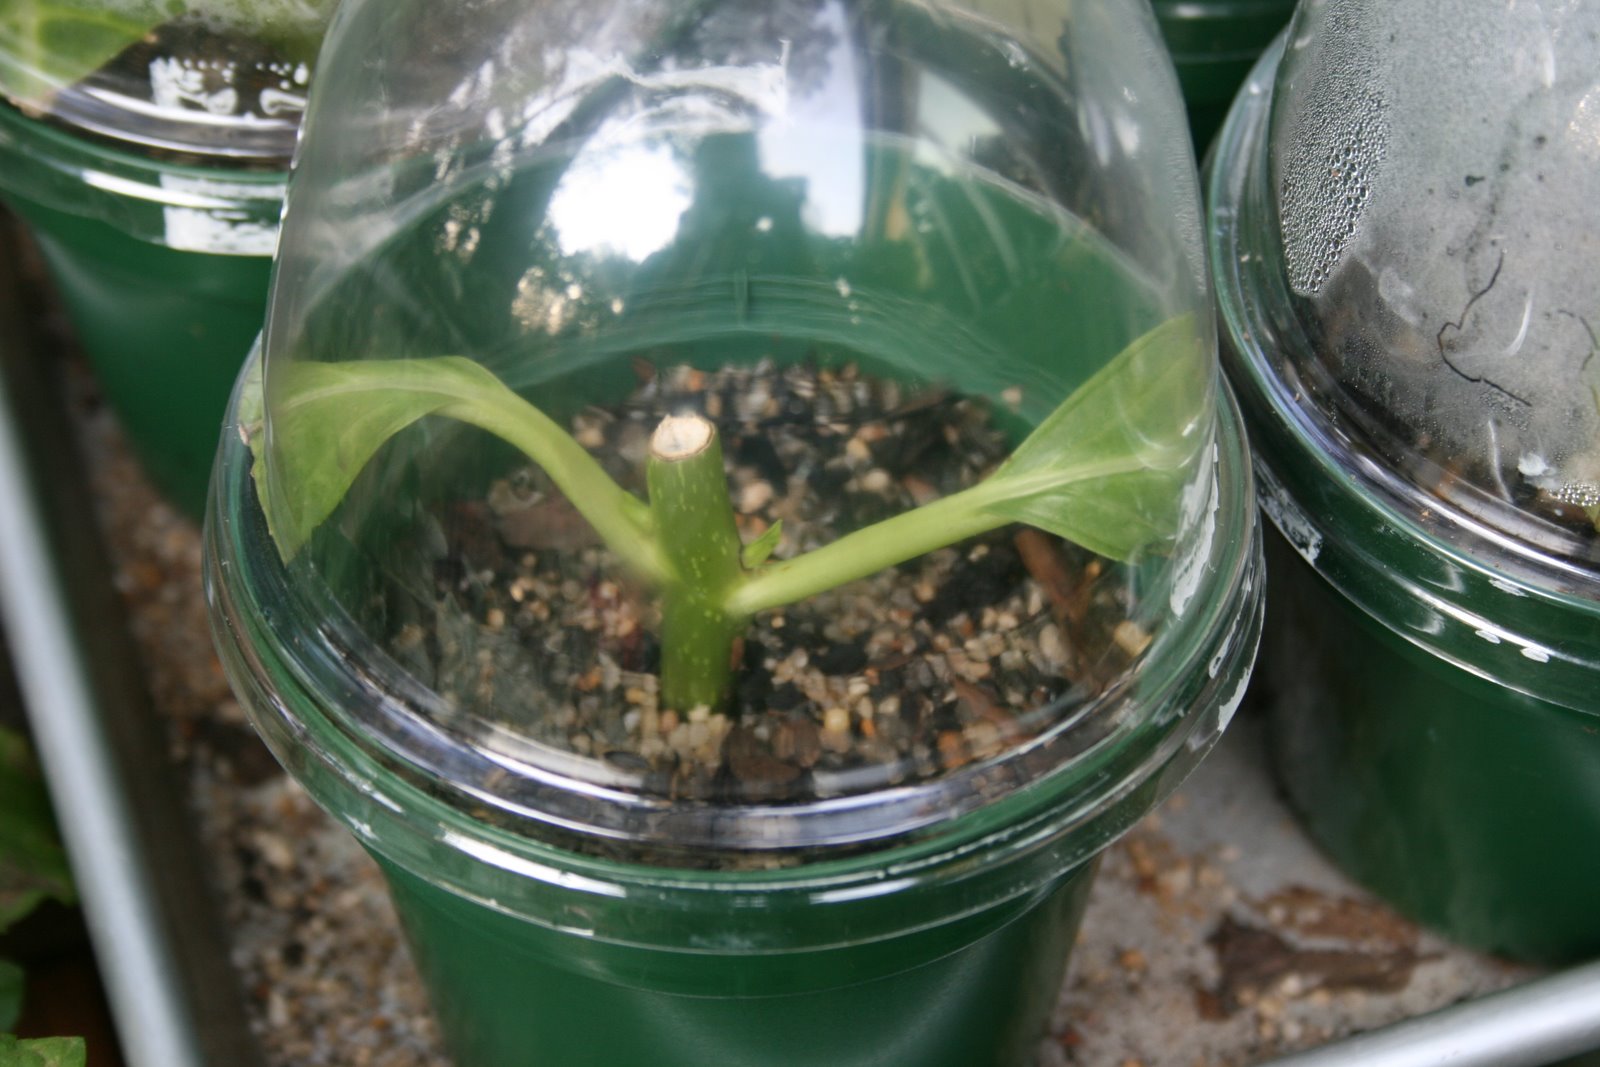
Part 1 of this year’s project was to build a chicken wire fence cover over one of the raised beds with short vegetables. You can read about that here.
.
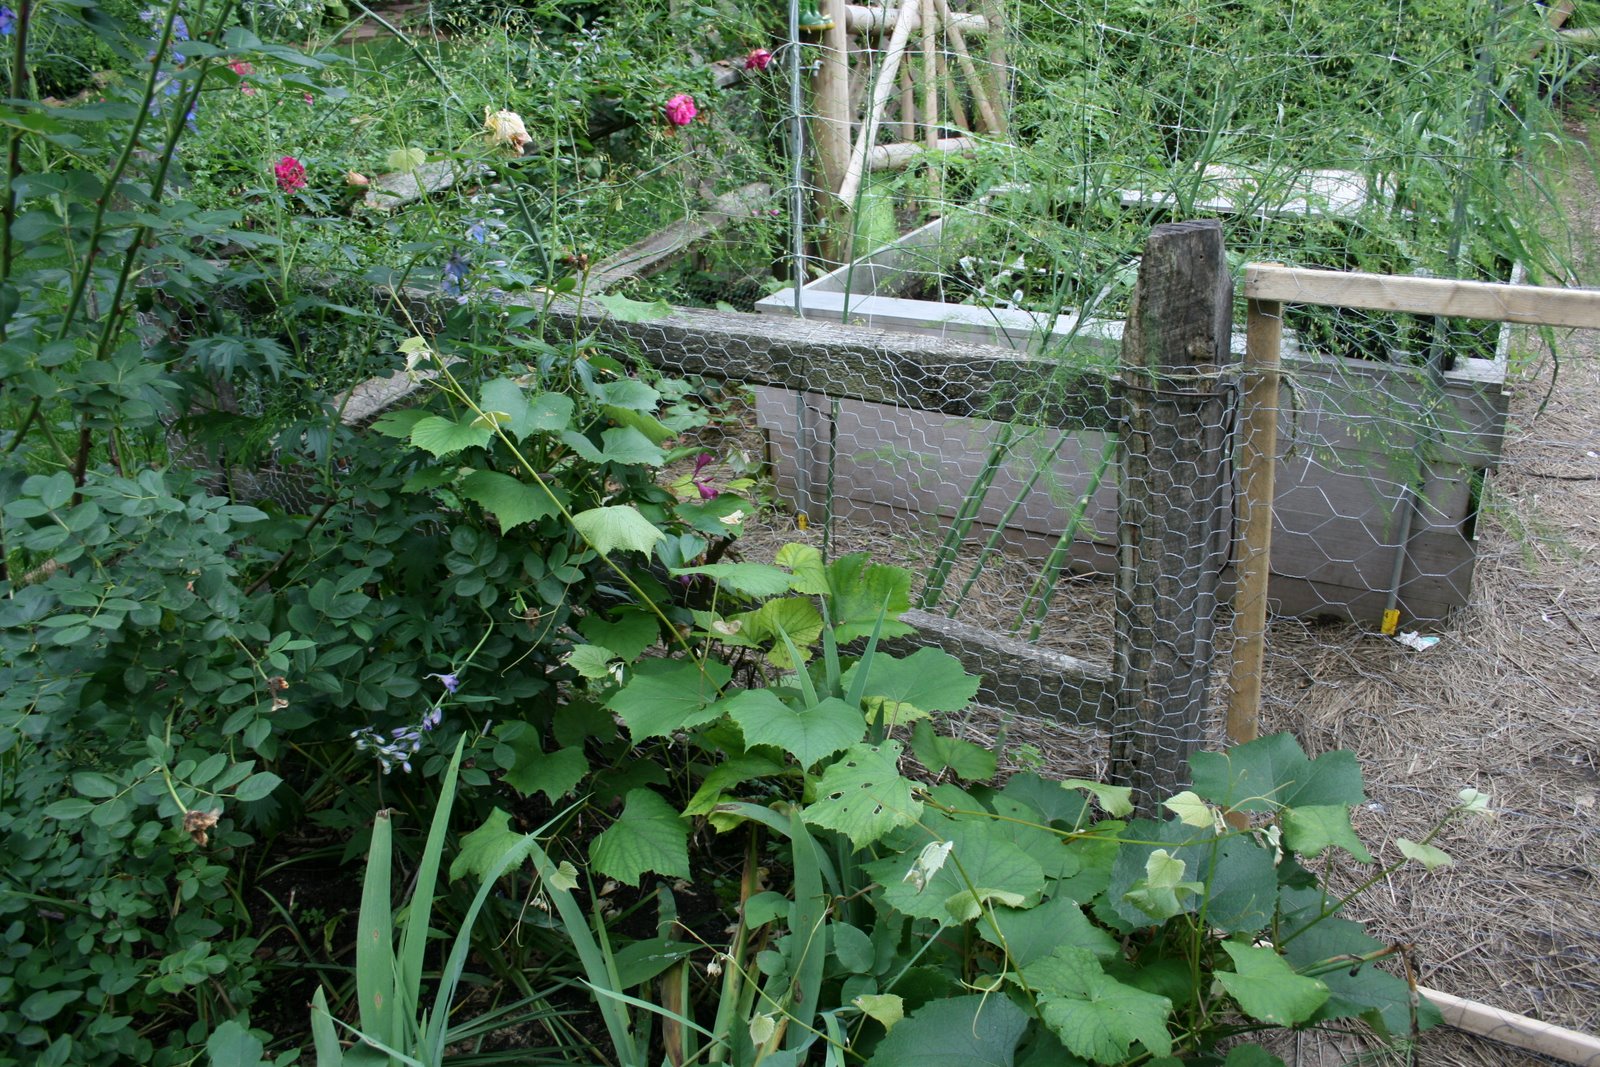
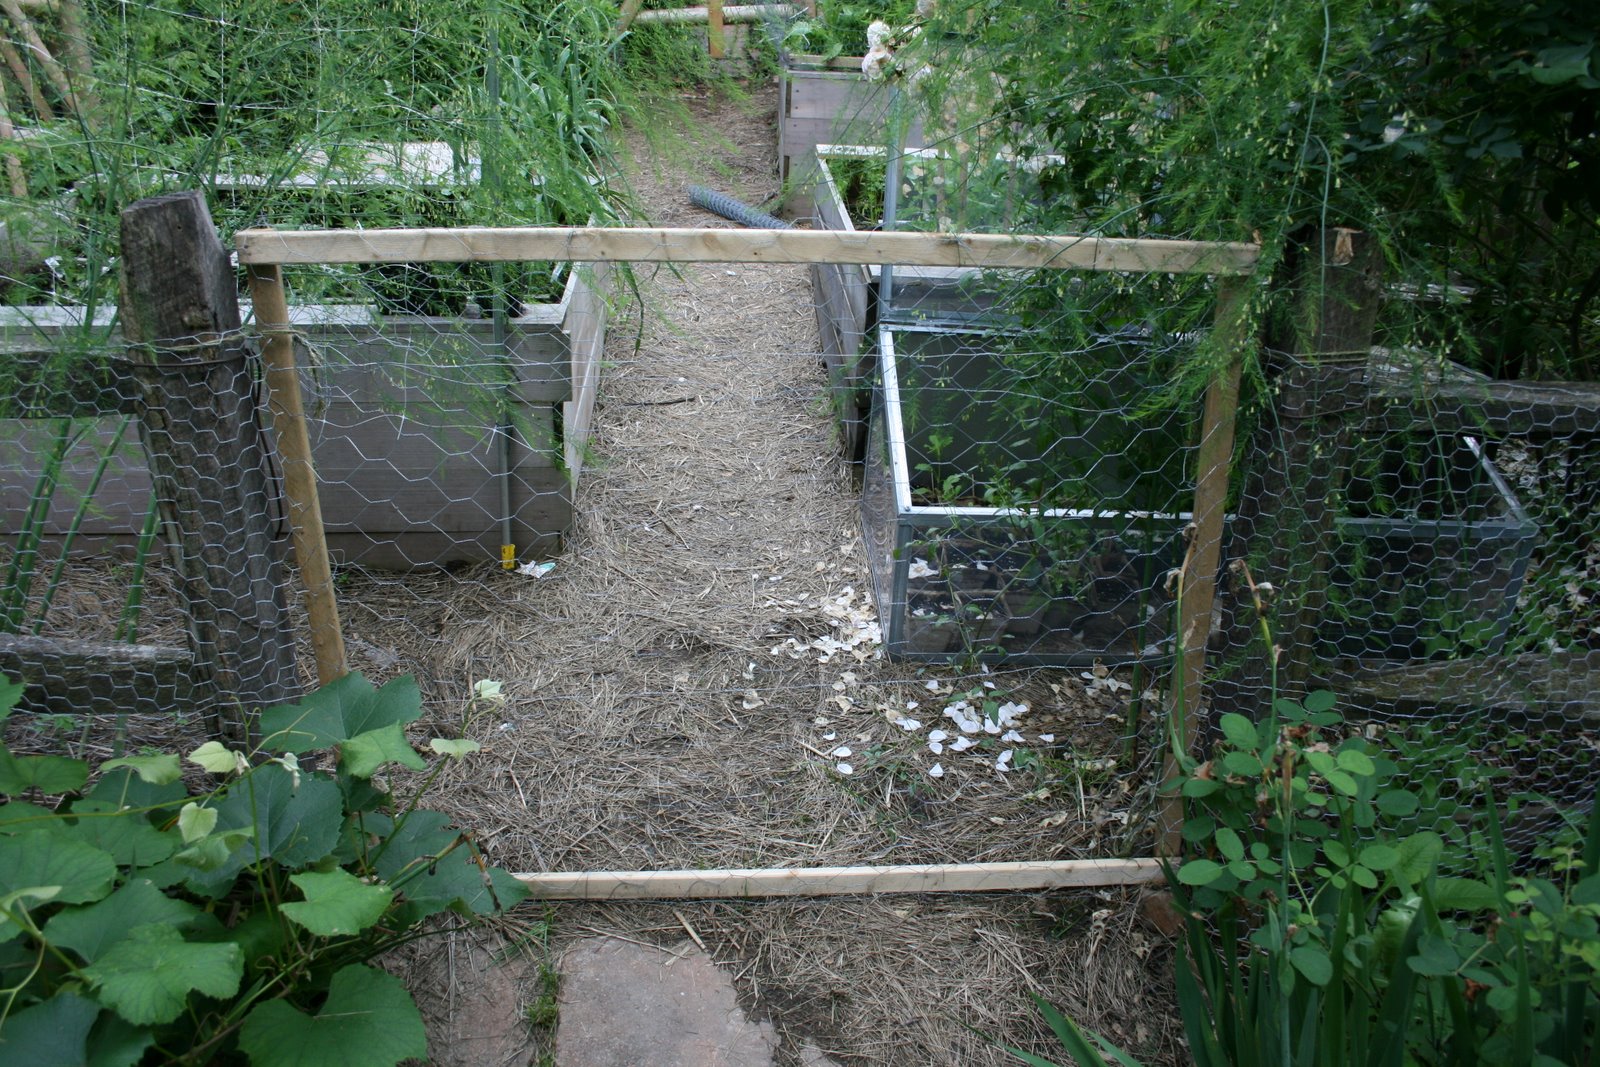
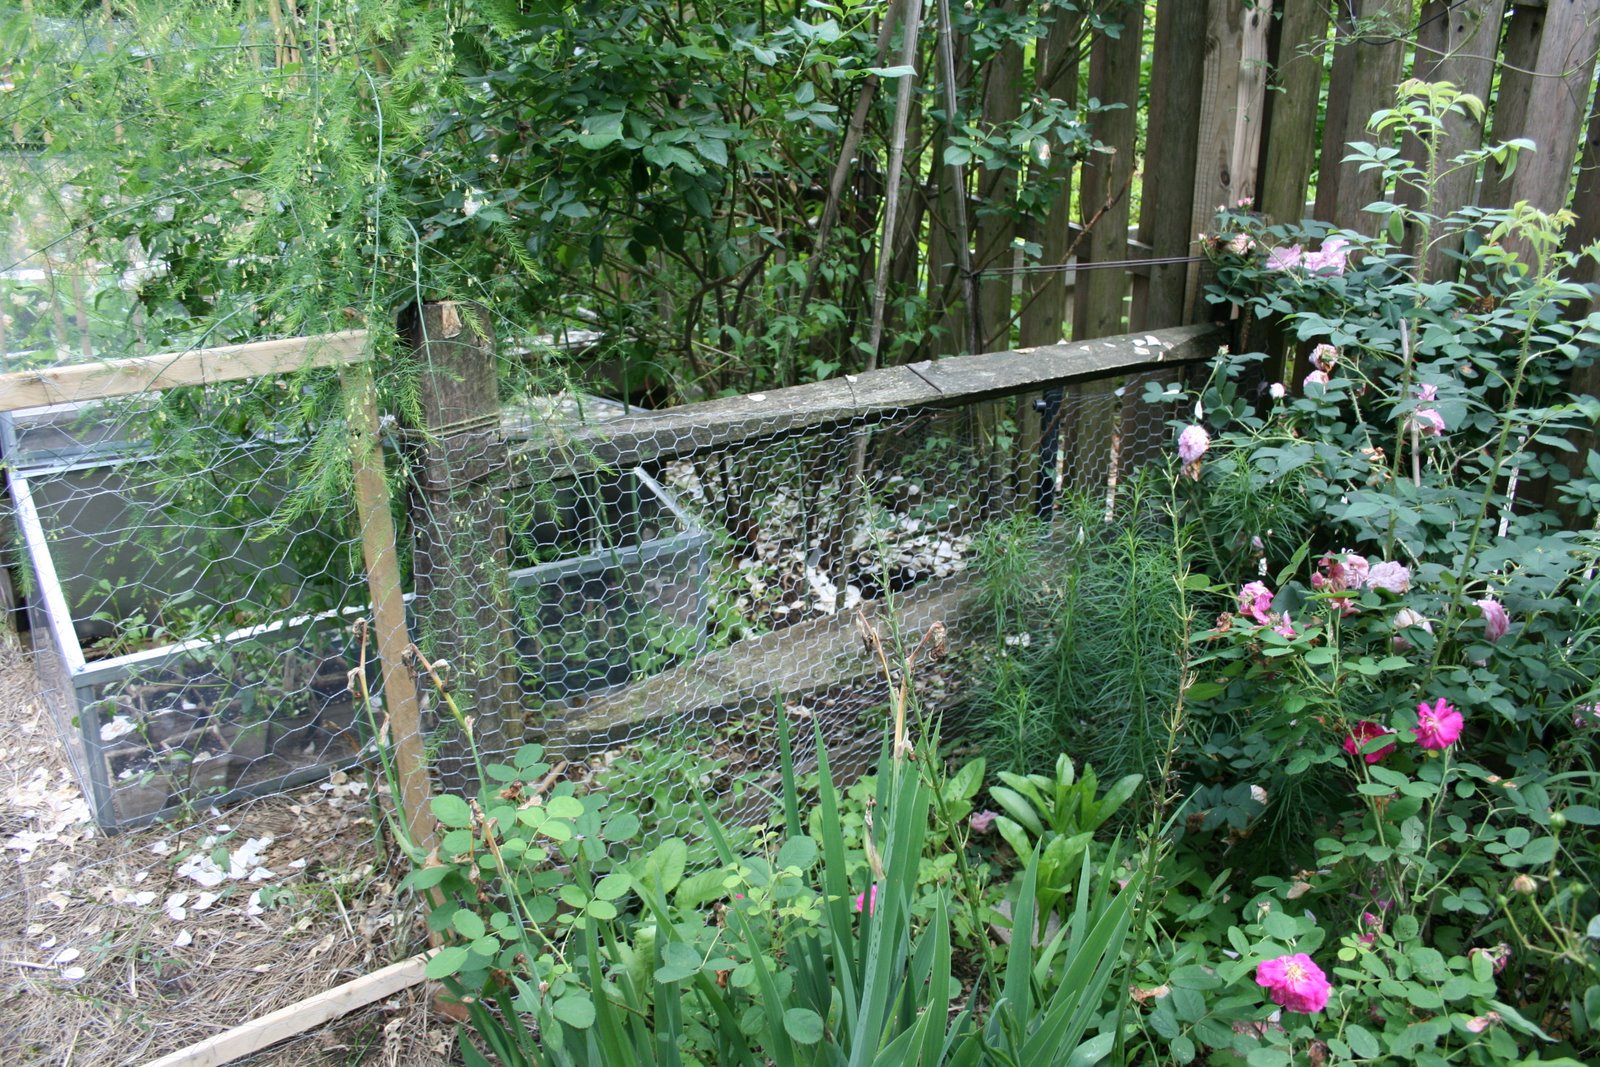
Part 2 of this year’s project was to reinforce the open post and rail fence with chicken wire and build pest proof gates for the three openings. You can read about that here.
.
After parts 1 and 2 of this project, the first two months of the growing season were pest free with no break-ins from the groundhog. Then, last week, he broke in. I don’t know how he did it, but he did. My poor beans and cucumbers were mowed down. He even had the audacity to push the chicken wire cover off just enough to squeeze in and help himself to some Russian kale. After having such a good start to the season, and seeing the damage he did in a single visit, I must confess that I thought of just giving up. My son responded with my own words: there is no giving up in gardening. I told my husband that he had to do something.
.
How to Protect the Vegetable Garden, Part 3
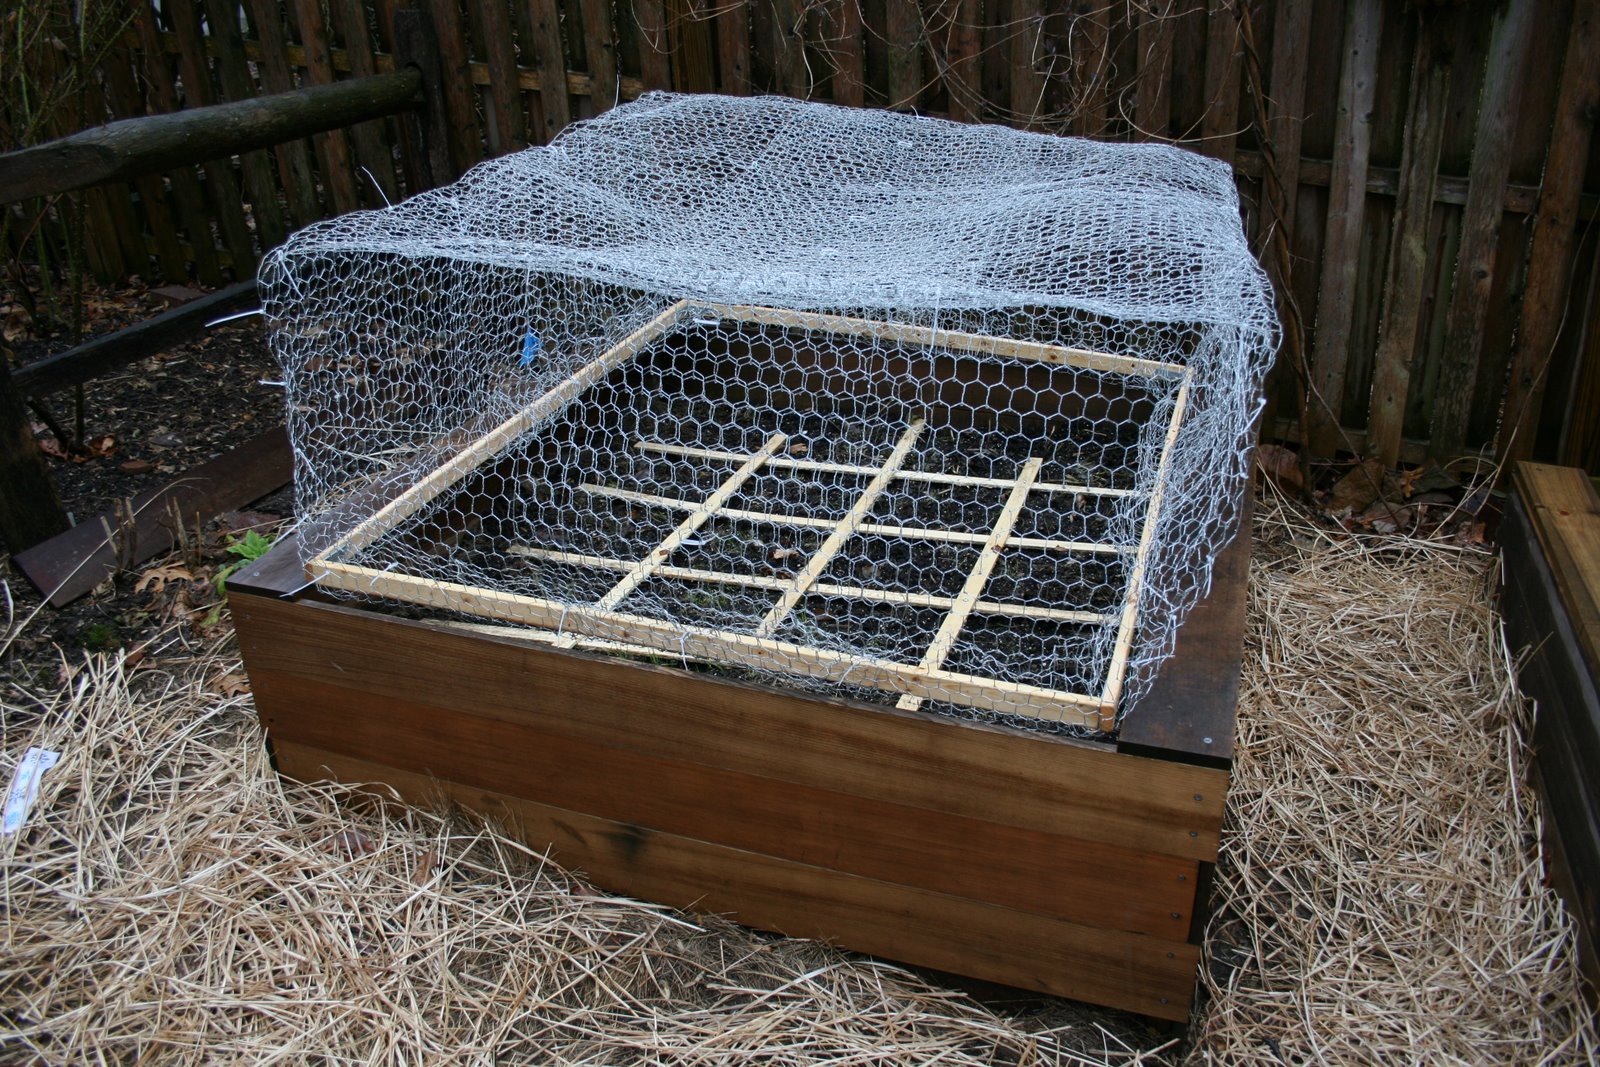
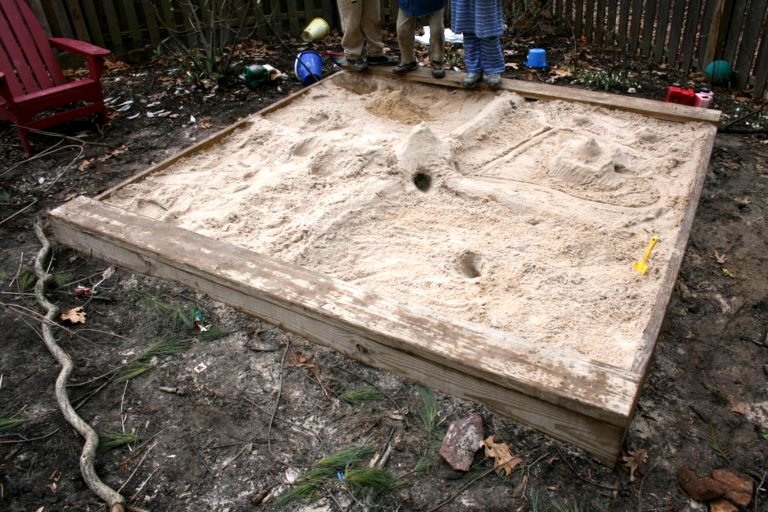
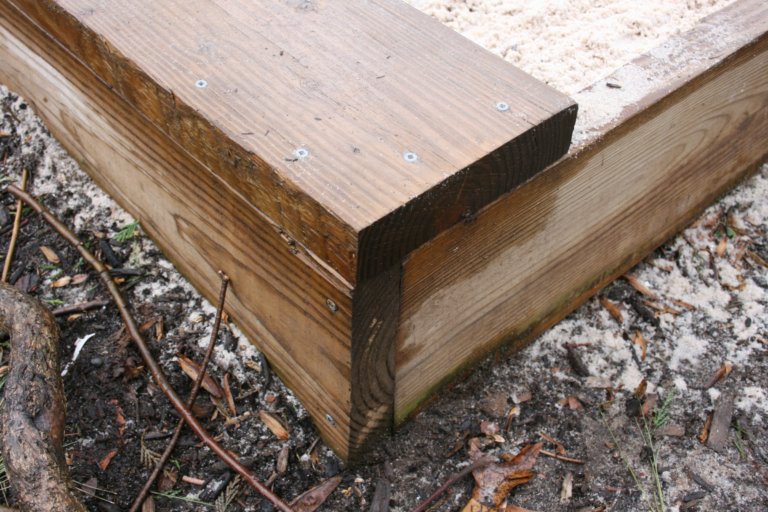
.
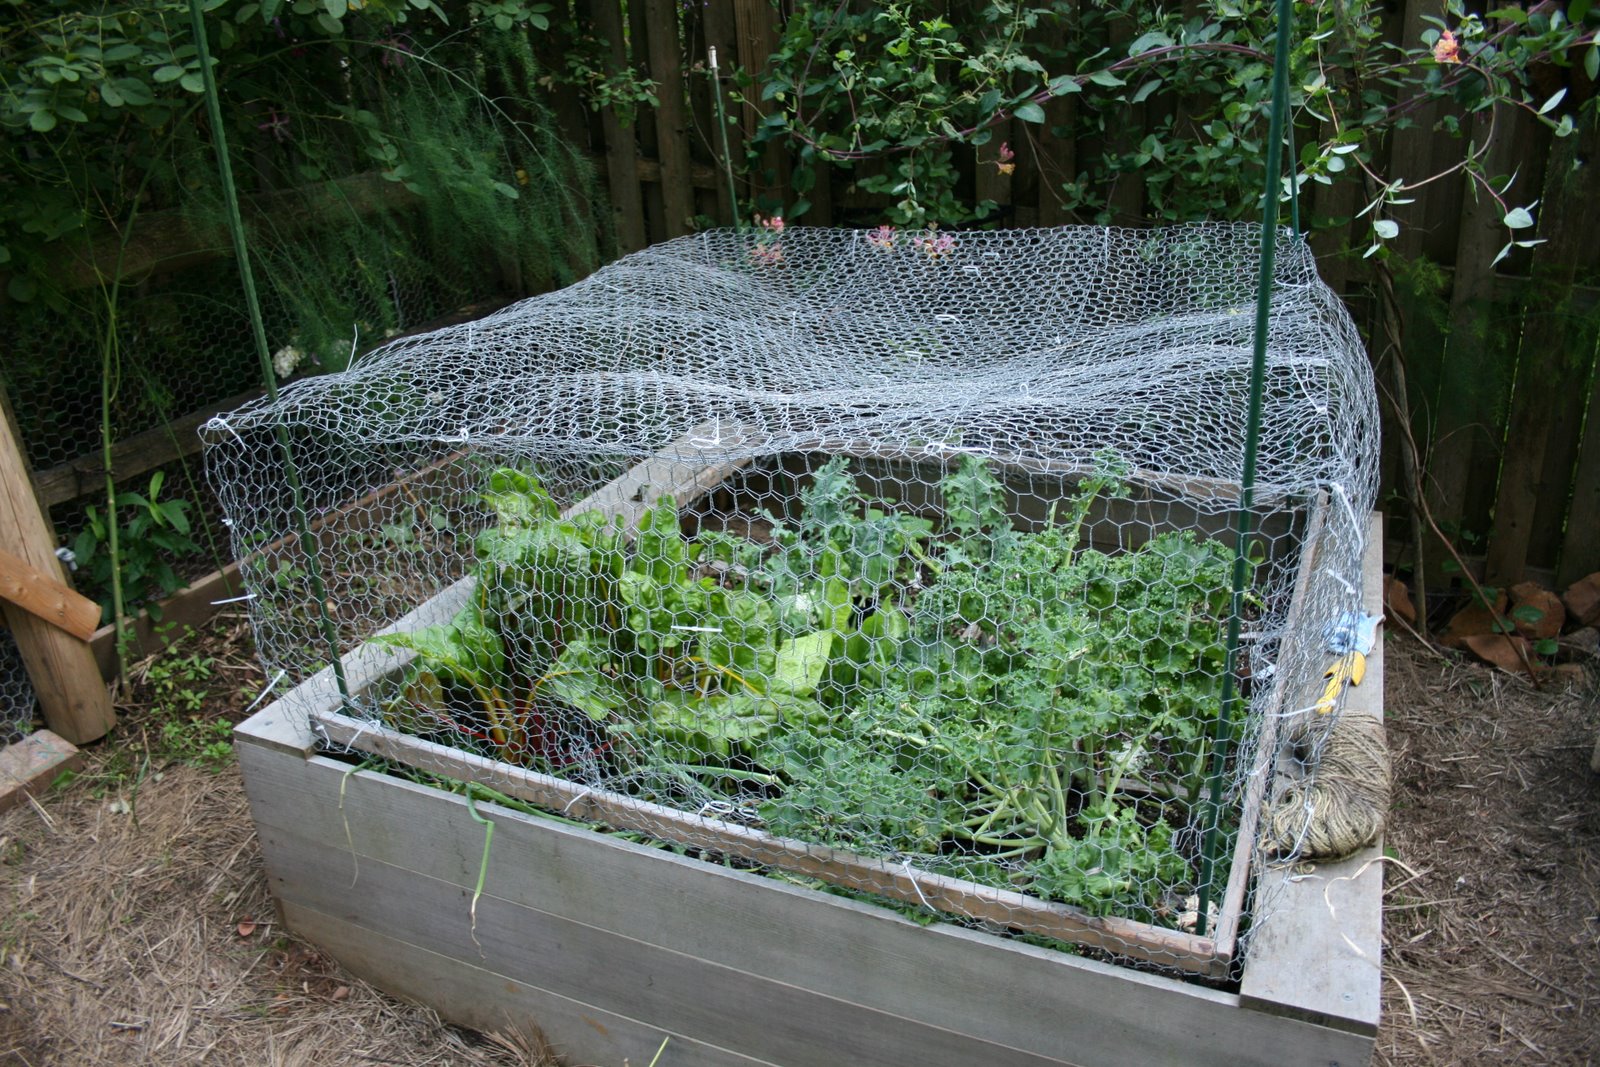
The first part was easy, so easy in fact, I can’t believe we didn’t think of this before. In the four corners of the chicken wire raised bed cover, we put in long stakes. Now, it cannot be pushed over.
.
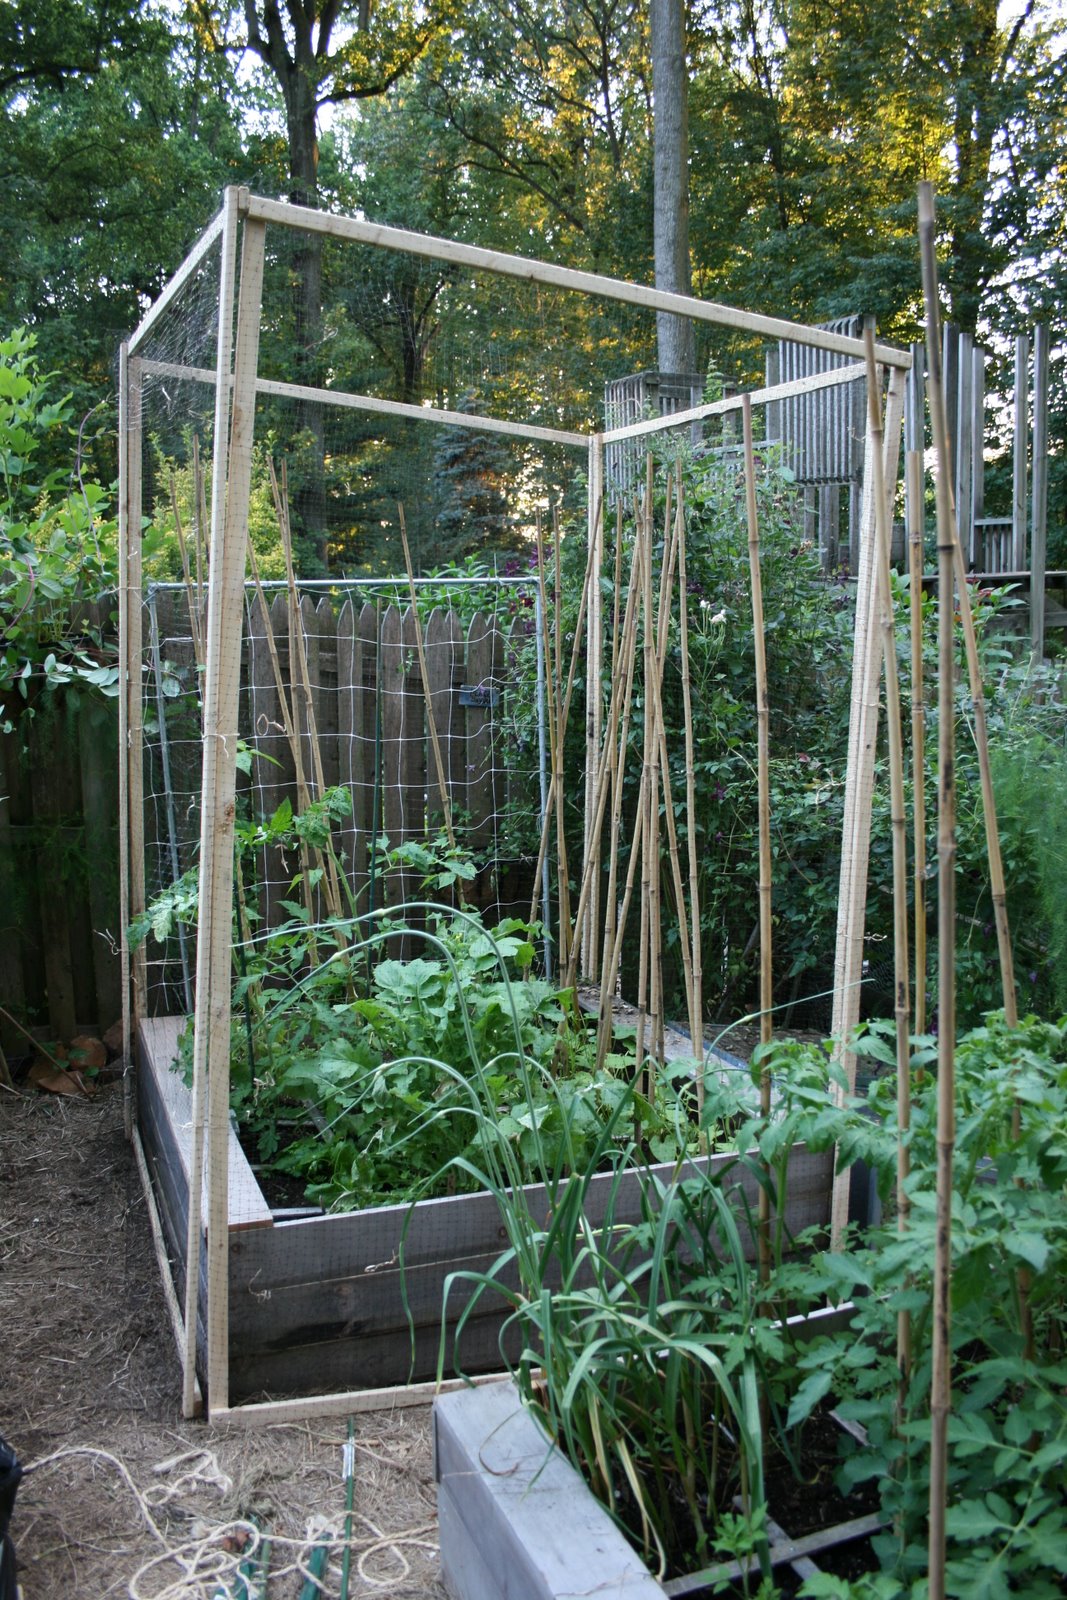
The second part took a trip to the hardware store and more effort. As you see in the picture, my husband built four 5’x8′ screens around each of the other two raised beds that contain the taller vegetables. The two far sides are nailed into the box. The two near sides are tied on with bow ties that can easily be tied and untied for access to the vegetables. Here are some simple instructions that can be adapted to your needs:

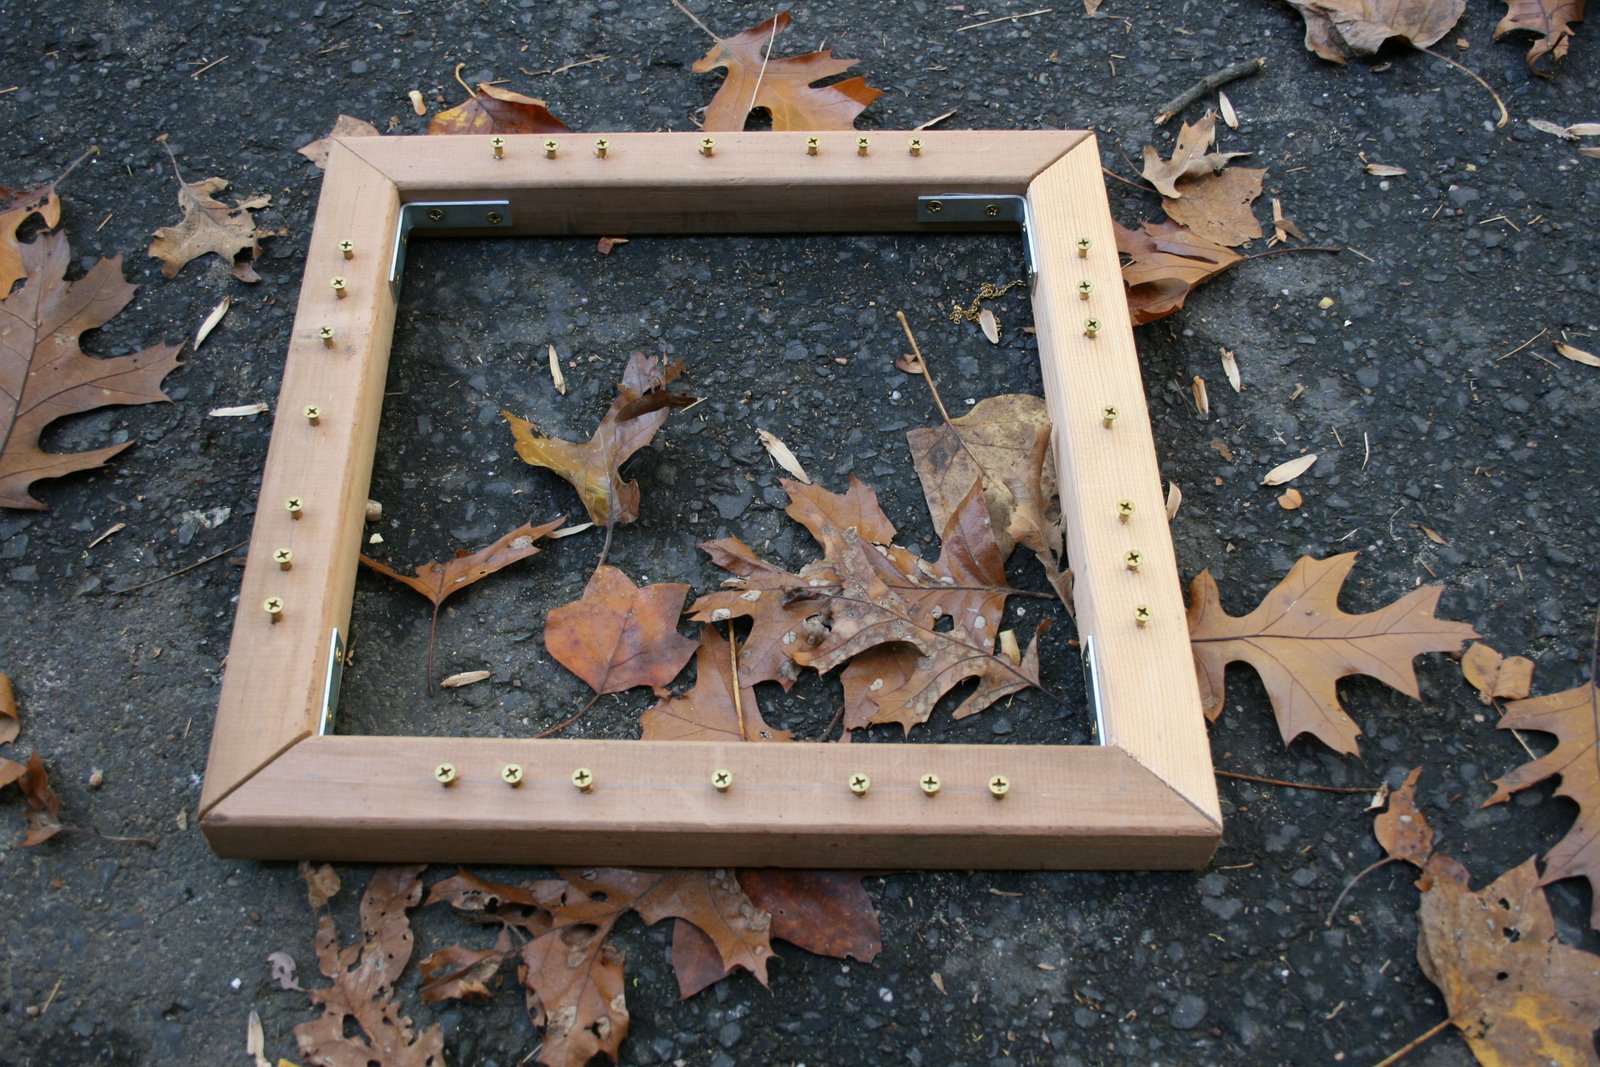
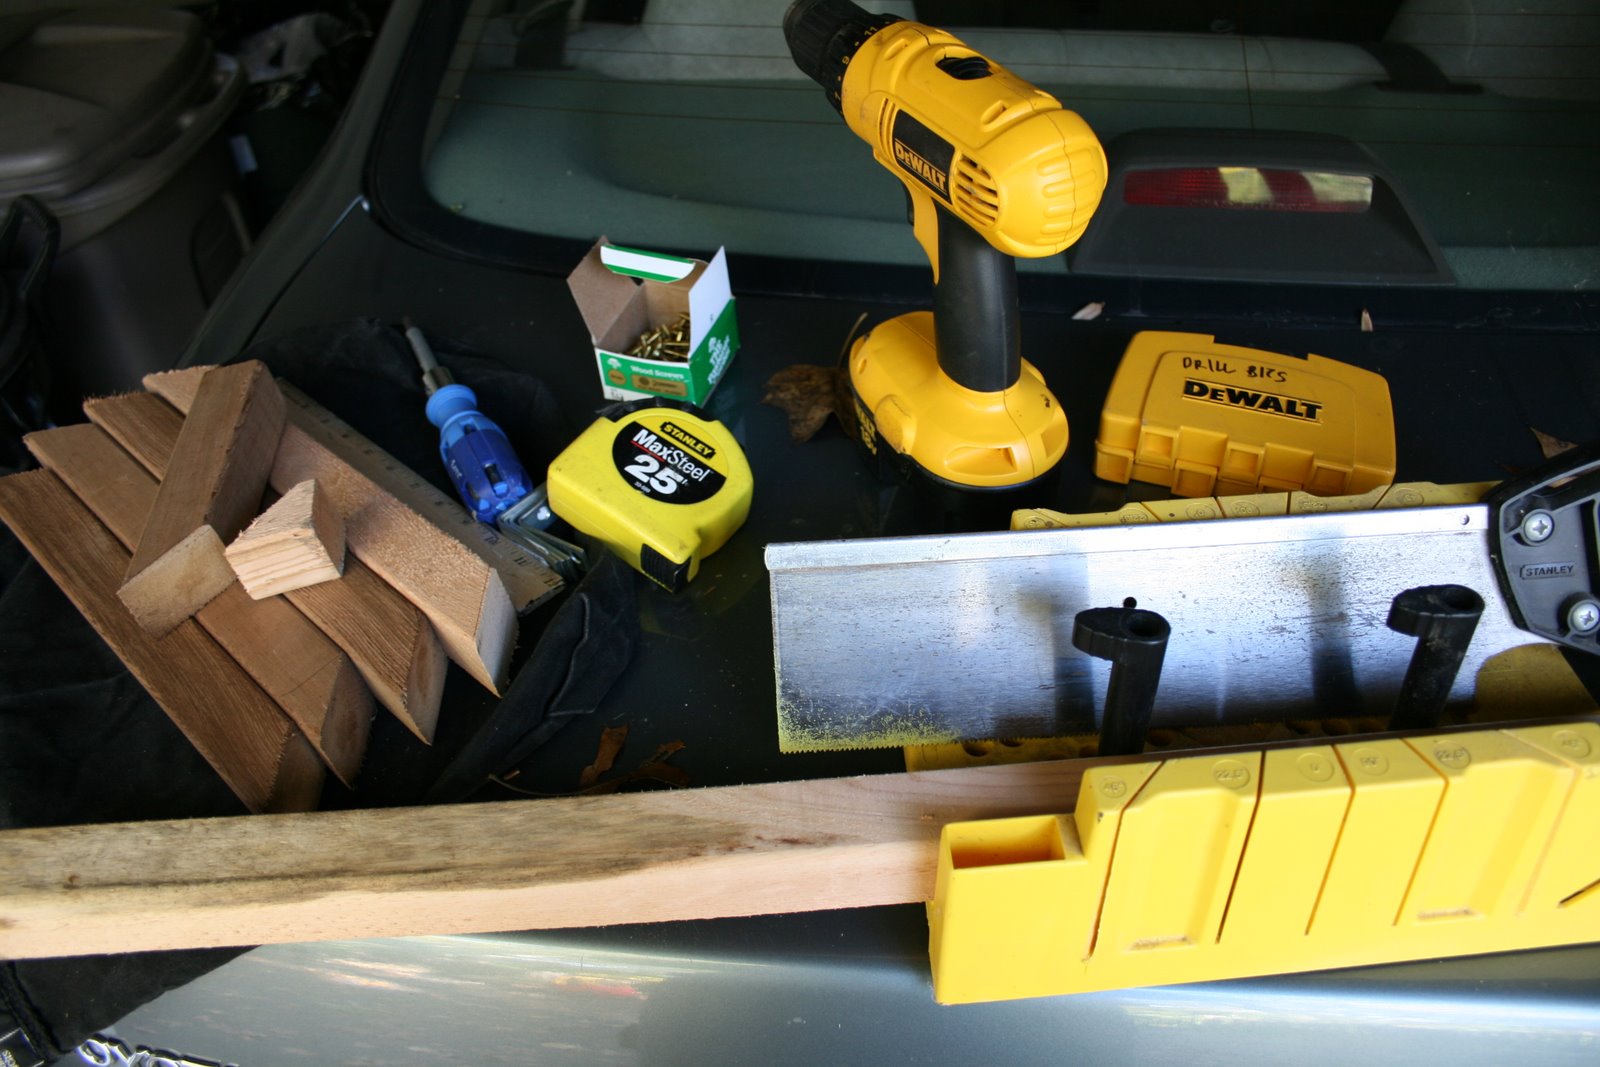
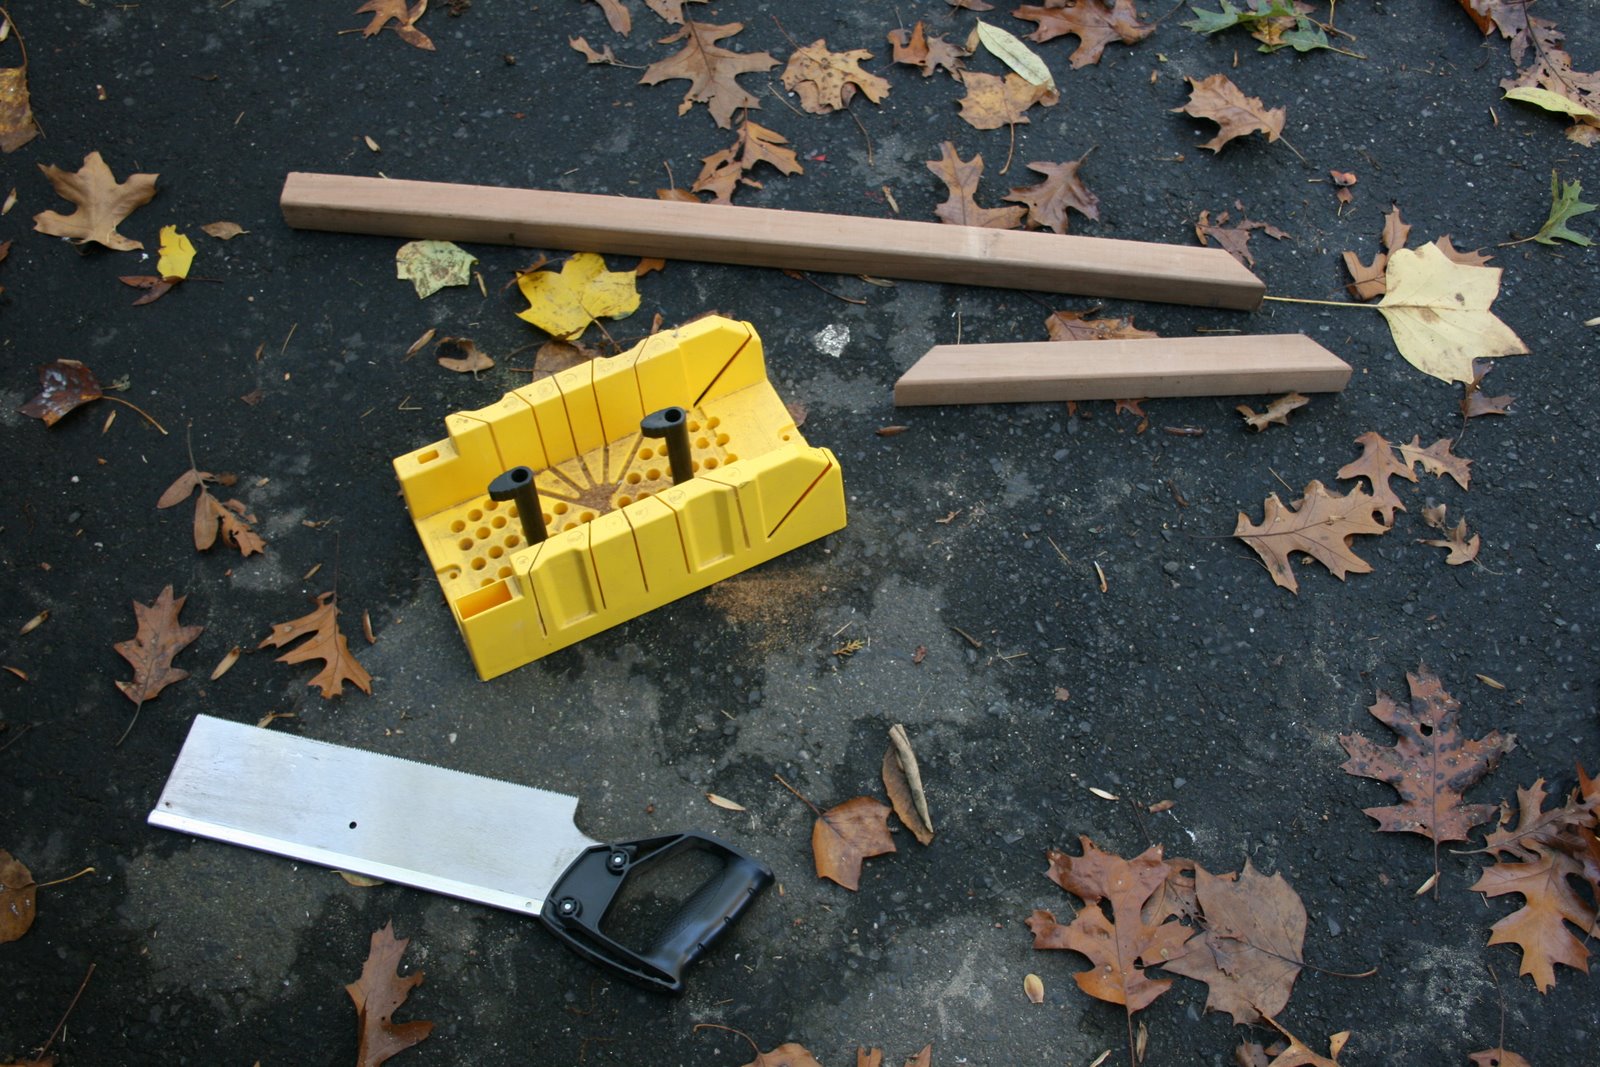
a. Buy eight foot 1x2s. We needed four 5’x8′ screens for each raised bed, so my husband needed to buy thirty-two for the two raised beds we wanted to protect.
.
b. Cut your 1x2s to the desired length.
.
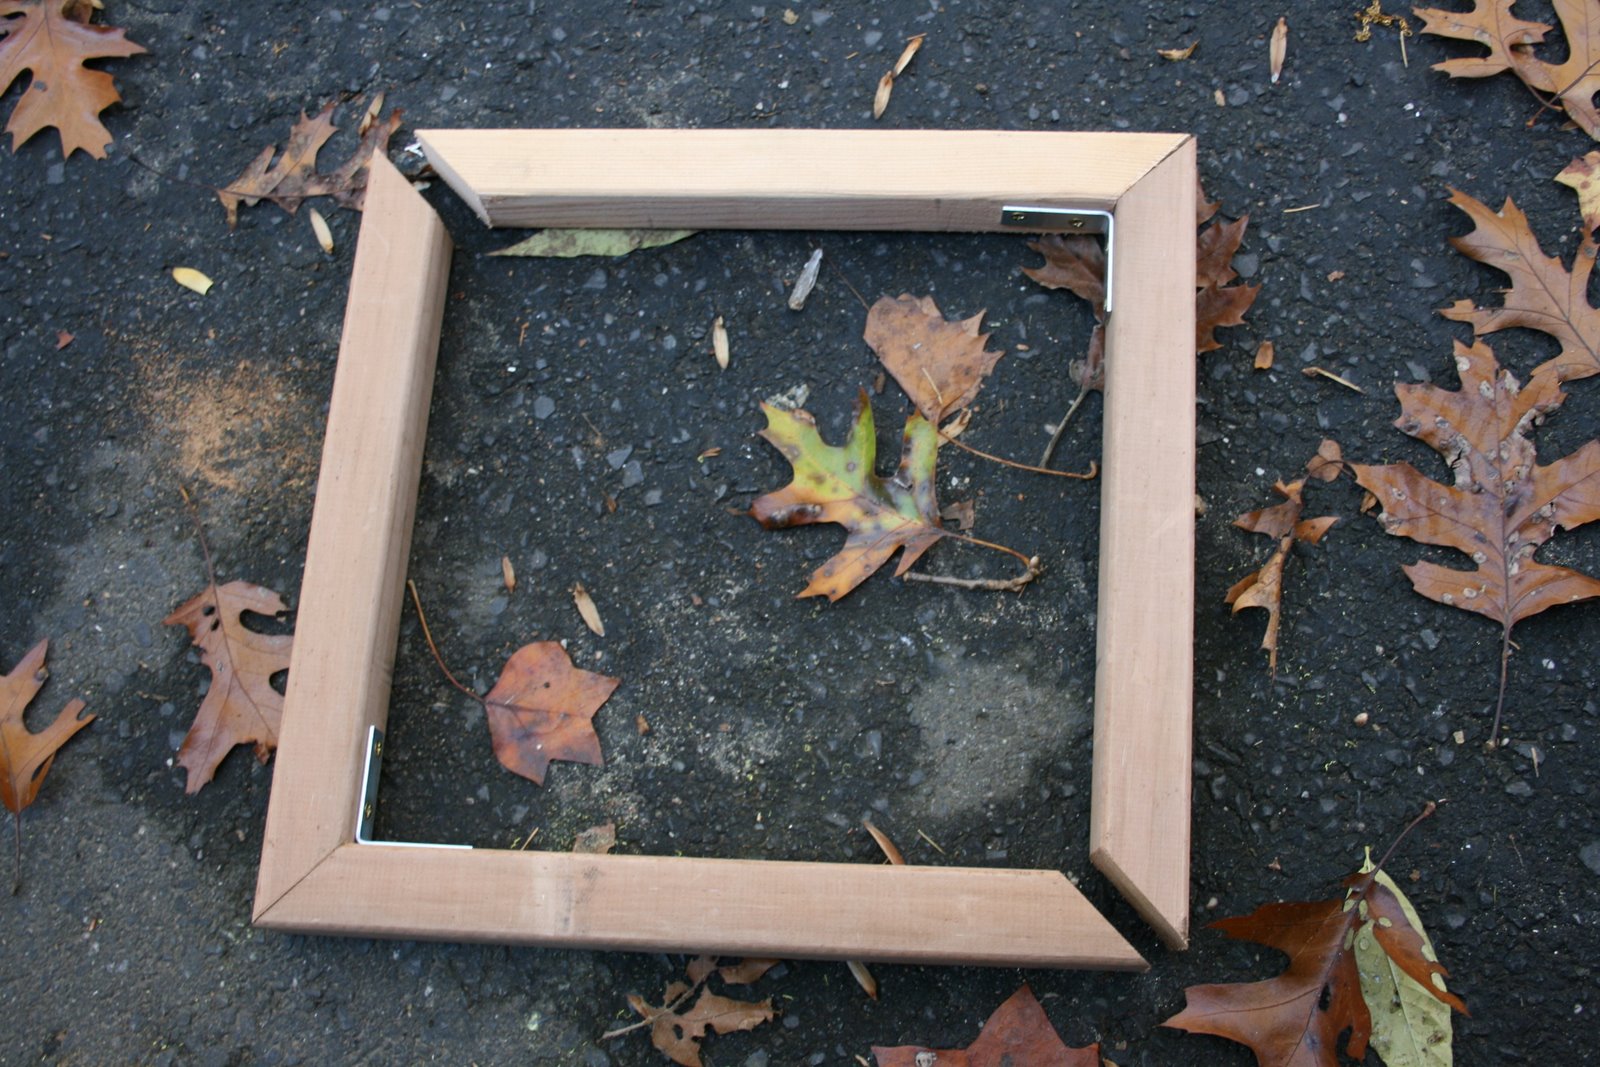
c. Nail your 1x2s together to make the frames of your screens. My husband put two 1 1/2 inch nails into each corner.
.
d. Cover your frames with deer fence netting. For such a large area, this is much lighter, cheaper and easier to work with than the chicken wire.
.
e. Nail two screens to the sides of your vegetable box where you need the least access.
.
f. Tie the other two screens to the fixed screens with rope that can easily be untied and re-tied for your access.
.
Hopefully, there will not be a Part 4 of this year’s story.

How to Protect the Vegetable Garden from the Groundhog, Part 2: Adding Chicken Wire and Gates to an Open Post and Rail Fence

When originally conceived, the Children’s Garden was going to be a place to grow creative things with the children, like a tee pee made of vines, which we did the first year, and other beds planted and maintained by the children. Thus, the original fencing around the garden was a post and rail fence with three open entryways without gates, which you can see here. The only part of the garden remaining from that original conception is my older daughter’s flower garden in the upper left hand corner. Over time, the children’s interest in growing vegetables increased, so we replaced the short raised beds with extra-tall raised beds, which you can see and read about here. The extra-tall raised beds improved our vegetable production significantly, but as a result, we also attracted more pests, particularly those hungry, no-good rabbits and groundhogs.

.
At the end of last year, after seeing some of my hard-earned vegetables stolen before we could enjoy them, I resolved to improve the situation for this year. The first step, early this season, was asking my husband to create a chicken wire cover for one of the raised vegetable beds, which you can see and read about here. That has worked great, but it unfortunately does not work for tall vegetables, such as tomatoes.
.
Thus, the second step, completed last month, was asking my husband to pest-proof the fence around the Children’s Garden. We thought of replacing the open post and rail fence, but after considering the expense, decided to work with what we had. We covered the post and rail fence with chicken wire and added built-to-fit gates to the former openings. Below are some of the “after” pictures.
.
On the left hand side, you can see some of the asparagus and grape vines that had to be removed from the fence to install the chicken wire. On the bottom, the chicken wire rests on the ground approximately 6+ inches to discourage any attempts to dig under the fence.
.
In the middle, you can see the simple wooden gate built to fit the space between the two posts. It is built with the same one by two’s left-over from building the chicken wire raised bed cover. Because I wanted to keep pests from crawling under the gate, it is actually resting on the ground. Instead of hinges, it has long, easy, on-and-off ties on the top and bottom attached to each of the side posts.
.
On the right hand side, the chicken wire runs from post to post, covering the rails, just like on the left hand side.
.
This enclosure was repeated on the left and top sides of the garden. The right side of the garden is enclosed by a proper fence.
.
While it is still early in the season, we have not yet had any break-ins.
.

How to Protect Vegetables from Groundhogs, Rabbits and Squirrels, Part 1: A Chicken Wire Raised Bed Cover

Dear Messrs. Groundhog, Rabbit, and Squirrel,

My friends over at Gardening Gone Wild asked me to write to you to discuss the status of our current dispute. While I have such a harmonious relationship with so much of the other wildlife in the garden–the birds, the toads, the salamanders–I regret that our relationship has become so acrimonious, particularly as it relates to the vegetables.

While I am flattered that you like the vegetables as much as (or perhaps even more than) we do, I find that your appetites leave something to be desired, namely leftovers. Last year, the garlic spray kept you away from many of the vegetables, but I was disappointed to still find teeth marks on my vine-ripened tomatoes and zucchinis, not to mention the fruitless pumpkin and watermelon vines whose flowers you devoured. I can no longer bear your rude interruptions.

In response, I have asked my dear husband to make a simple, custom-fit chicken wire vegetable box cover to keep you away. What it lacks in aesthetic contribution to the garden, I hope it makes up in efficacy. In the future, please find food elsewhere in the wild or, if I may be so bold to suggest, cultivate your own vegetables.

Best wishes,

Heirloom Gardener
.
UPDATE: Part 2 of this series discusses adding chicken wire around the post and rail fence. Part 3 of this series discusses reinforcements to chicken wire raised bed cover after a break-in.
.
Related posts:

How to Make a Planting Square to Uniformly Space Your Seeds

Do you ever wonder how you are supposed to uniformly space your seeds so many inches apart, as described in the planting instructions?

Well, last month, on a visit to the Family Garden at the New York Botanical Garden (NYBG), I noticed that they had these neat planting squares to do just that, which is particularly important to do when your amount of space is limited. With that inspiration and some additional thoughts of what would be helpful to me, I asked my husband to make one. The basic idea was a picture frame with a twelve inch by twelve inch opening with pegs placed at two, three, four, six, eight, nine, and ten inches to facilitate planting seeds two, three, four, or six inches apart. I also requested that it be weather-proof, as it may be left in the garden from time-to-time.

After getting the materials together at a cost of less than ten dollars, my husband was able to build the planting square in less than one hour. Here’s how he did it.

1. Gather your materials. My husband had all of the necessary tools on hand: power drill/screwdriver and bits; miter box and saw; manual screwdriver, tape measure and pencil. He purchased the rest of the materials at the local hardware store, Dreyer’s Lumber: two by two cedar (more weather-proof than pine) balusters for the frame; four brackets for the inside corners; and a box of brass screws for the pegs. I had my own rubber bands for stretching across the pegs.

2. Cut the sides of your frame. Using the miter box and saw, he cut the sides of the frame at forty-five degree angles with the inside (not the outside) measuring twelve inches.

3. Assemble your frame. After pre-drilling the holes for the brackets on the inside of the frame, he attached the brackets to the corners.
4. Attach your pegs. After pre-drilling the holes for the pegs on the front of the frame, he secured the pegs (screws), leaving enough of the head uniformly above the frame to stretch my rubber bands to the desired spacing.

Garden Bloggers’ Design Workshop: Sheds and Outbuildings

This month’s Gardening Bloggers’ Design Workshop at Gardening Gone Wild (one of my favorite places to share ideas with other gardeners) is on sheds and outbuildings. As much as I love sheds and outbuildings, the limitations of space and slope allow me only one, the fort (or playhouse) that is pictured here earlier this summer.

In a prior post, I wrote about how we built it from scratch: “The entire project took about a month, mainly on weekends. The total cost of the materials was approximately $700. My husband did all of the work himself, except the cutting and installation of the walls which he did with a friend on a single afternoon.”

Covered Containers for Propagation: GardenTalk.com’s Bell Boys

As a follow-up to my post on How to Propagate Hydrangeas, Part I: Taking Cuttings of Sister Theresa, I received several questions about the covered containers that I was using to propagate the cuttings. In response, I am re-posting the pictures of the containers with the information about where I purchased them.

They are from Walt Nicke’s GardenTalk: A Catalog of Fine Tools for Gardeners. You can find them under the section Potting and Propagators under the name Bell Boys. They come in two sizes in packages of six.

You can use them to propagate cuttings of other plants too, not just hydrangeas. In fact, I am also propagating the rose Frau Dagmar Harstropp, in another set of these containers just now.

Gardening with Children: How to Build a Sandbox

A tried and true way to make your garden inviting for children is to place a sandbox in it. After the 100+ year old oak tree crushed our last sandbox, my husband built a bigger and better one. Here’s how he did it:

1. Select a location. You need a flat or a relatively flat location. We have relatively few flat locations on our property, so we placed the sandbox in the Walled Garden. With the oak and tulip trees gone, our sandbox is now in full sun, though we preferred the part sun/part shade. We are growing some new trees around the sandbox which should provide shade in 25+ years.

2. Determine the size. When it comes to sandboxes, our kids seem to think that bigger is better. Our sandbox is eight feet by eight feet, which is big enough for all of our kids and their friends to dig and build to their hearts’ content.

3. Gather together your materials and tools. Here’s what we used:

  • 6 two by eight foot boards (we’ve seen instructions using two by fours or two by sixes, but these are too shallow) cut to your desired length
  • one box of deck screws
  • one roll of landscaping fabric
  • 40+ fifty pound bags of play sand
  • cordless drill
  • staple gun

4. Construct the sandbox. Using your cordless power drill and deck screws, construct the walls of your sandbox. The walls should be parallel so that the ends are eight feet long and the sides are eight feet four inches. Attach the seats on the top at each end.

5. Line the sandbox. In order to prevent anything growing up from the ground into your sandbox as well as to allow water to drain out out of it, lay landscaping fabric on the bottom of your sandbox and using your staple gun, staple it into the inside walls.

6. Fill the sandbox. Okay, here’s where the heavy lifting comes in. You need play sand–a lot of play sand. Initially, we put in 40+ fifty pound bags of play sand. If you have active kids, be prepared to replenish the sand once or twice a year.

*****

Note: if you have active cats on your property, you may want to think about adding a sandbox cover.

Related posts: How to Build a Playhouse (Fort), Ten Tips for Planning a Children’s Garden

An Invaluable Tool: How to Keep a Garden Journal

Now is a great time to begin a garden journal if you have not already. I find the garden journal is an invaluable tool to help me keep track of my garden and plan for the future. I started keeping a garden journal about six years ago. Before then, I would keep notes at random on successes, failures, and sources of inspiration. These I would easily misplace and forget about. Keeping a regular journal is easy once you get in the habit of it.

Choosing the Notebook

Choosing the notebook is an important step because the journal has to suit the way you want to use it. Here are some suggestions:

1. I like the blank books with unlined pages. The unlined pages allow me to draw pictures, make notes, create list, and mock up future design ideas.

2. If you are prone to leaving your book out in the rain, I have found waterproof garden notebooks online at Acorn Naturalists (http://www.acornnaturalists.com/).

3. As I always take my notebook with me into the garden, I choose a cover which will not show dirt easily. Frequently, it is right next to me as I’m plant bulbs or annuals, so I can quickly write down what I’m planting and where.

4. As you will probably want to take your journal with you to visit parks, gardens, and nurseries, the size of your journal should easily fit into the pocket, backpack, or bag you’re most likely to carry. However, it should also be large enough to keep a year’s worth of notes.

5. I avoid spiral bound journals. My first year I had a spiral bound journal which by September was in shambles.

Recording Bloom Times

I begin each January with a new journal. That way if I want to compare how spring looked and felt two years ago, I simply pull out the journal for 2006. At the back of my journal, I keep a list of what is blooming in my garden and in local gardens in my area. This way if I have a lull in the garden or if one part to season seems lackluster as it relates to color, I can look back to see what plants could fill in the gap. I wanted to plant my long border to peak in late August and September. By looking at my bloom record, I was able to choose plants which would peak then. Instead of relying on books and plant tags, I knew when a particular plant bloomed in my immediate locale.

Garden Planning

The journal also helps me keep track of what I plant and where. When writing about a plant, I underline the plant name so that later I can quickly locate notes on a particular plant at a glance. I note where I bought the plant or from whom I received the plant. If I see a plant needs division, I make a note of it for next spring. I sometimes find that plants will grow very differently in my soil which I record for future reference. The things to record are many: pest problems, times of pruning, fertilizer routines, weather, drought, vegetable yields, cultural notes, future improvements, advice from other gardeners, and great nurseries. If you love poetry or observing nature, this is a great place to put your poems and reflections.

In conclusion, keeping a garden journal is one of many enjoyable aspects of gardening. Once you get in the habit of it, you will love it.