How to Prune Roses, Part I: An Introduction to One Gardener’s Observations on Pruning Her 150+ Roses

On Monday, the temperature reached 65 degrees. I could not stay inside, so I began my early season rose pruning. This is the first of several posts that I plan to write on rose pruning because that is most of what I do in the garden in February and March.

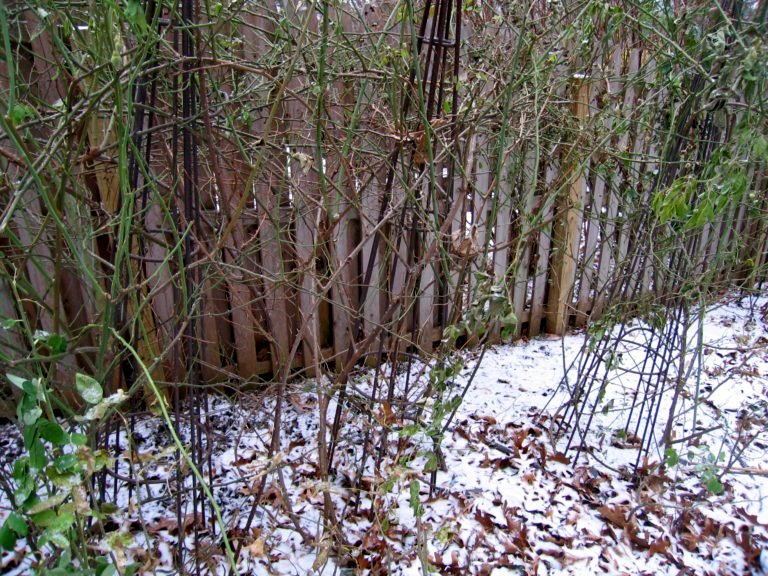
Rose pruning is a year-round job, but a significant part of it happens now. In my garden, I have about 150 roses representing 95 varieties. About half of my roses are once blooming species and old European roses. Most of the other half is a mix of Rugosas, Portlands, Hybrid Perpetuals, Chinas, David Austin roses, Bourbons, and Ramblers. I also have a few Noisettes that are hardy to zone 6 and modern shrubs.

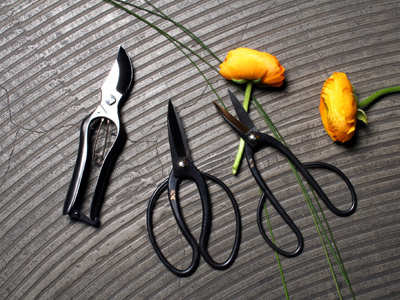
The first step to all pruning is gathering your tools: Felco hand pruners, loppers, glue, gloves, and a bucket to collect the prunings. If you haven’t sharpened and cleaned your tools already, it’s time to do so. There are lots of simple sharpeners out there and sharp tools make pruning easier and are better for the rose. For older shrubs with very thick canes or to pull out material without thrusting your hand into the middle of the bush, loppers are handy.

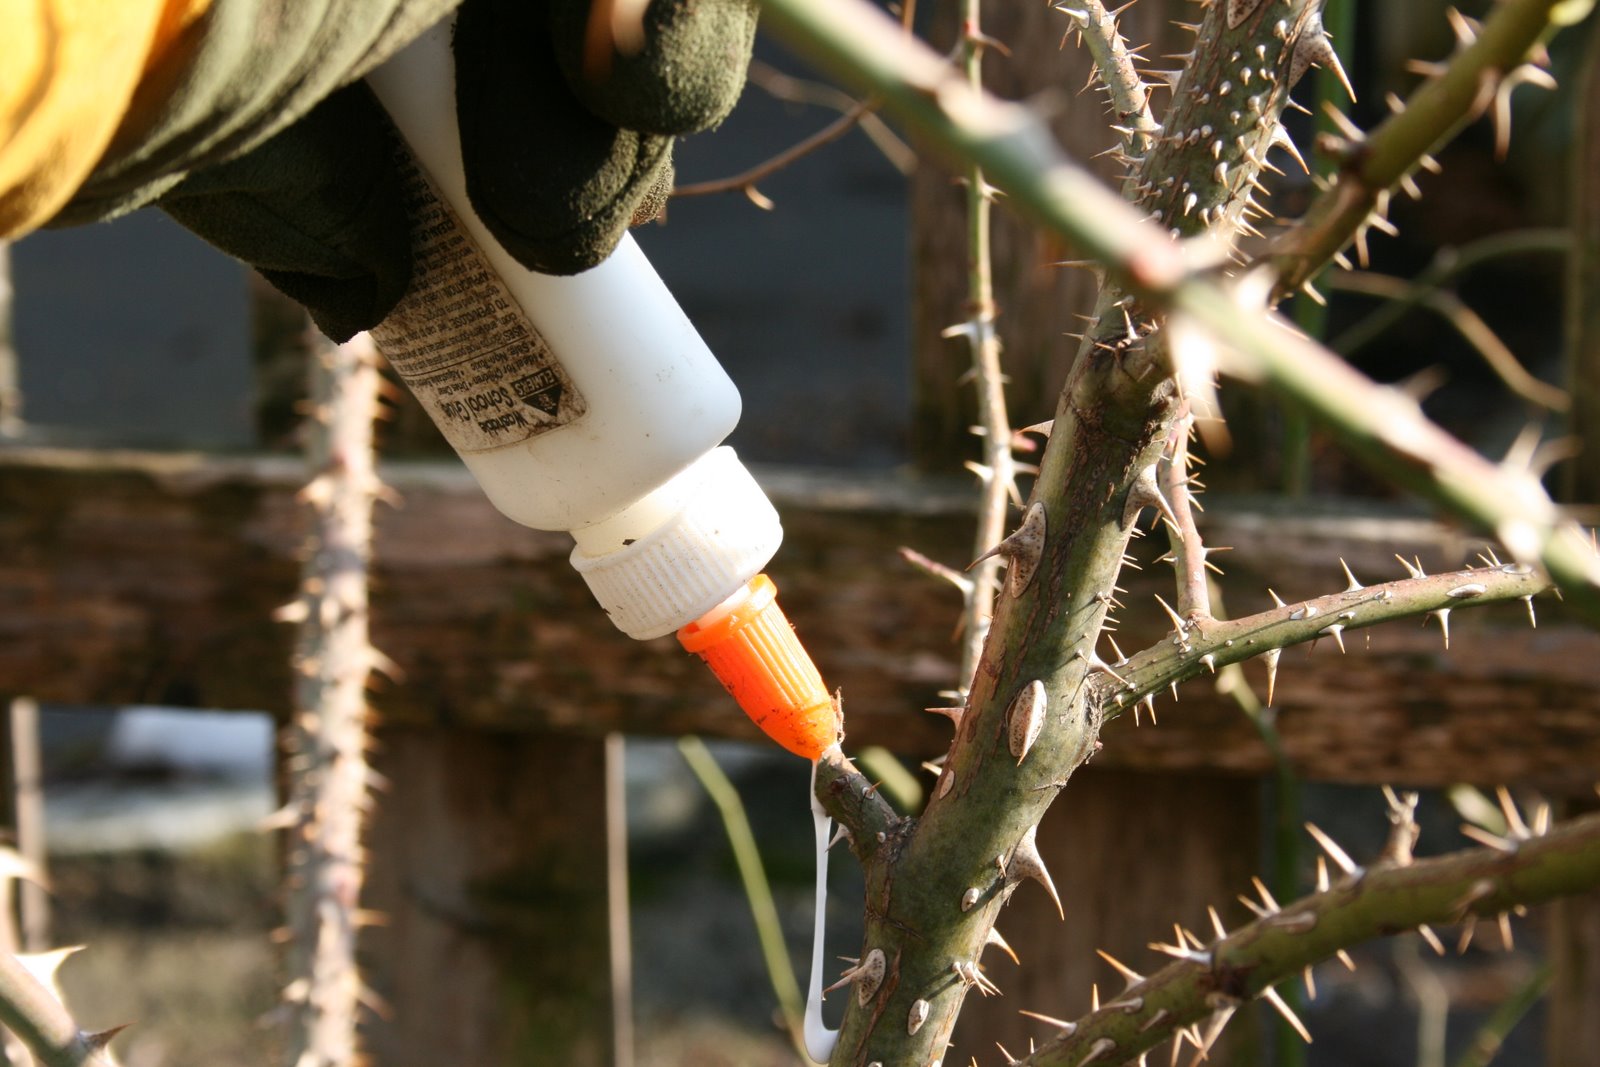
As I prune, I seal every cut with Elmer’s glue to deter bores from entering the freshly cut stems. I got this tip from the DVD Secrets of a Rose Gardener. If you haven’t seen this, it’s a wonderful day with rosarian who started as a garden volunteer to became the head rosarian at Long Island’s Planting Field Arboretum. I’ve been glueing for three years now. From observation in my garden, this does help prevent the borers from damaging the fresh cuts.

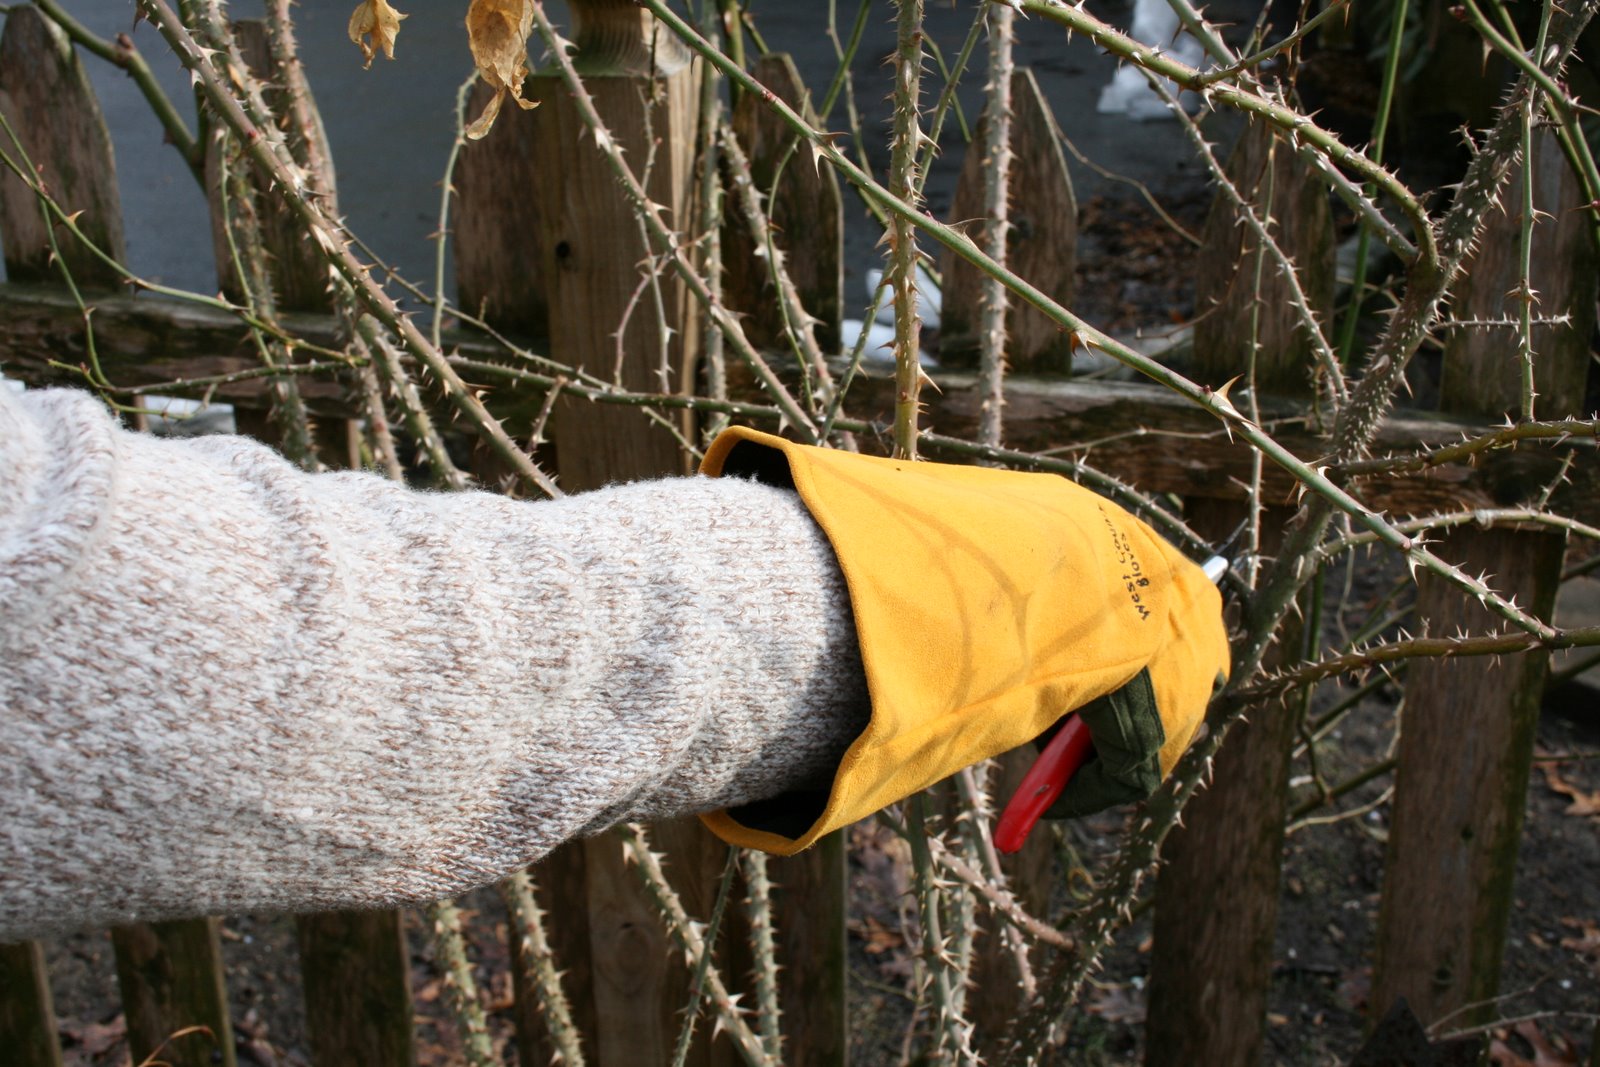
When I prune roses, I sometimes start barehanded, but I always regret it and end up going back to the house for gloves. The thing I don’t like about most gloves is that to be thick enough to not let the thorns in, the gloves restrict the movement of your hand. Last year, however, I bought a pair of rose pruning gloves from West County Glove that are wonderful. They go up to my elbow and allow very free movement of my hands and wrist.

I also get a kneeler because most roses require you to get down onto the ground to have a good look and them. Lastly, I bring out a bucket or large garbage can to hold all my prunings to make clean up easier. My favorite buckets are Tubtrugs.

http://rcm.amazon.com/e/cm?t=heirlgarde-20&o=1&p=8&l=as1&asins=B00009R607&fc1=000000&IS2=1&lt1=_blank&lc1=0000FF&bc1=000000&bg1=FFFFFF&f=ifr

*****

For “How to Prune Roses, Part II: Old Rose Pruning Secrets” click here:
http://heirloomgardener.blogspot.com/2008/03/how-to-prune-roses-part-ii-old-rose.html.

For “How to Prune Roses, Part III: Why Prune?” click here:
http://heirloomgardener.blogspot.com/2008/03/how-to-prune-roses-part-iii-why-prune.html.

Gardening with Children: How to Build a Children’s Playhouse (the Fort)

As a gardener with five children, I am always thinking of ways to make the garden a fun place to play. I had the idea of building a playhouse, or as my husband likes to call it, a fort.

When he was younger, my husband had a fort in the field behind his house. It was crudely built, but the four plywood walls, flat roof, and squeaky door was the center of play for many of the neighborhood boys. For our backyard, I wanted something a little more finished. seeing that the fort would be a focal point of the backyard.

First, we considered buying one of the playhouses we saw advertised in a gardening magazine, but these were too expensive. Next, we looked at some pre-built playhouses that you purchased and installed yourself. While these were less expensive, they looked too cute for our boys. Also, they were built for a flat property and would not work on our slope.

At this point, my husband decided to build one from scratch. We started doing some research for similar structures that we could modify, like the ones we found here:

http://www.freeww.com/storagebuildings.html

These different plans provided some good ideas that we could adapt to our needs. Here are some of the unique aspects of our fort:

1. Our fort has a dirt floor to discourage the groundhogs in our neighborhood from nesting underneath.

2. Given the absence of a floor, the foundation of our fort is made of bricks and stones from our property that support the walls.

3. The walls of our fort are built at an angle to accommodate our slope.

4. The scale of the structure is child-sized: it is basically an seven foot cube with a five foot tall door opening.

5. The generous trim hides the less-than-perfect carpentry beneath.

6. We hung two lanterns on the front, merely for decoration.

The rest of the fort pretty much follows the standard recommendations for this type of structure, including a frame made of two-by-fours, walls made of hardboard (barn siding), and a roof made of asphalt shingle.

The entire project took about a month, mainly on weekends. The total cost of the materials was approximately $700. My husband did all of the work himself, except the cutting and installation of the walls which he did with a friend on a single afternoon.

In front of the fort, my son wanted “two round ball plants” a.k.a two boxwoods. On one side of the fort is a trellis with clematis growing and hollyhocks planted in a row.

*****

Related posts: How to Build a Sandbox, Ten Tips for Planning a Children’s Garden

Creating the Rose Garden with a Central Brick Path

After we established the Cutting Garden, there was a narrow portion of our property behind it and next to our deck that was another relatively unused portion of our yard, measuring approximately fifteen feet wide by thirty feet long.

Because this space had full-sun, I thought it was the perfect place for a rose garden. While I have roses in almost every part of the garden, a dedicated rose garden would provide more space for all of the roses that I wanted to grow.

The first picture is taken from the steps of the Cutting Garden looking down the path of the Rose Garden to the Children’s Garden.

The main structural element of the Rose Garden is the brick path that you see running through the center. I actually installed the brick path myself, which was a tremendous amount of work that I’m not sure I would want to do again.

After we established the path in the summer, we started to prepare the beds for planting the roses. In the fall, we put down newspaper to kill the grass and covered it with a thin layer of organic matter. In the spring, we dug in significant amounts of composted cow manure and mushroom compost. Then, we planted the roses.

Inspired by the Cranford Rose Garden at the Brooklyn Botanical Garden, I knew that I could fit a lot of roses into a limited space. We now have twenty-seven different roses in the Rose Garden, as well as bulbs and perennials.

Some of the roses are grown on tutuers. The three pictured were purchased from the New York Botanical Garden, which has the best gift shop of all of the gardens I visit:

http://www.nybgshop.org/

For pictures of the Rose Garden in season, click here:

http://heirloomgardener.blogspot.com/2008/01/rose-garden-in-spring-summer-daffodils.html

For information on the creation of the Cutting Garden, see this post:

http://heirloomgardener.blogspot.com/2007/11/creating-space-for-garden.html

Vegetables and Herbs: How to Build Raised Vegetable Beds (on a Slope/Hill)

In my children’s garden, my children and I grow vegetables in addition to flowers. For the last two years, we used the same raised bed construction that I used in the side garden:

http://heirloomgardener.blogspot.com/2007/11/creating-space-for-garden.html

These were short raised beds constructed with six inch wide ipe wood. You can see a picture of one of these beds below from last summer with heirloom lemon cucumbers:

The rabbit fencing around the cucumbers was to keep the resident groundhog from eating the cucumbers in the same way he did the tomatoes.

Towards the end of the summer, we visited New York Botanical Garden’s Home Gardening Center (http://www.nybg.org/hgc_online/hgc_onsite/) and were inspired by their raised beds that were significantly taller than the ones we had constructed. Thus, once we had harvested the last of our cucumbers and zucchinis, my husband deconstructed the old beds and built the new ones you see below:

Ipe was too difficult to work with and costly, so we made these out of cedar wood. We purchased standard six by one inch, un-treated ten foot planks and had them cut in half. Each box (two of three are pictured) is made of three planks on three sides and four planks on the fourth side because our entire property is on a slope. Two additional boards are placed on top on either side to create a place where you can sit, place tools, or when the vegetables have grown, stand.

We filled the bottom of the boxes with compostable garden waste. On top, we added a mix of composted cow manure, Bumper Crop and top soil. Then, to protect the soil, we sowed a cover crop of winter rye that I purchased from Johnny’s Seeds (http://www.johnnyseeds.com/). The winter rye will be turned over in the spring adding even more organic material to the soil.

The overall result was a neater looking garden that will hopefully produce an even more robust crop next year.

*****

For a follow-post on organically preparing the soil for planting, click here:
http://heirloomgardener.blogspot.com/2008/03/raised-vegetable-beds-organically.html

The Best Flower Cutting Shears

In all my books about cut flowers, the authors always talk about using high quality shears that are specifically for flowers. Instead, I have been using my kitchen scissors and bypass pruners (Felco #2s) for years. This year, I started using Japanese shears sold as bonsai trimmers available from Takashimaya New York:

http://www.takashimaya-ny.com/

Takashimaya in Tokyo is a large department store like Saks Fifth Avenue. In New York, it is a small multi-level boutique. The top floor is dedicated to cut flowers and accessories. If you appreciate beautiful and hard-to-find cut flowers, it is well worth a visit.

The shears come in three sizes: large for woody flowers, medium for large green stems, and small for delicate stems. They are very sharp and do not damage the stem’s ability to take up water. My cut flowers now last so much longer than they ever did before.