
From the New York Times: The E.P.A. indeed issued an “advanced notice of proposed rulemaking” this summer that called for public comments on the idea of regulating greenhouse gas emissions from cars, as well as “stationary sources” — which, yes, would include cows and other livestock. For the full article, click here.
Category: Heirloom and Organic Food
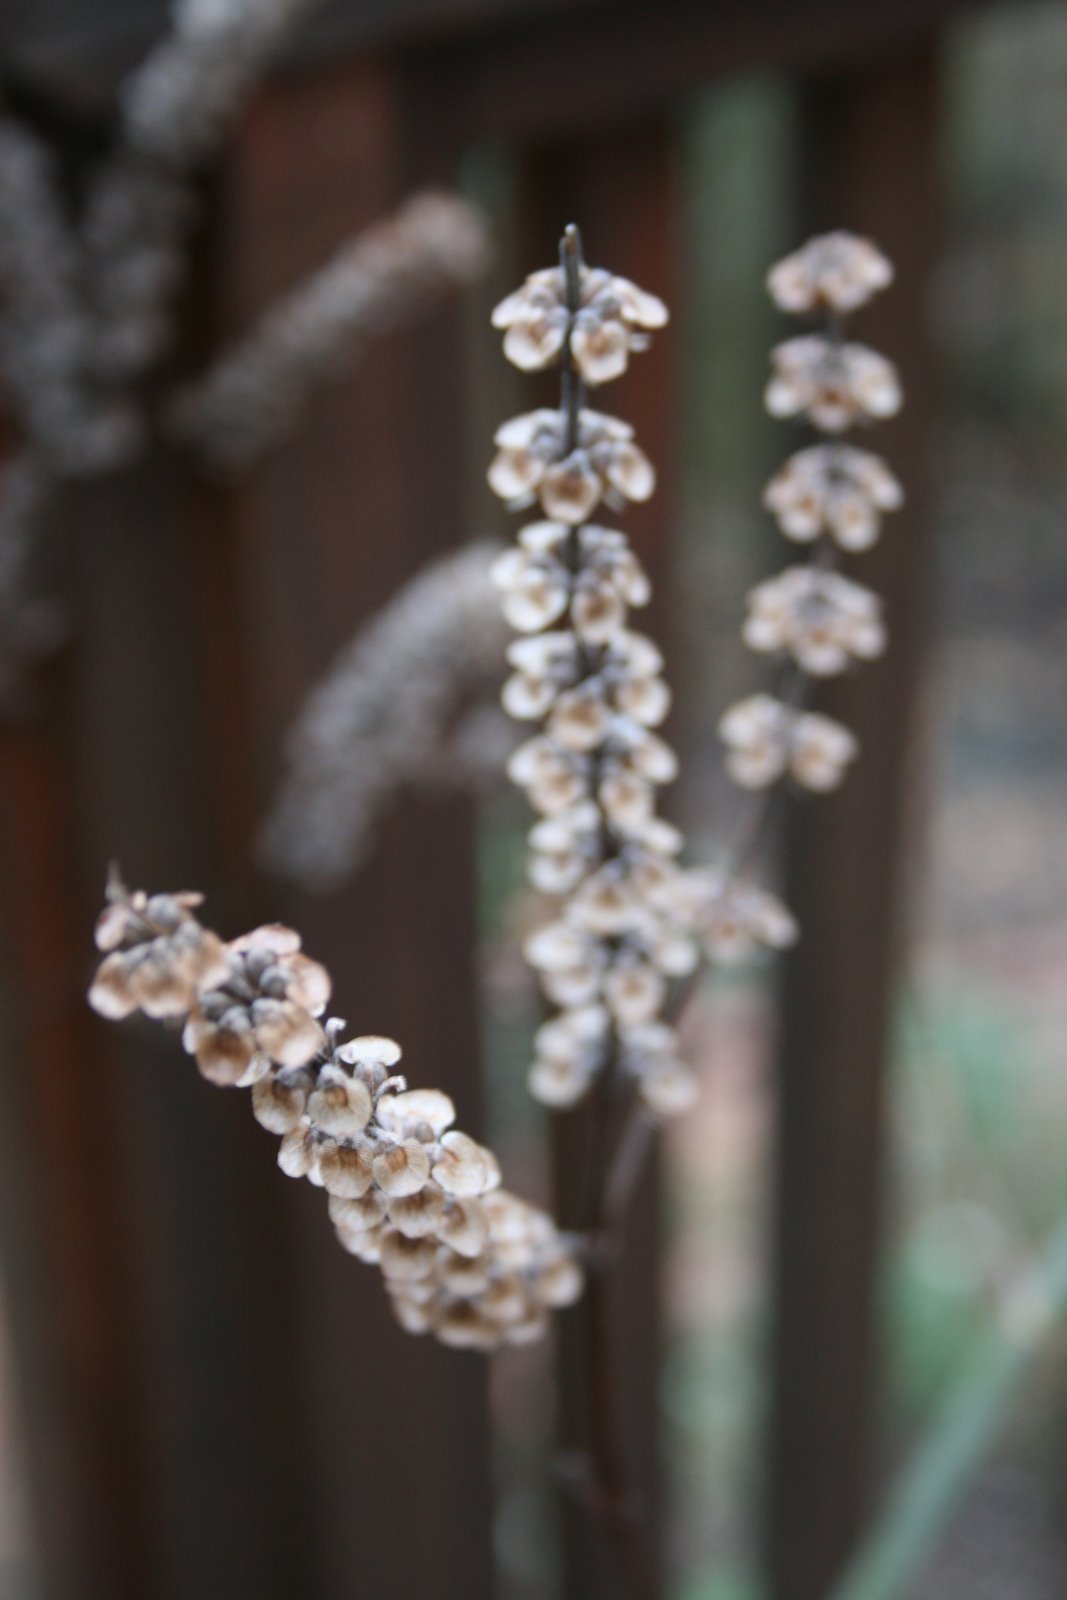
After the Frost: Thai Basil
Five Tips for Growing Edibles with Children
This month’s Garden Bloggers‘ Design Workshop at Gardening Gone Wild is on Edibles in the Garden. While I am primarily a flower gardener, I do grow edibles in a dedicated vegetable plot, as well as in my mixed borders and containers. Given the size of my suburban lot, I cannot expect to grow enough to feed my family, but what I do grow is a lot of fun. Here are five tips for gardeners who want to attract those beneficials otherwise known as children.
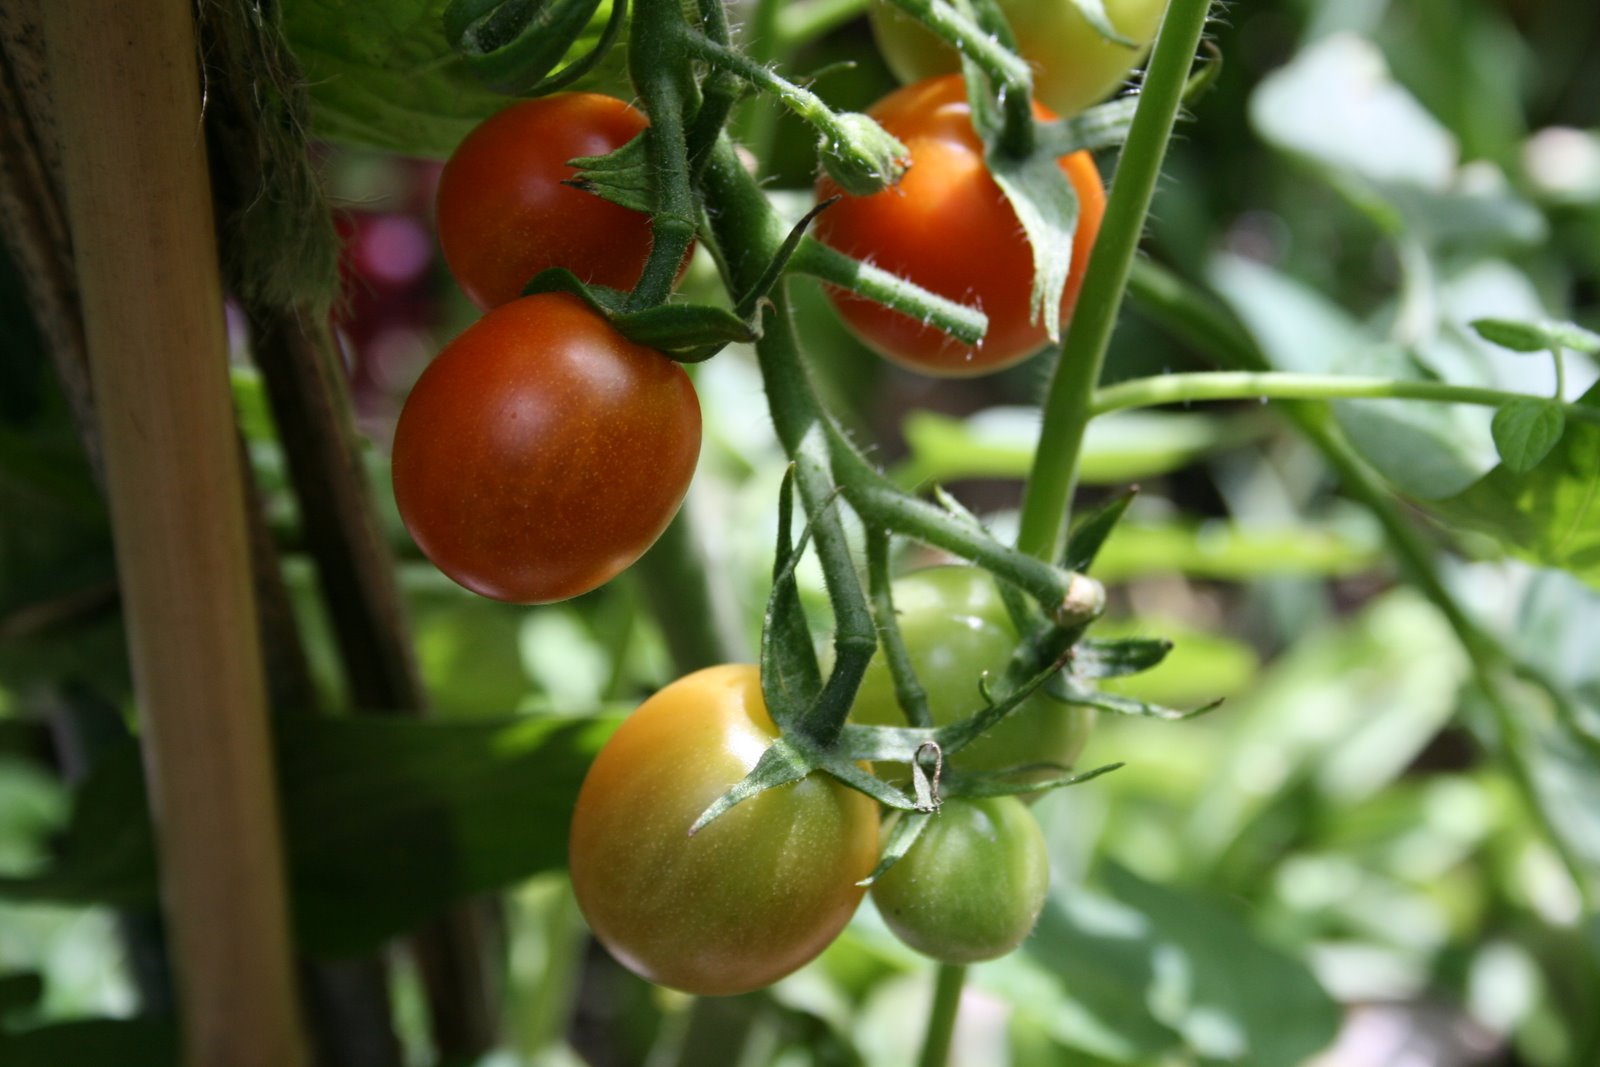
~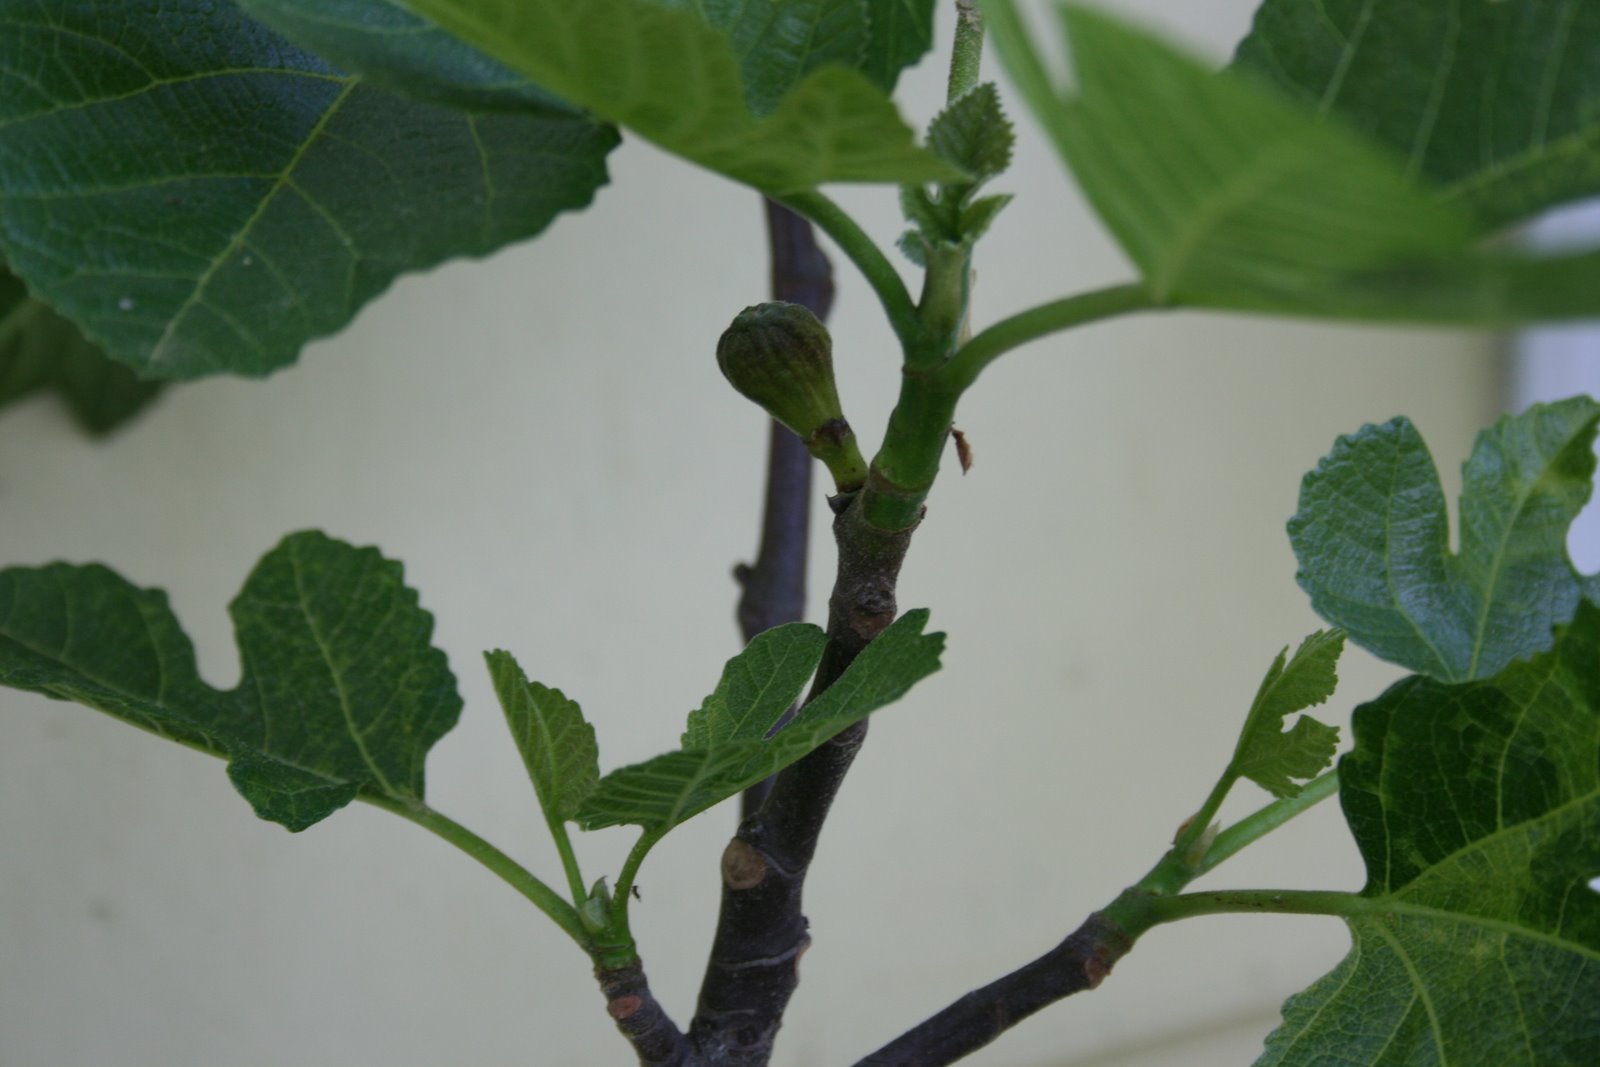 1. Grow fruits and vegetables that you can pick and eat directly from the plant. What child can resist the instant gratification of eating sweet sugar snap peas straight from the vine? The children always eat the ripe cherry tomatoes off the vine before I can ever get to them. They also love the fresh figs off the tree that I grow in a container on my deck. Strawberries, blueberries, raspberries, blackberries and the wild wineberries are other favorites.
~
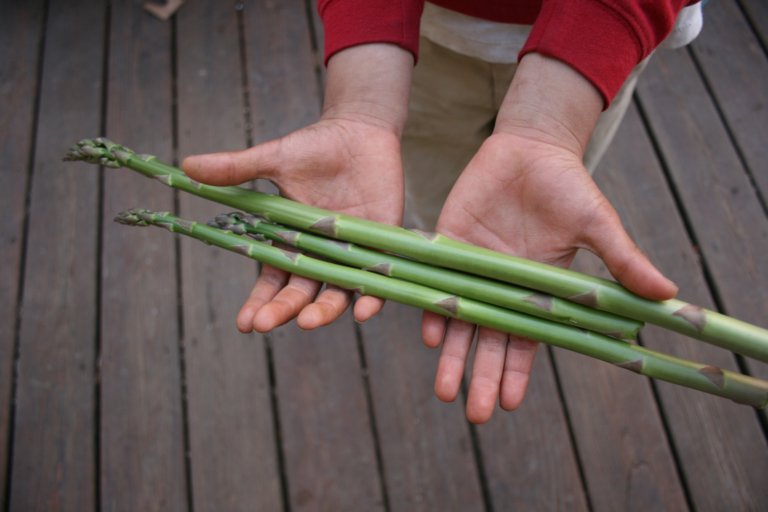
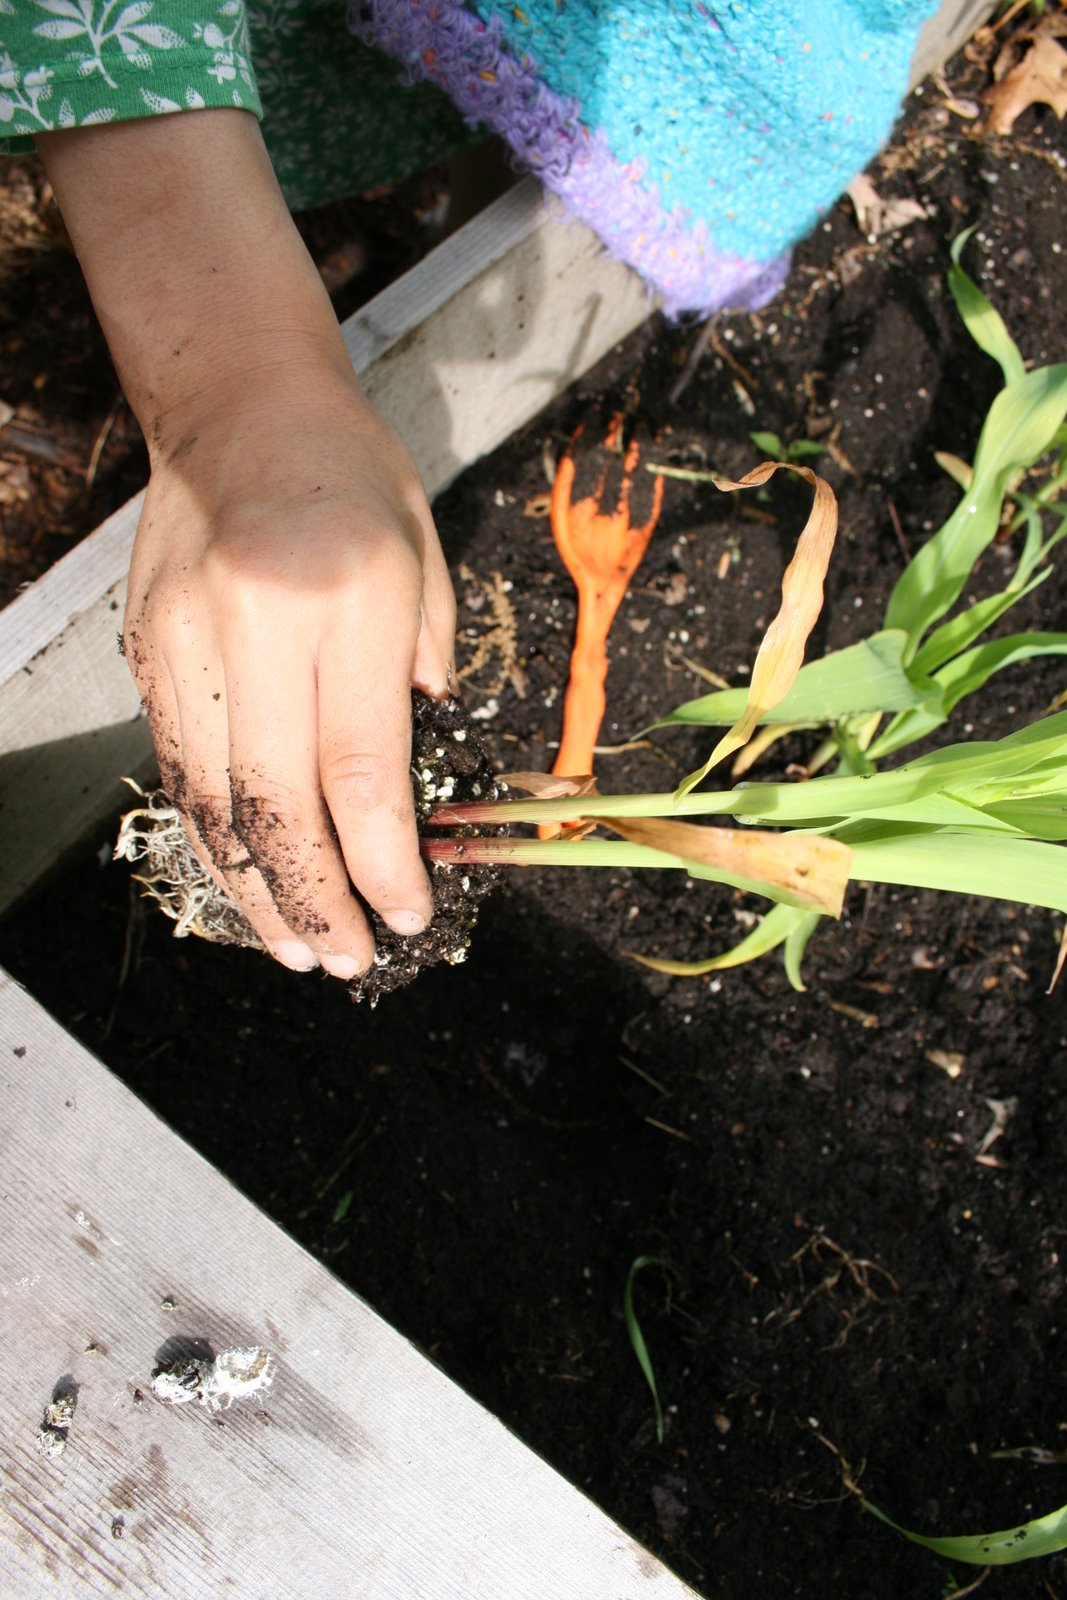
 2. Grow vegetables that your children can plant, tend and/or harvest. This takes a little more effort on the part of mom than the former suggestion, but children can learn a lot from planting, tending and harvesting vegetables too. It’s really amazing for a child to plant a seed or seedling, water it, watch it grow, tend it, and harvest it. This year, my children helped plant almost all of the vegetables and took particular pleasure in harvesting the asparagus, lettuce, eggplant, zucchini, tomatoes, cucumbers, corn and potatoes.
~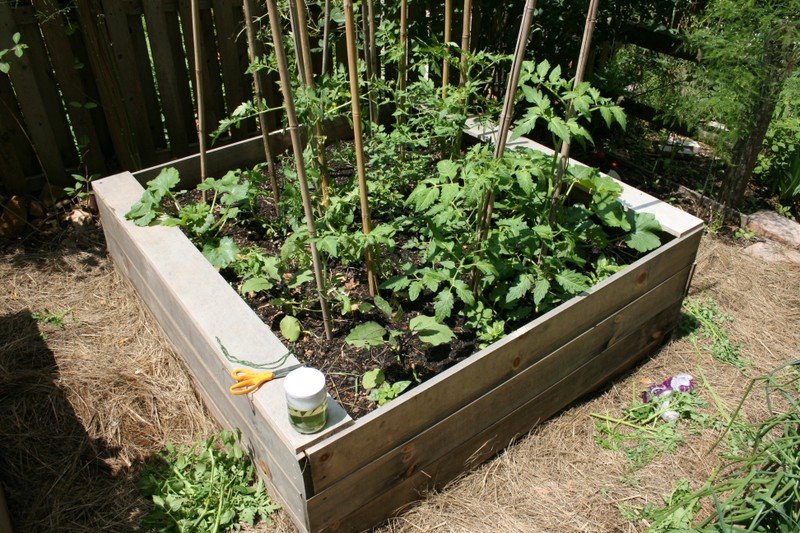 3. Grow heirloom varieties that you can’t buy in the grocery store. As you can tell by the name of my blog, Heirloom Gardener, I am particularly interested in plants that our grandparents and prior generations grew. While these varieties aren’t typically available as seedlings at your local nursery, you can buy an almost infinite variety through online and offline catalogs and seed exchanges. The children find the variety and novelty of them quite interesting. Some of my children’s favorites this season were the lemon cucumbers (they are about the size and color of a prickly lemon) and the German stripe tomatoes (mostly yellow with a spot of orange on one end).
~ 4. Grow edibles with which they can play. In addition to using some of the above vegetables for playing store, the children have also found other ways to play with the edibles. For example, they love using the hollow stems of chives and lovage as drinking straws. Also, they have made up a drink with the fresh mint, which is made of crushed mint leaves, sugar, and sparkling water.
~ 5. Grow flowers that are also edible. The children find it quite amusing that some flowers are edible. They particularly like including pansies, marigolds, calendula, and nasturtium flowers and leaves in our salads with mixed greens or as garnish.
~
Related posts:
- How to Build Raised Beds (on a Slope/Hill)
- Organically Preparing the Soil for Planting
- How to Make the Perfect Soil Mix for Seed Sowing
- Farmer’s Almanac Spring Planting Schedule (May)
- Farmer’s Almanac Spring Planting Schedule (April) and Heirloom Seed Sources
- How to Plant Corn the Way Squanto Taught the Pilgrims
- How to Plant Potatoes and Harvesting Asparagus
- My Eight Year Old Son’s Great Potato Harvest
- Organic Beetle Control with Children
- Ten Tips for Planning a Children’s Garden
- Creating the Children’s Garden
How to Make a Planting Square to Uniformly Space Your Seeds
Do you ever wonder how you are supposed to uniformly space your seeds so many inches apart, as described in the planting instructions?
Well, last month, on a visit to the Family Garden at the New York Botanical Garden (NYBG), I noticed that they had these neat planting squares to do just that, which is particularly important to do when your amount of space is limited. With that inspiration and some additional thoughts of what would be helpful to me, I asked my husband to make one. The basic idea was a picture frame with a twelve inch by twelve inch opening with pegs placed at two, three, four, six, eight, nine, and ten inches to facilitate planting seeds two, three, four, or six inches apart. I also requested that it be weather-proof, as it may be left in the garden from time-to-time.
After getting the materials together at a cost of less than ten dollars, my husband was able to build the planting square in less than one hour. Here’s how he did it.
 1. Gather your materials. My husband had all of the necessary tools on hand: power drill/screwdriver and bits; miter box and saw; manual screwdriver, tape measure and pencil. He purchased the rest of the materials at the local hardware store, Dreyer’s Lumber: two by two cedar (more weather-proof than pine) balusters for the frame; four brackets for the inside corners; and a box of brass screws for the pegs. I had my own rubber bands for stretching across the pegs.
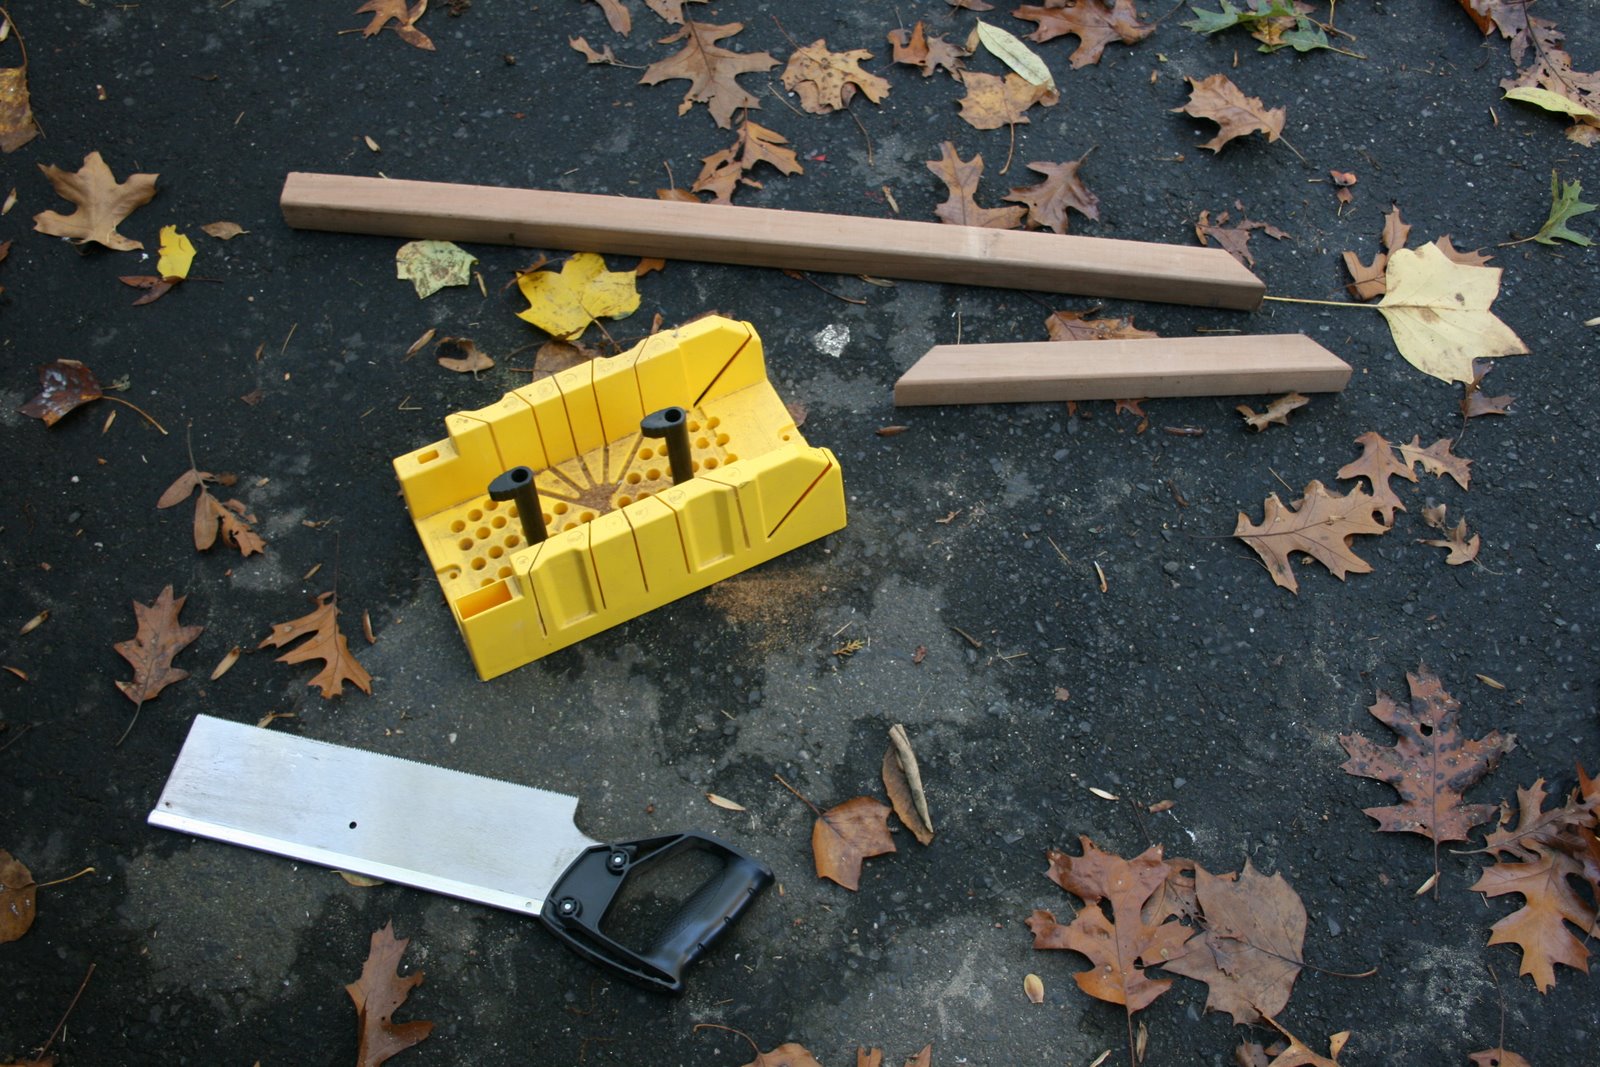 2. Cut the sides of your frame. Using the miter box and saw, he cut the sides of the frame at forty-five degree angles with the inside (not the outside) measuring twelve inches.
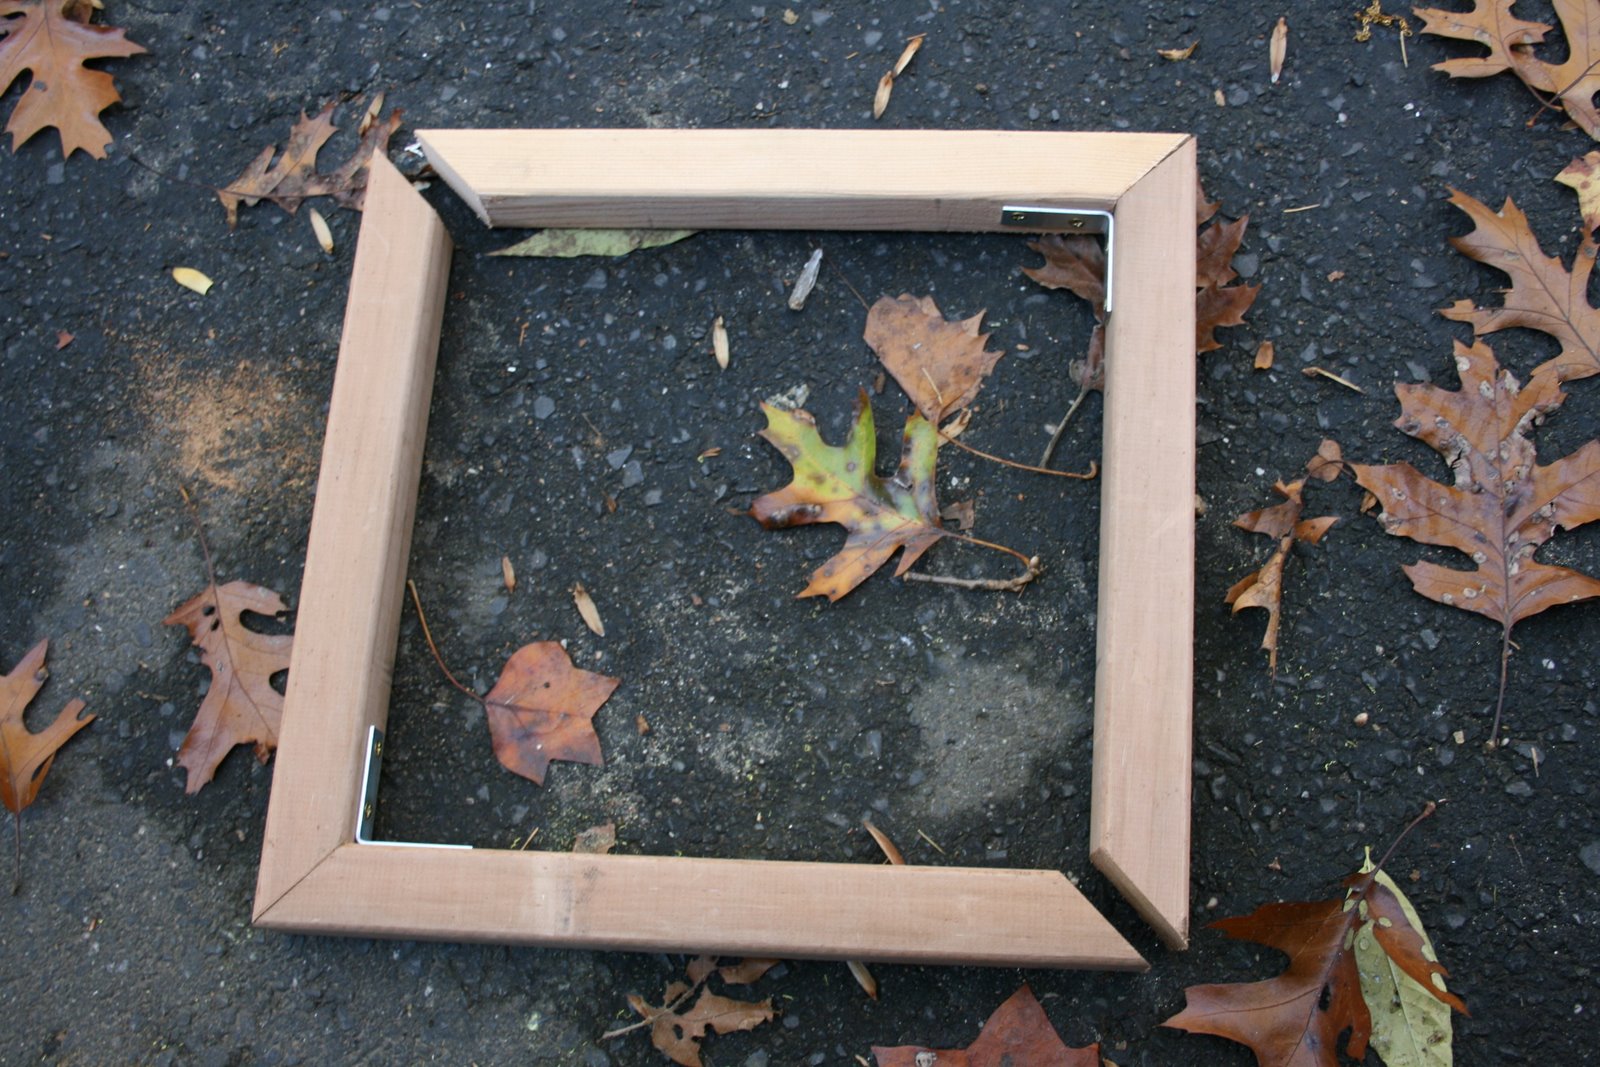 3. Assemble your frame. After pre-drilling the holes for the brackets on the inside of the frame, he attached the brackets to the corners.
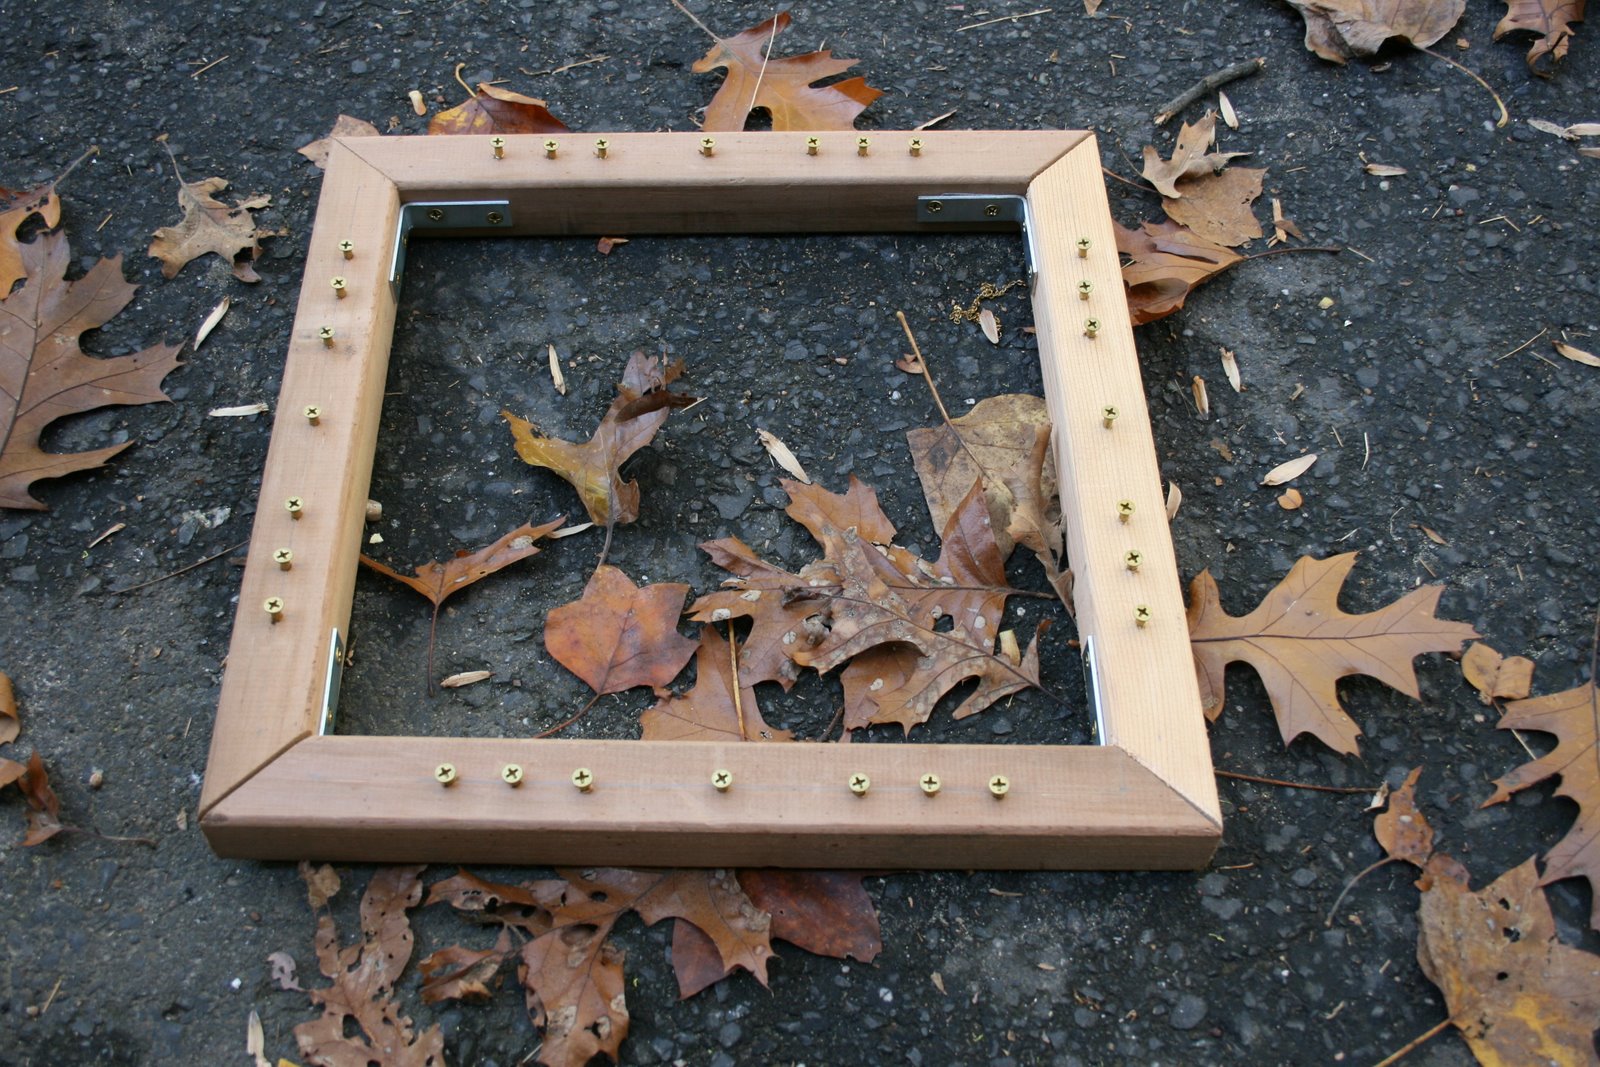 4. Attach your pegs. After pre-drilling the holes for the pegs on the front of the frame, he secured the pegs (screws), leaving enough of the head uniformly above the frame to stretch my rubber bands to the desired spacing.
My Eight Year Old’s Great Potato Harvest
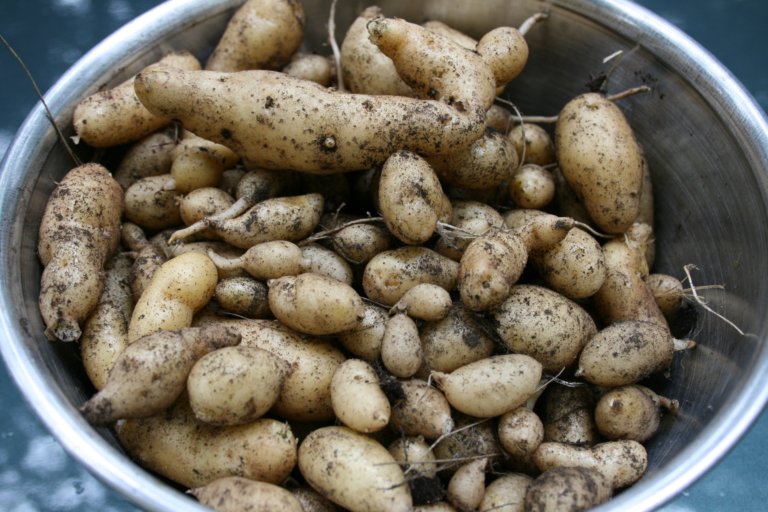 Way back in May, I wrote about my eight year old son’s preparing and planting the seed potatoes in our raised vegetable beds. After months of watering, tending, and fighting off the potato beetles, he eagerly dug up the potatoes all by himself (this post is a few weeks late). From just a few plants, we got an entire bowl of these tender fingerling potatoes. After we cleaned, boiled, buttered, and salted them, they were the delight of our meal. My son was quite proud of himself.
A Great Source of Gardening Wisdom: The Local Farmers’ Markets in Chatham and Summit, New Jersey
One of my favorite things about the June-November time period is the joy of shopping at our local farmers’ markets. During these six months, I stop buying all fruits and vegetables from the grocery store. While the environmental and health benefits of buying locally and organically are sufficient reasons to shop at the farmers’ markets, my number one reason is that the food tastes better. Further, shopping at the farmers’ markets supports our local farmers, who–if you get to know them personally–will share with you some of their hard earned gardening wisdom. Chatham is open on Saturday mornings and Summit is open on Sunday mornings. For more details, see below:
Chatham Farmers’ Market (Chatham)
Summit Farmers’ Market (Summit)
Organic Pest Control: Threelined Potato Beetles, Colorado Potato Beetles, and Japanese Beetles
I could never imagine spraying inorganic chemical pesticides on vegetables or herbs that I am growing in my own raised vegetable beds. This year, two beetles have started to attack my potato plants.
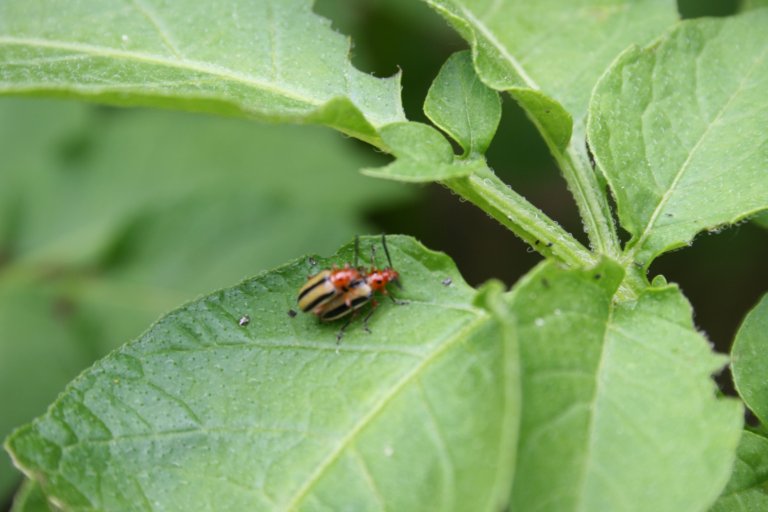 The more numerous of my beetles are the smaller (pictured) Threelined Potato Beetles (Lema trilineata).
 They lay small yellowish eggs (pictured) on the underside of the potato leaves.
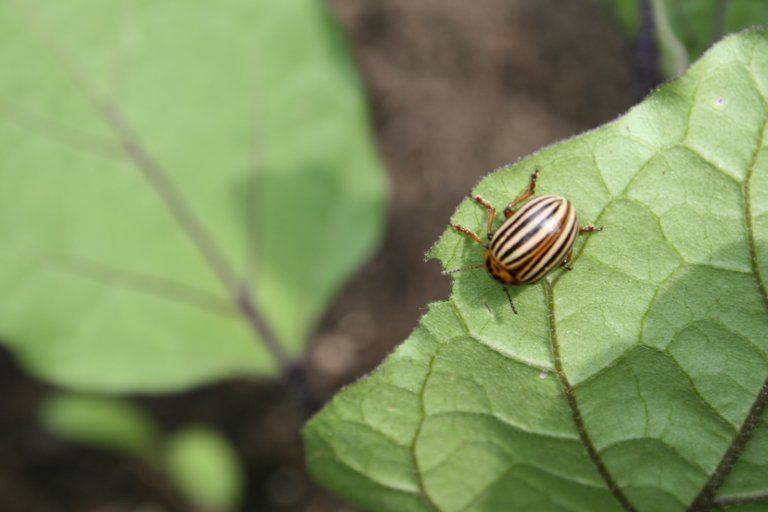 The other, larger beetle is the Colorado Potato Beetle (Leptinotarsa decemlineata).
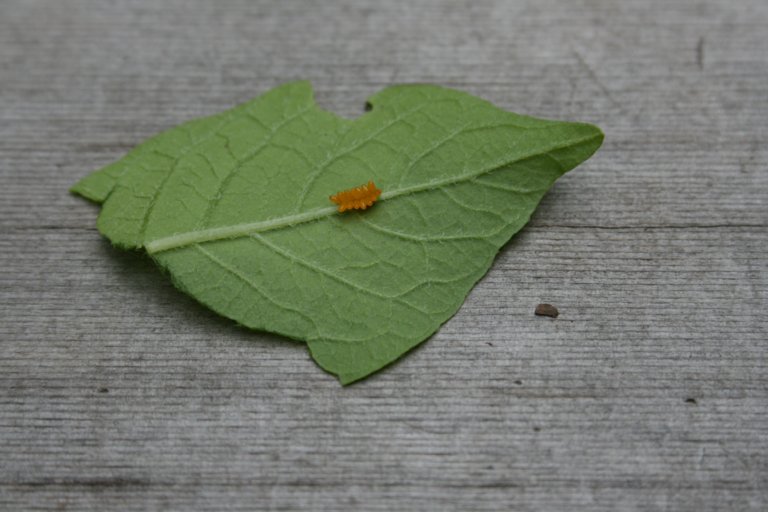
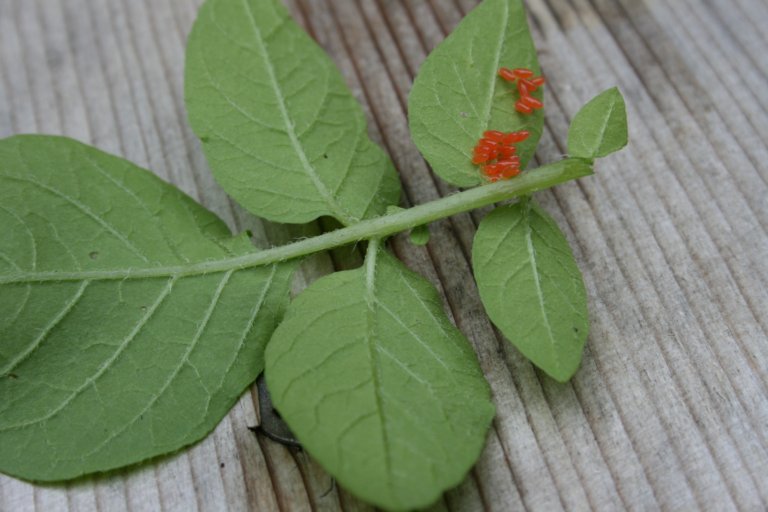 These beetles lay somewhat larger, orange eggs (pictured), also on the underside of the potato leaves.
 Organically controlling the beetle population is something that I have taught my children how to do, includes them in the vegetable tending process, and is an activity that they enjoy. Here’s how to do it:
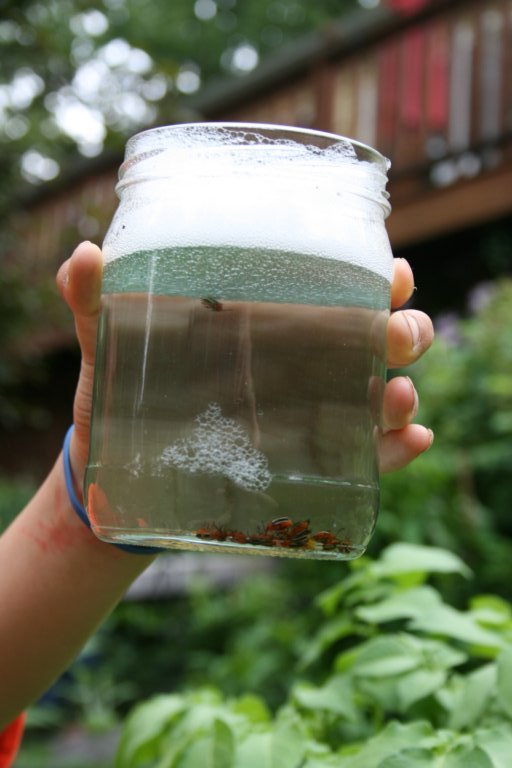
1. Fill a jar with soapy water.
2. Hold the jar under any beetles that you see.
3. If you bring your hand close to a beetle, it will have a natural flight response of dropping to the ground–or in this case, into your jar.
4. Once they fall into the soapy water, they lose the ability to fly and quickly sink to the bottom; in 5-10 minutes, you can rid yourself of dozens of these pests.
5. As for the eggs, check the undersides of your leaves; I find them sticky and difficult to remove, so I just tear off the leaves and stick them in the water too.
Side note: This method also works on the Japanese Beetles (Popillia japonica) that attack my roses in July.
A Wonderful Day Trip to Well-Sweep Herb Farm in Port Murray, New Jersey
Heirloom plants, especially non-culinary herbs and plants of the American prairie, run throughout my garden. This weekend I found some wonderful new additions at Well-Sweep Herb Farm in Port Murray, New Jersey, about an hour away from Chatham. For a while, this has been on my most-wanted-to-visit list of nurseries. Boy, what a treat it was.
~
The setting of the nursery is beautiful. It’s four acres, surrounded by over 100 acres of undeveloped land. The parking lot is a grass field. Sheep graze along the periphery. An informal herb garden meets you as you get out of your car, then there are plants for sale, the gift shop, and a formal herb garden. It was a treat to talk to Cy who started the nursery forty years ago. He knew each plant’s history, how to use it, and cultural information that only comes from years of experience.
~
I was amazed by the breath of the collection. One of my favorite herbs is rue. Well Sweep had at least seven varieties from which to choose. I didn’t even know there was such variation in rue. As for thyme, there are over 100 varieties for sale. If you can’t get to the Herb Farm, plants are described and available in their mail order catalog which is available on their website:
~
“…In 1966, husband and wife, Cyrus and Louise Hyde, purchased an old run-down house and a piece of property. With a background in farming and a passion for gardening, what began as a homestead gradually transformed and grew into a national attraction…Our farm, a family endeavor…is home to one of the largest collections of herbs and perennials in the country…Our butterfly, herb, medicinal, perennial and rock gardens burst forth with breathtaking displays throughout the farm and have been featured in national magazines and books. Our brick-pathed formal herb garden boasts a knot garden, as well as a display of the 37 basils, 75 lavenders, 54 rosemarys, 108 thymes, and 72 scented-leaf geranium varieties that we stock. Whether for pleasure, inspiration, or ideas … come see the possibilities…”
~
On a side note: those native orange rocks that I was recently posting about,Cy has cleared all of them and used them to make large, attractive walls. Next time, I’ll bring my camera.
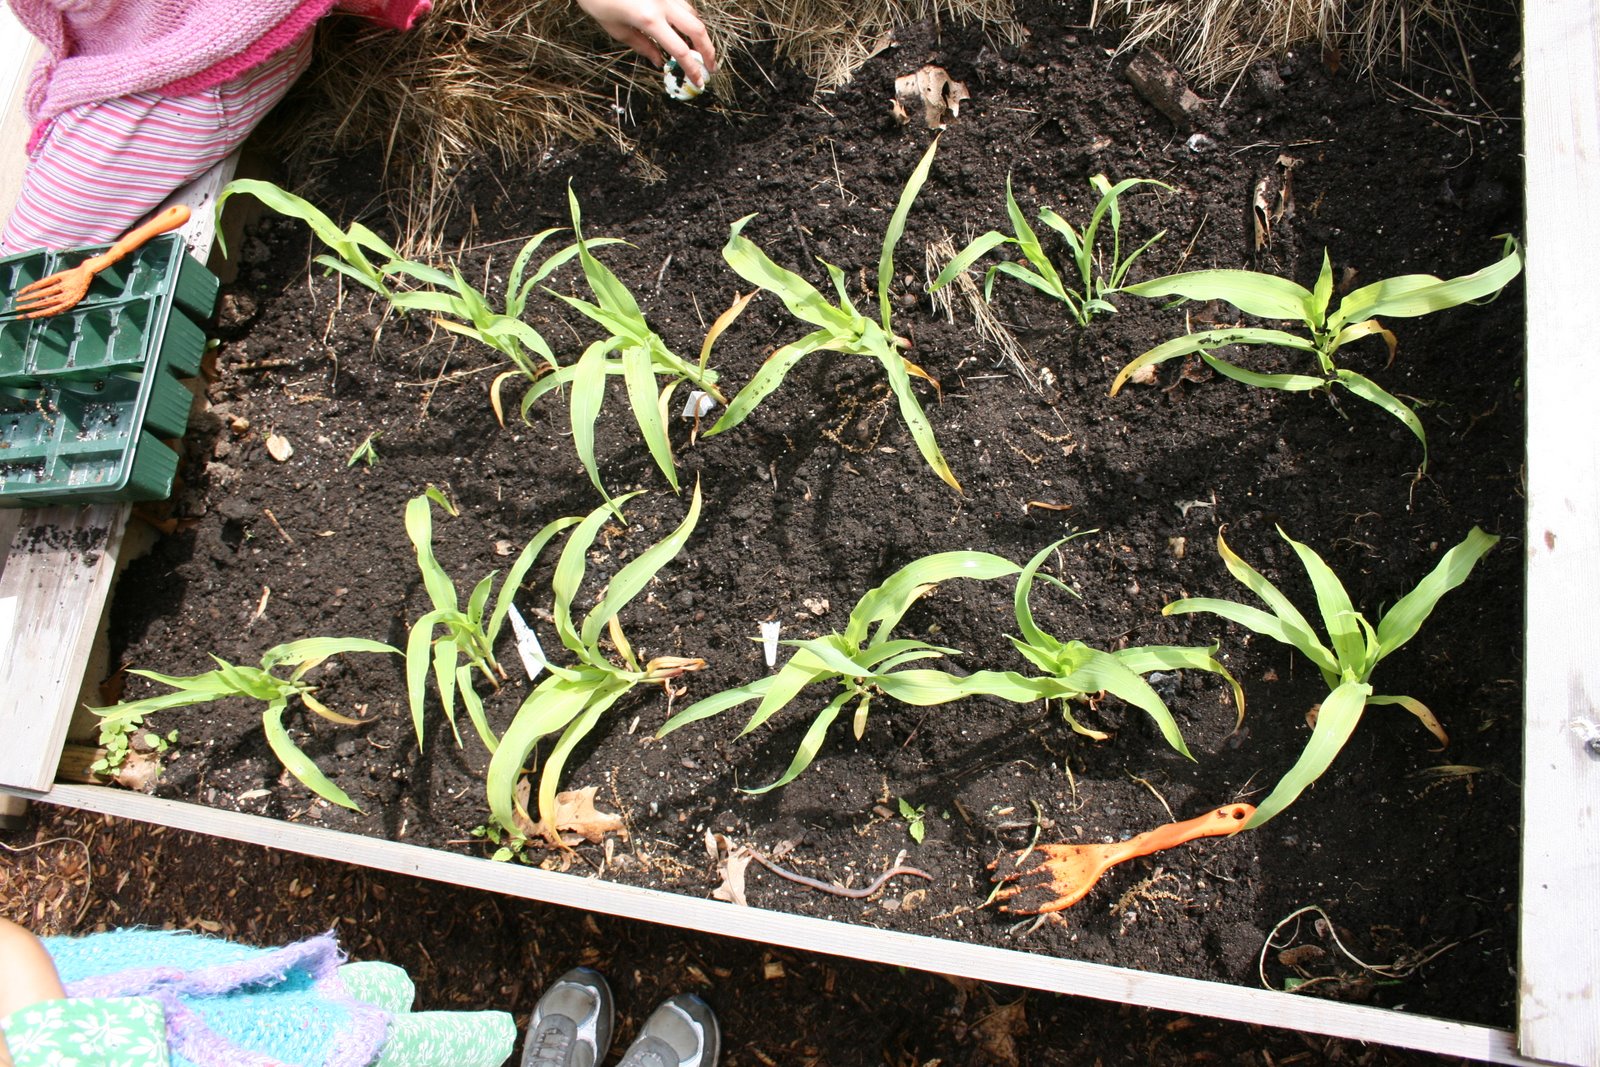
Vegetable Gardening with Children: How to Plant Corn with Fish the Way Squanto Taught the Pilgrims
 Here is another good gardening project to do with children. Using the Old Farmer’s Almanac Calendar as a guide, the kids and I planted our corn last week.
~
There is a well-known and amazing story about how Squanto–the Native American captured and sold into and escaped from European slavery–befriended and taught the bewildered and hungry English pilgrims how to plant corn using fish as fertilizer, which was later harvested and eaten at the first Thanksgiving.
~
Inspired by this story, we used whole fish as fertilizer last year, which worked quite well, and repeated it again this year as follows:
~
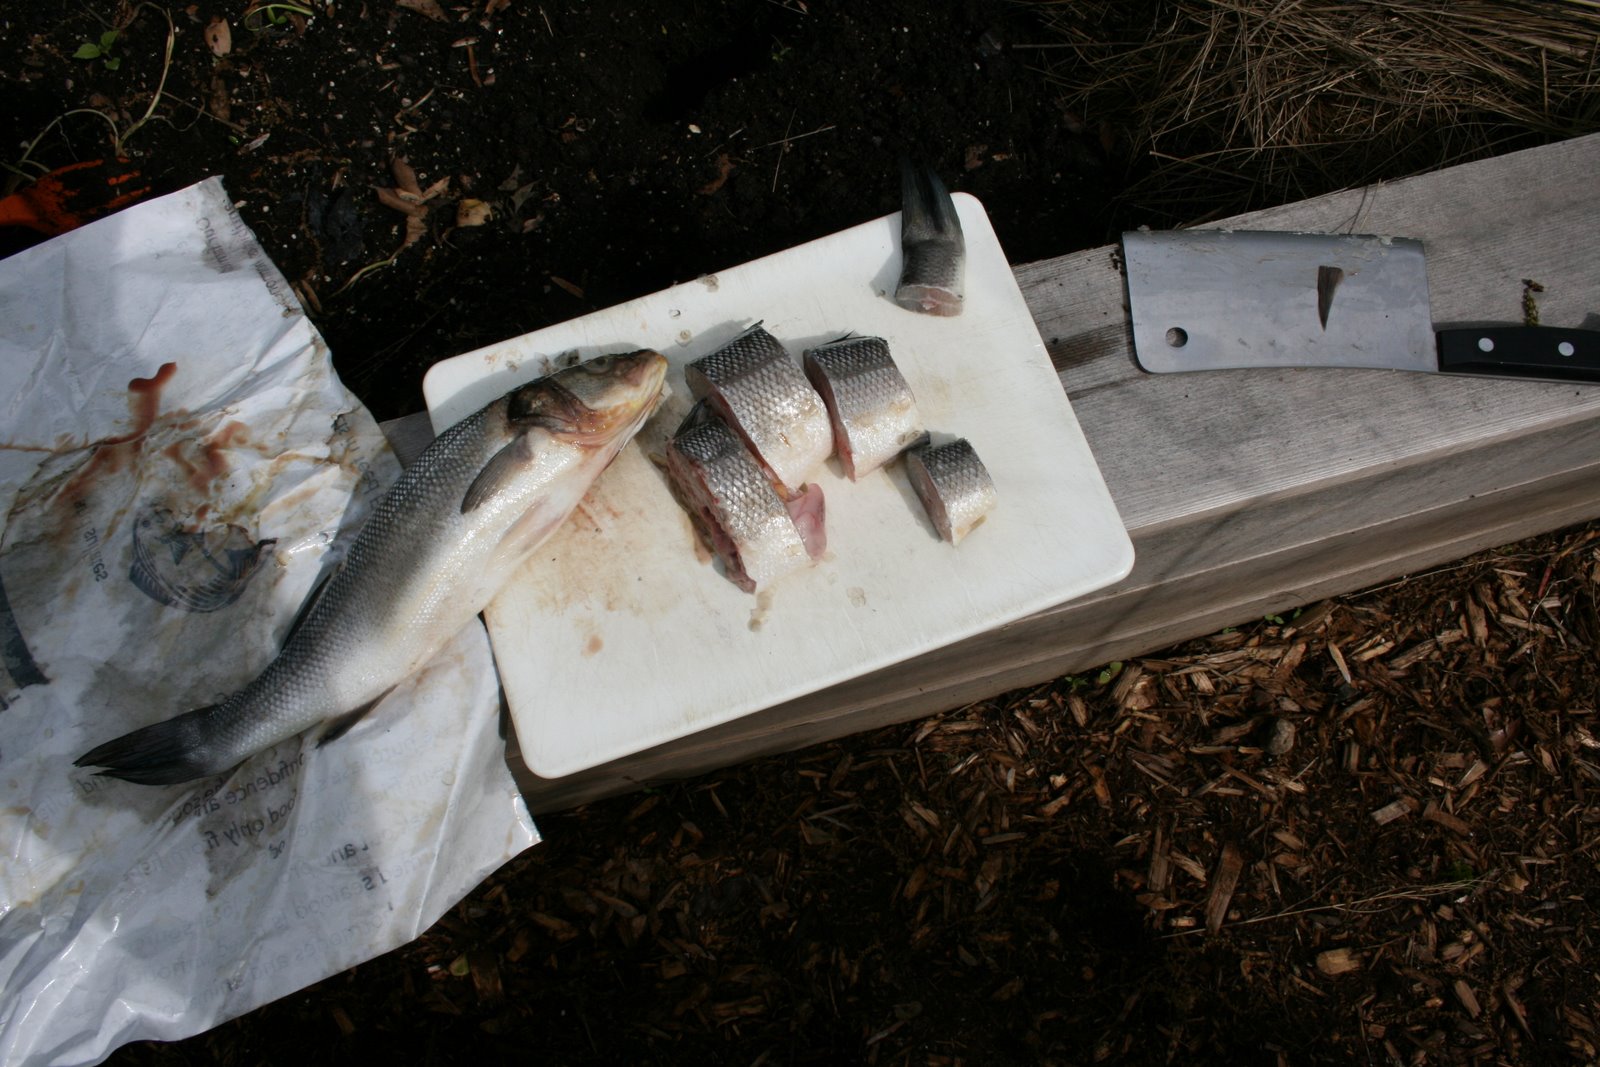
1. Catch (or buy) some fresh whole fish.
2. Dig a hole several inches deep and add your fish.
3. Plant your kernels (or seedlings) on top of the fish.
~
Related posts: Ten Tips for Planning a Children’s Garden, How to Build Raised Vegetable Beds, Organically Preparing the Soil for Planting
