
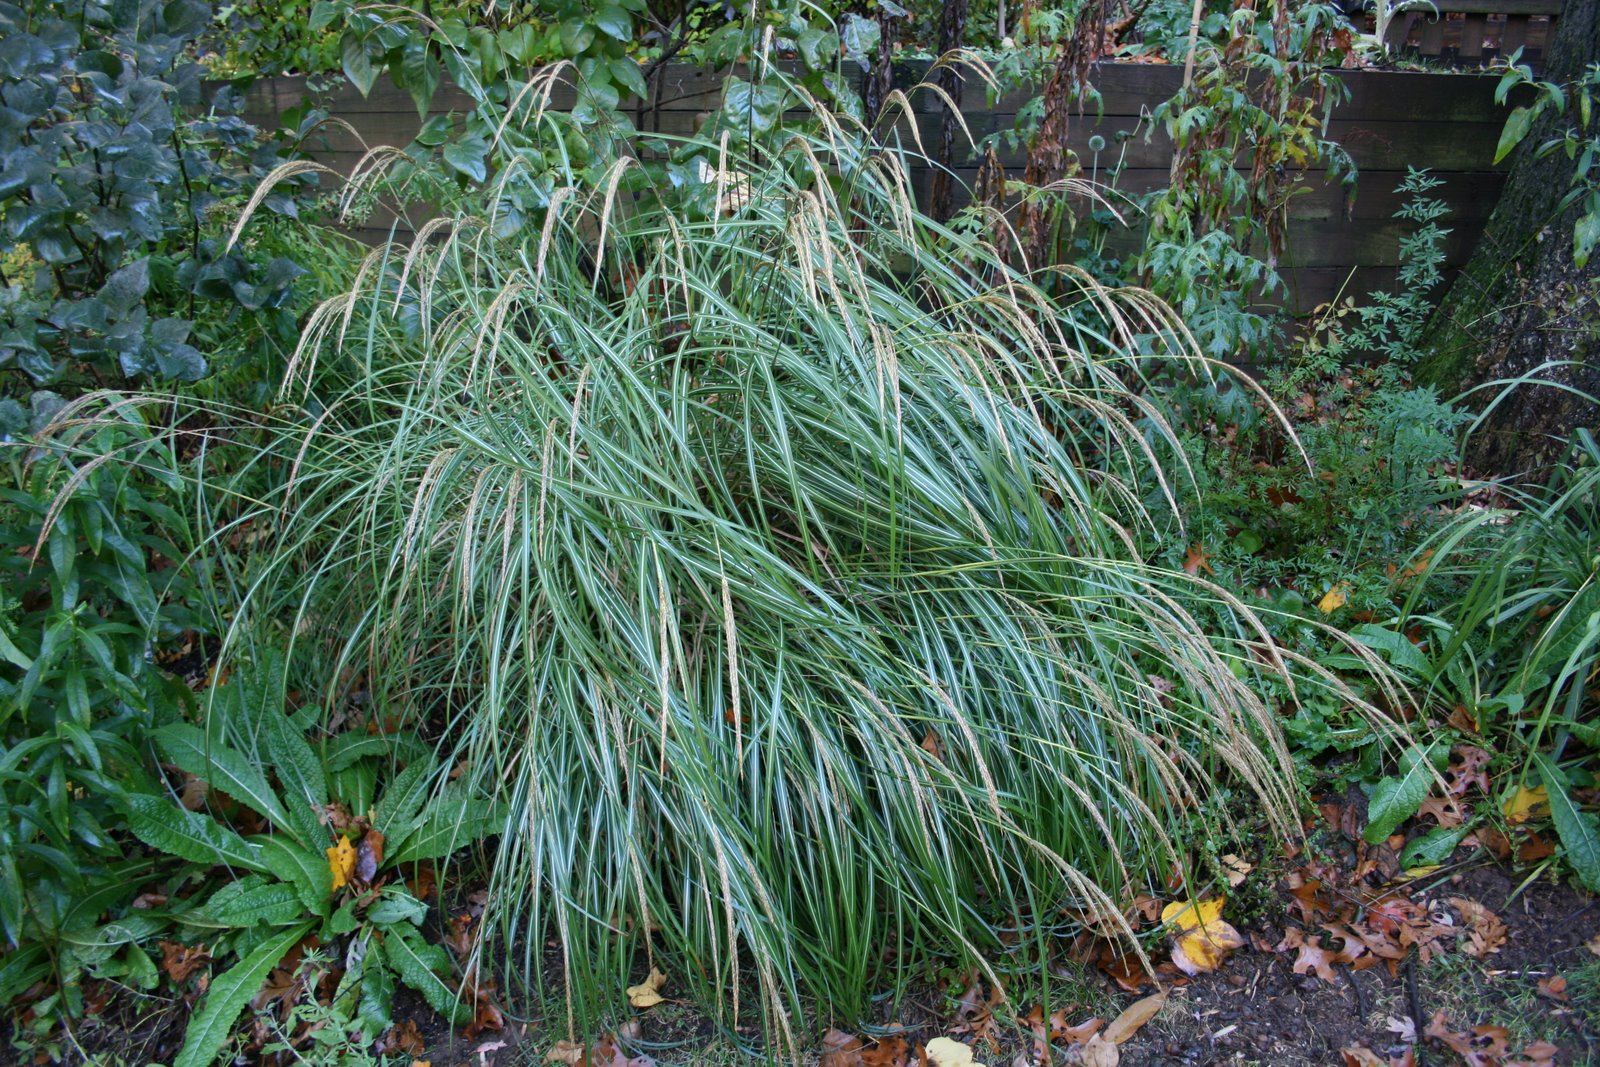
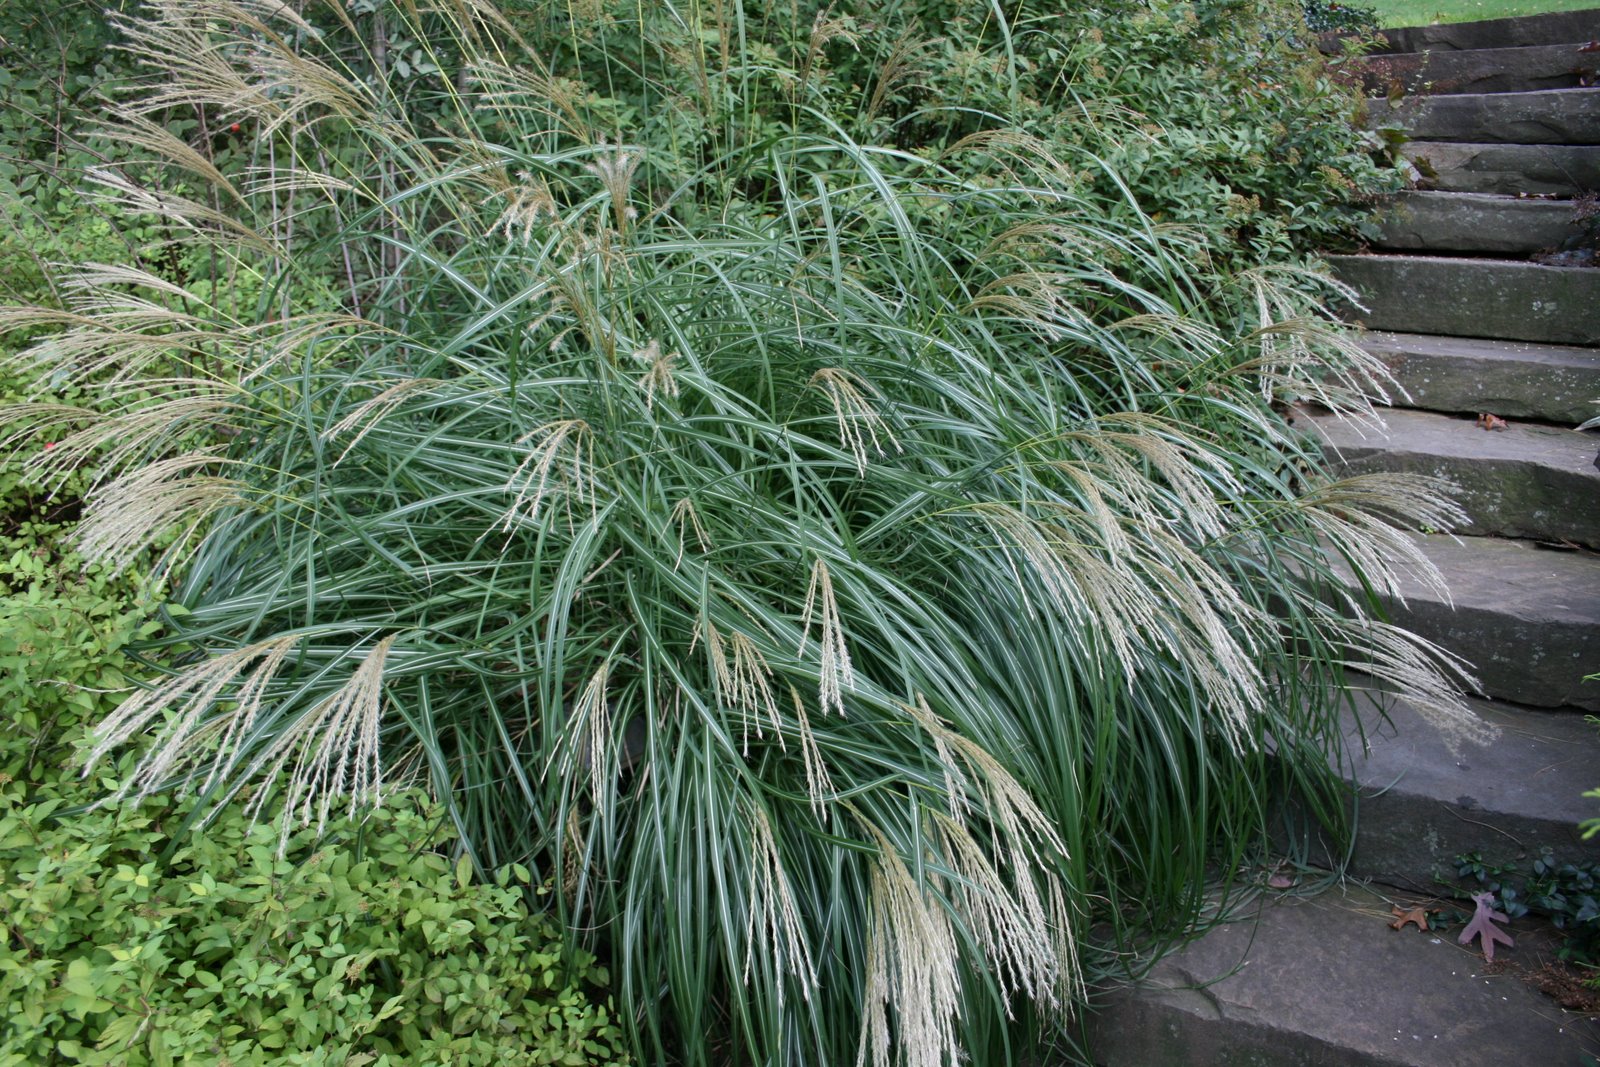
There was a time when I didn’t think I liked grasses in the garden. Then, I visited the Cutler Botanical Garden in Binghamton, New York, and I was taken by the beautiful display grasses that they have there. Now, I have grasses in grasses in most of my mixed borders, and they are particularly lovely in autumn with their plumes, as you can see below. These pictures were taken about ten days ago and the grasses are now turning color from summer green to winter straw. I’ll leave the grasses up for the next couple of months to provide some winter interest before cutting them down at the end of the winter/beginning of spring before the new growth begins.
~
 Lilac Hill
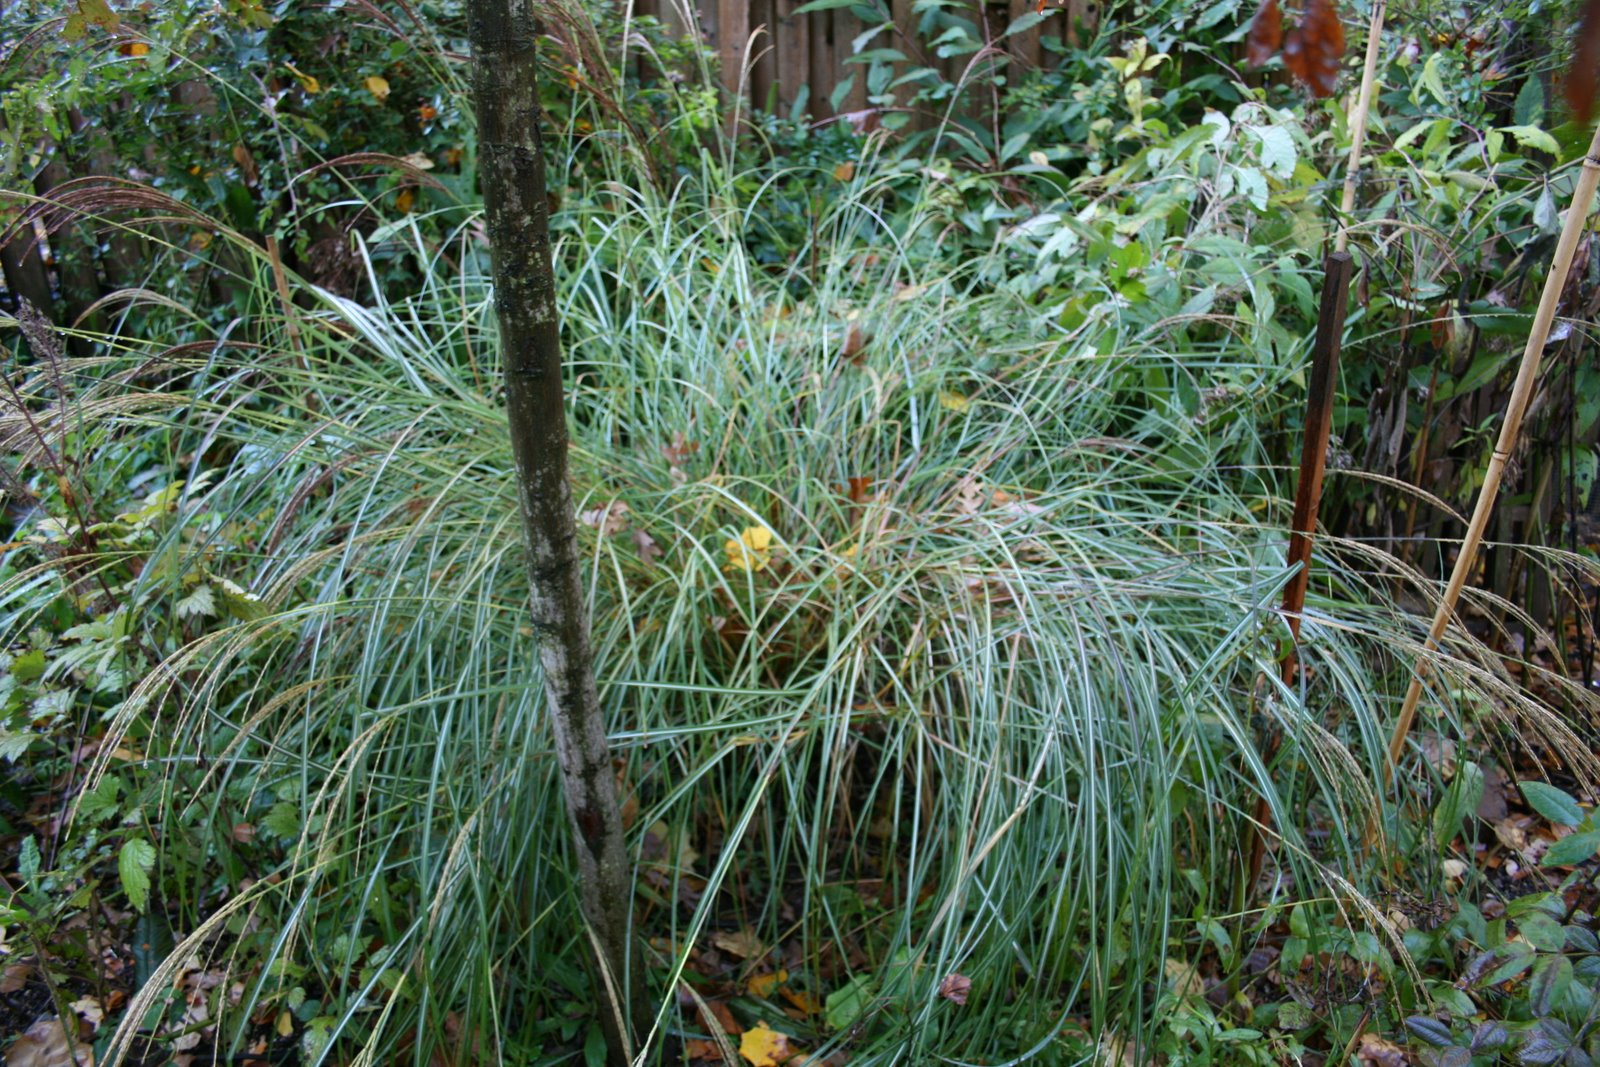 The Long Border.
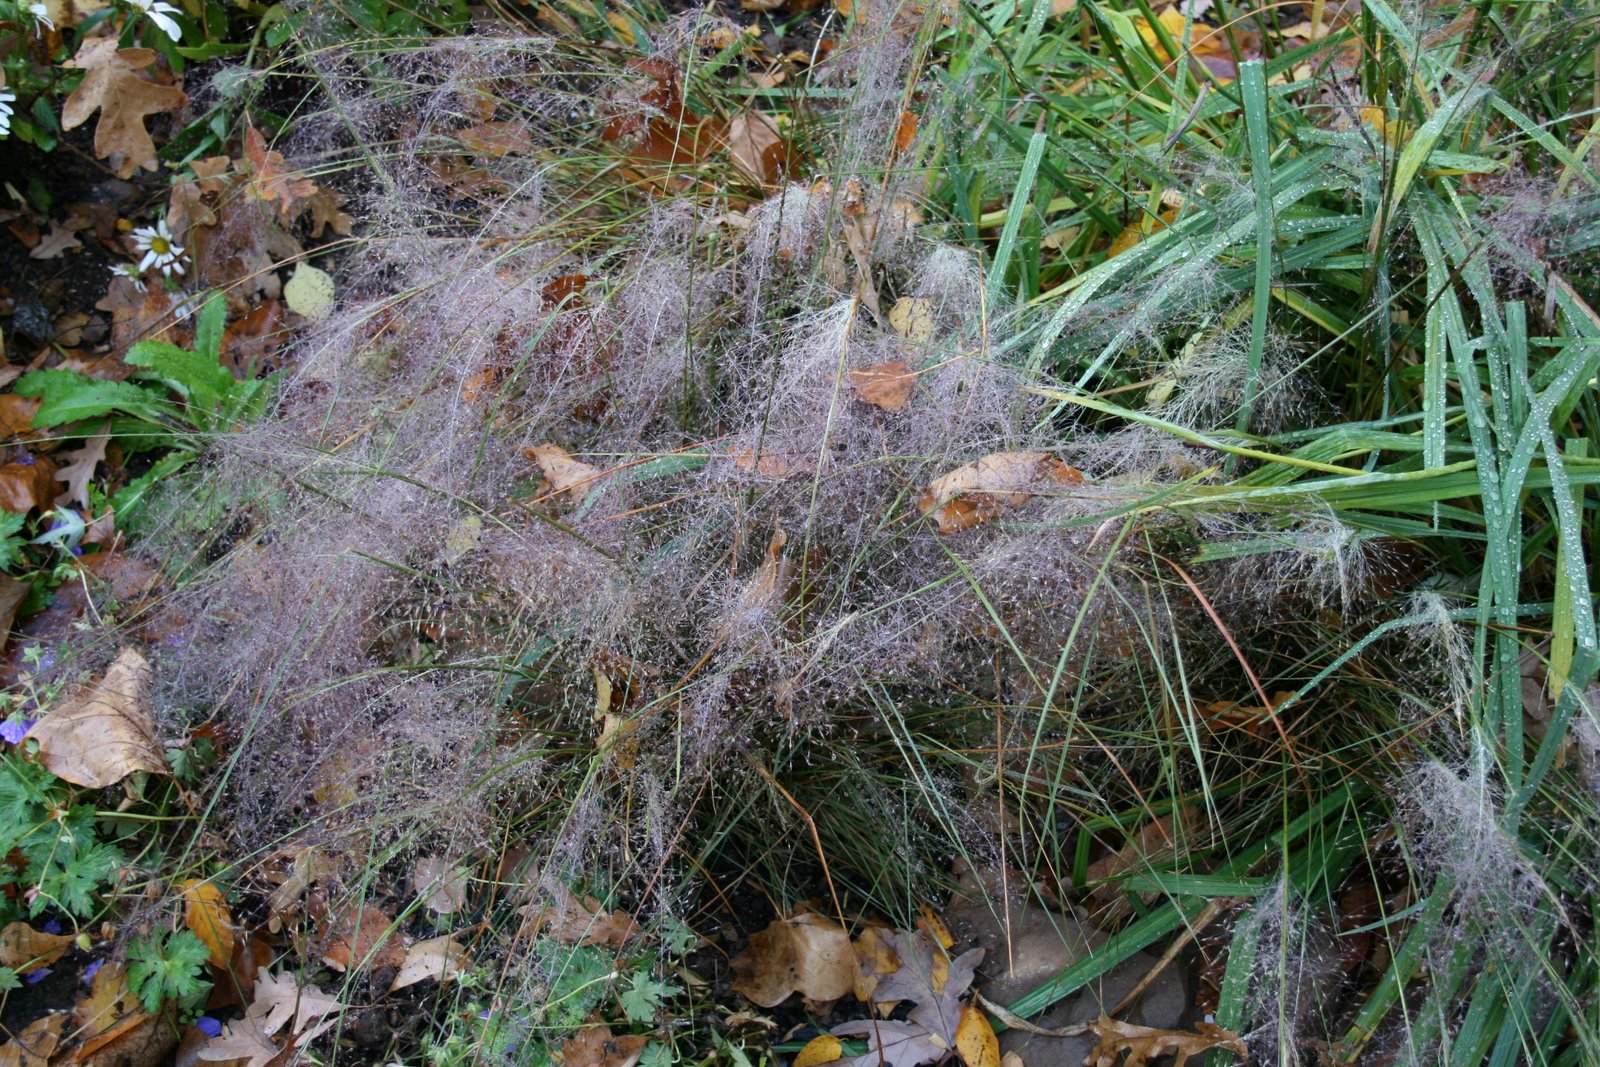
 Goldberry Hill.
 The Egg Garden.
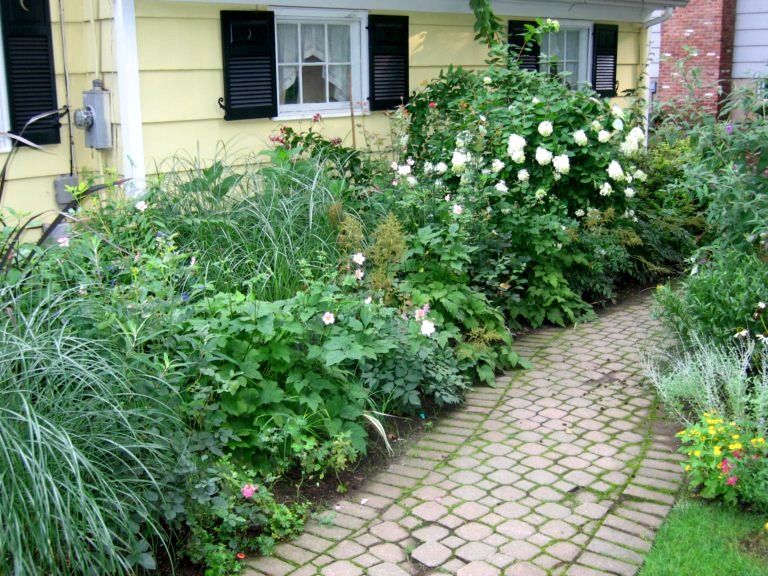
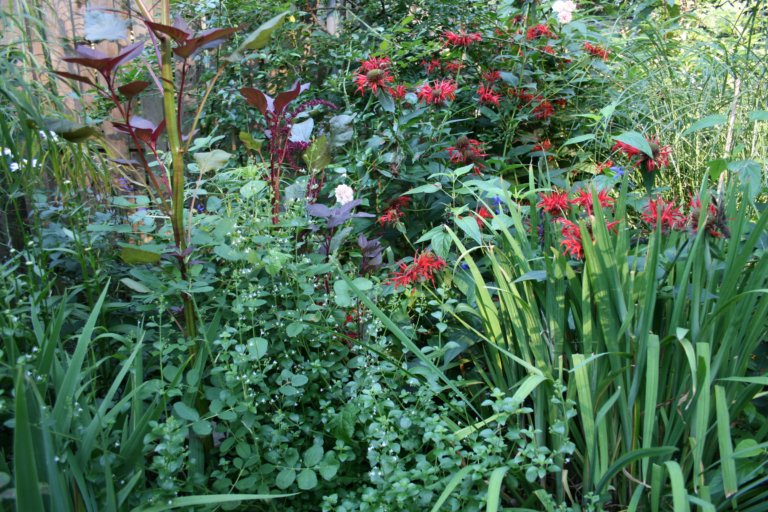 One of my goals as a gardener is to have year-round color. I’m editing the Long Border for fall color now. I originally conceived of this border being at its peak in the fall, but not without interest during the rest of the year.
The first half of the Long Border looks great: the miscanthus grass provides movement; Salvia Black and Blue is weaving itself in and out; willow leaf sunflower, monarda, cimifuga, calamintha nepeta, and asters are all working. The second half is limping by: the false sunflower, two vitex, and an unremarkable grass all have to go.
For next fall, here are some plants that look great right now either in other parts of my garden or in others’ gardens that I admire: Japanese anemone; turtlehead chelone; aster tataricus “Jindai” (can spread aggresively recommended that it’s divided every three years); perovskia; boltonia; viburnum nudum; toadlily; monkshood; tall annual salvias (blooming now until the frost, including salvia ‘Phyllis Fancy’ and salvia splendens ‘Van Houttie’); Geranium ‘Roxanne’; red hot pokers; hardy chrysanthemums; clematis tibetana; Nippon daisy (is wonderful, but needs to be cut back hard so as to not flop before they flower); and/or hydrangeas (two with beautiful fall color are ‘Preziosa’ and ‘Lady in Red’).
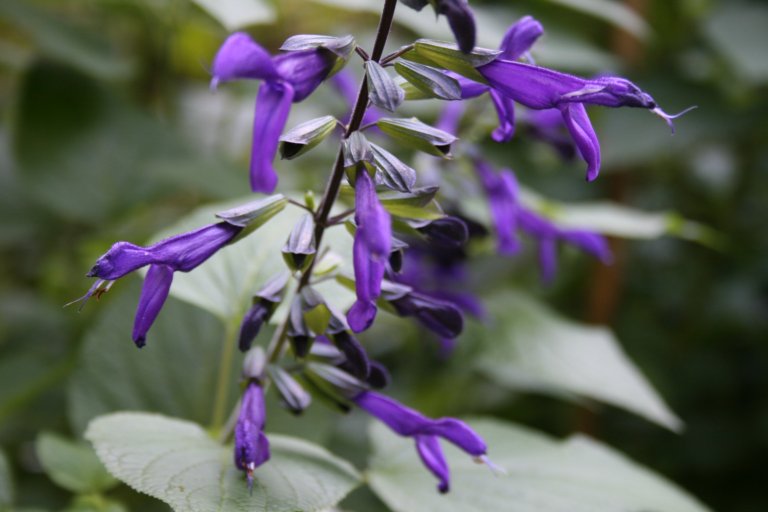 Keeping In: Salvia Black and Blue.
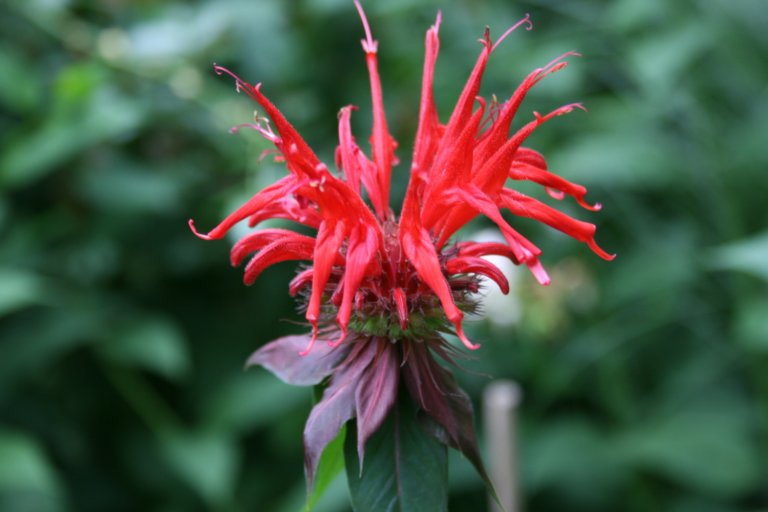 Keeping In: Monarda.
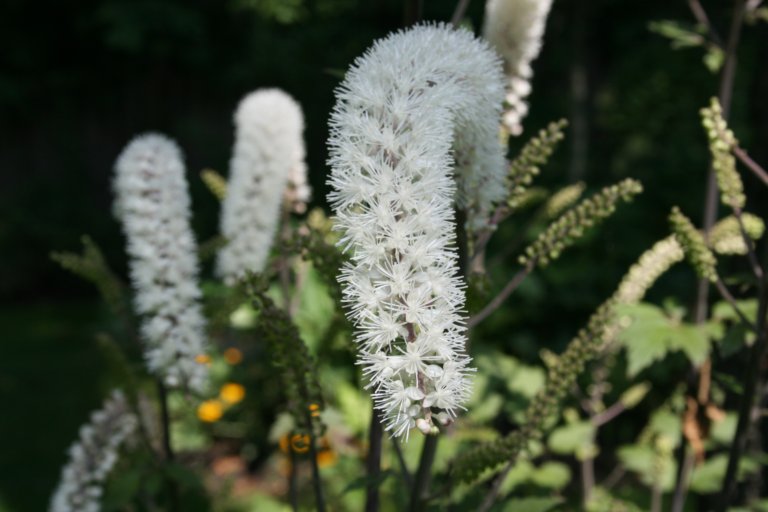 Keeping In: Cimifuga.
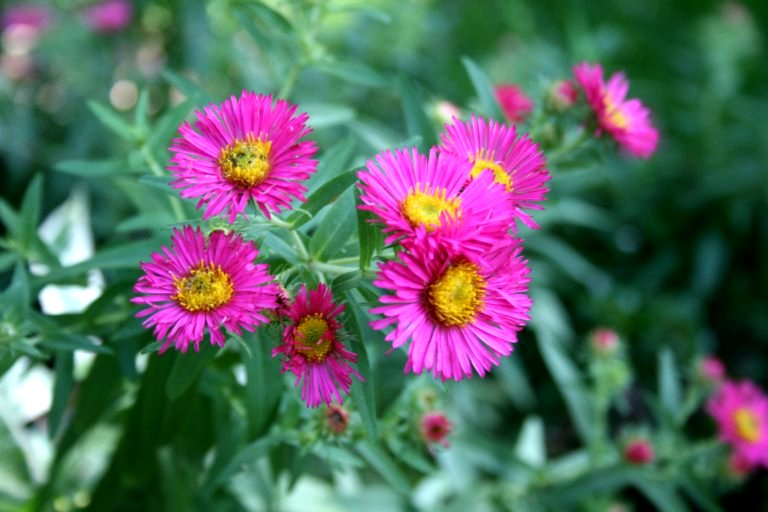 Keeping In: Asters.
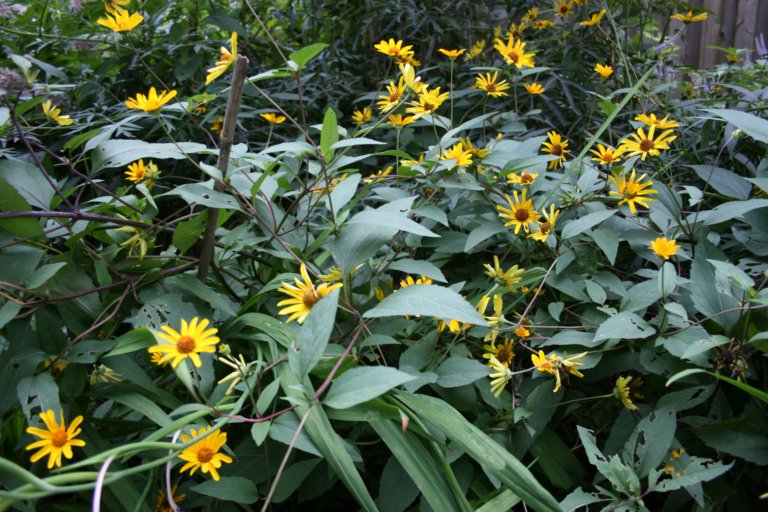 Taking Out: False Sunflower.
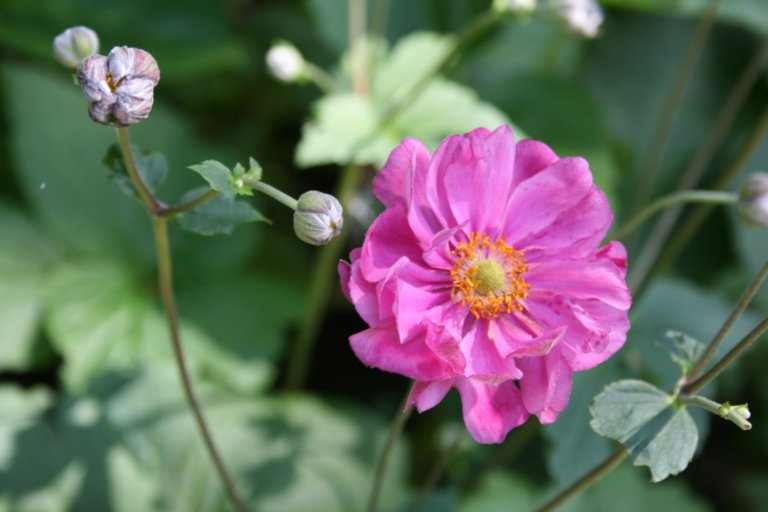
Maybe Next Year: Japanese Anemone (currently in the Front Border). Maybe Next Year: Hardy Chrysanthemums (currently in the Egg Garden).


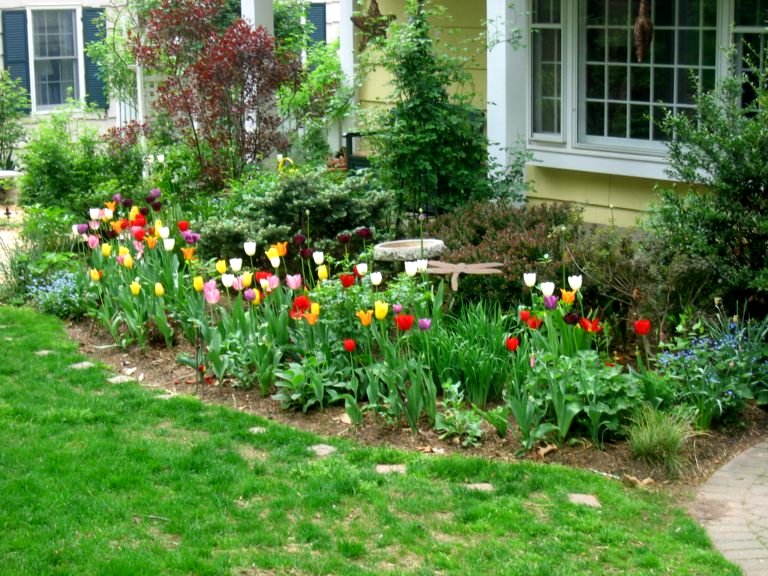
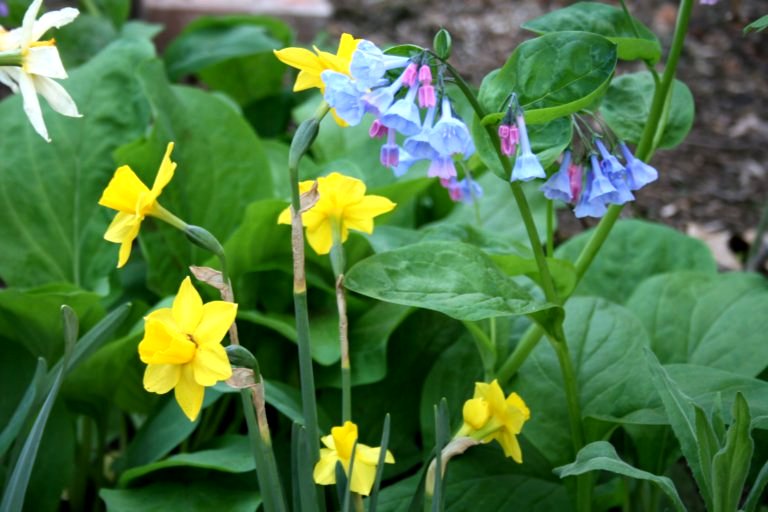
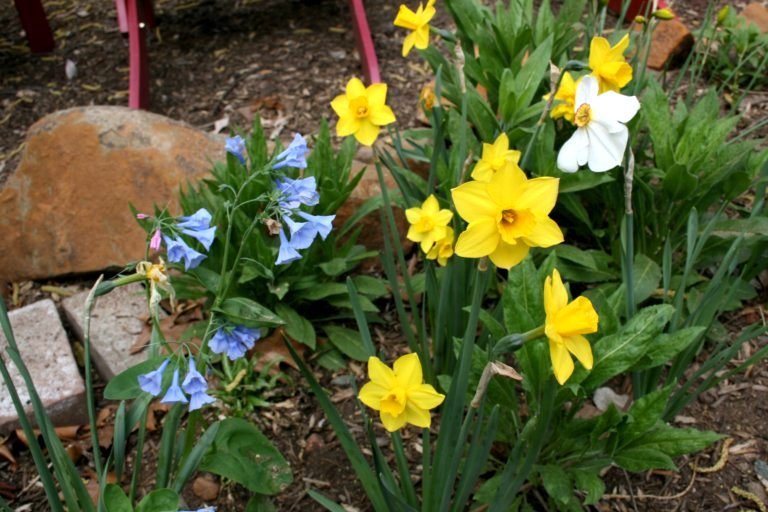
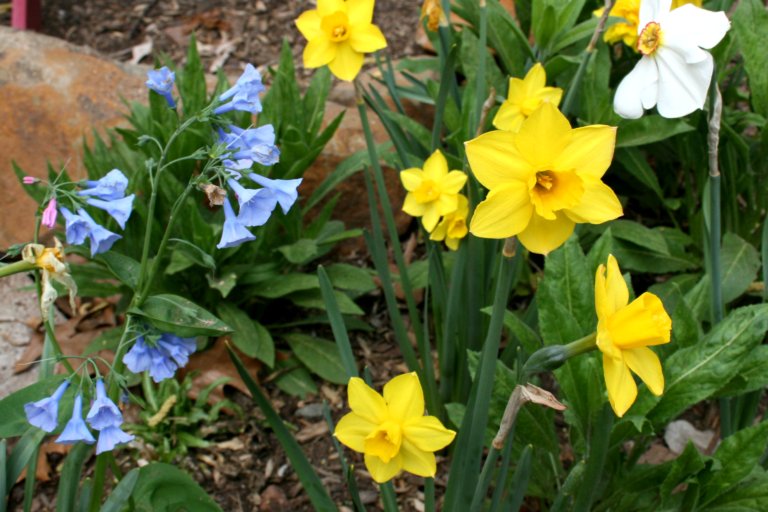 This year, my Virginia Bluebells are the best ever. After three seasons, these spring ephemerals are spreading beautifully through the garden. I have wonderful combinations of them with daffodils (pictured) in the Long Border and great surprises as they have shown up in other areas.
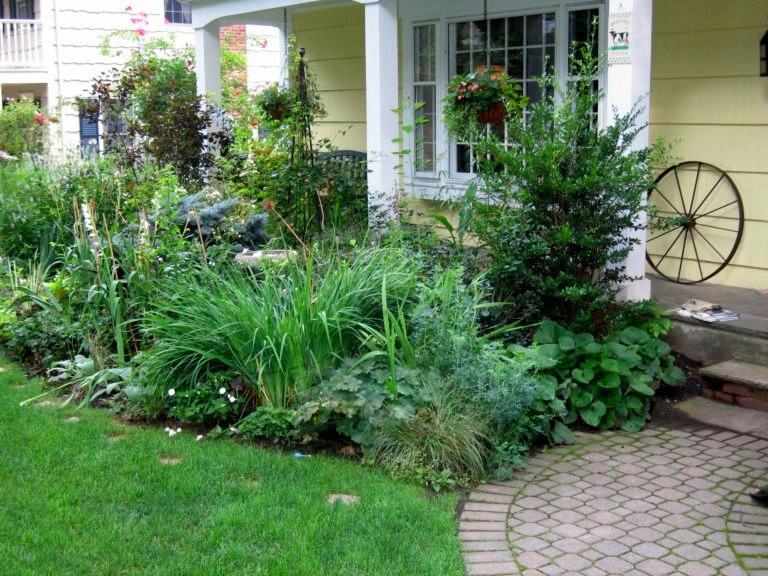
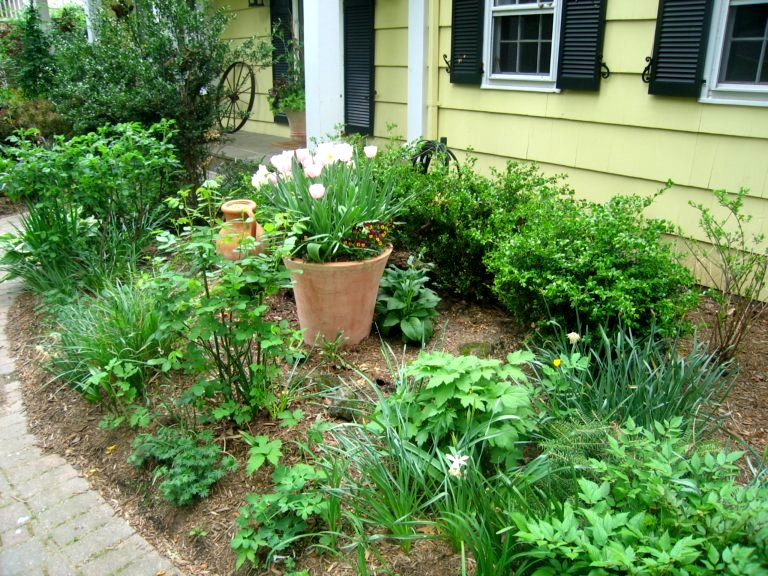
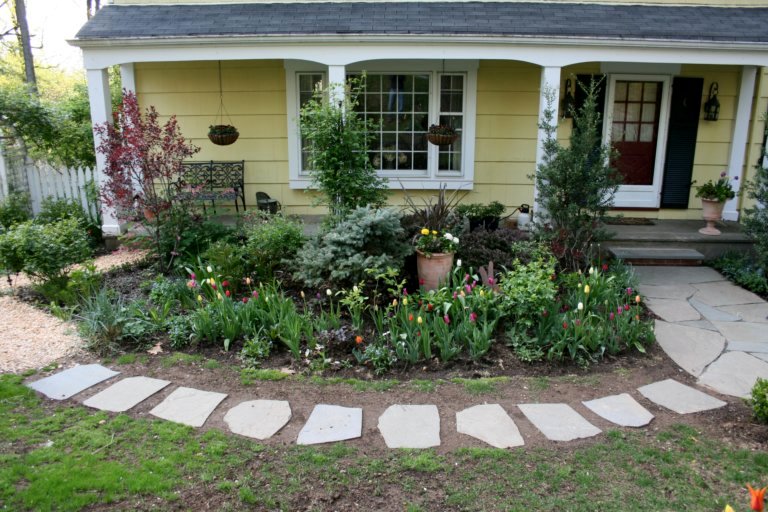
April’s Garden Bloggers‘ Design Workshop on Front Yard Gardens is very timely for me seeing that my spring project was to complete the four year redesign of our front garden, which is made up of the Front Border immediately in front of the house and, standing in front of the house to the immediate left, the Egg Garden.


 .
.

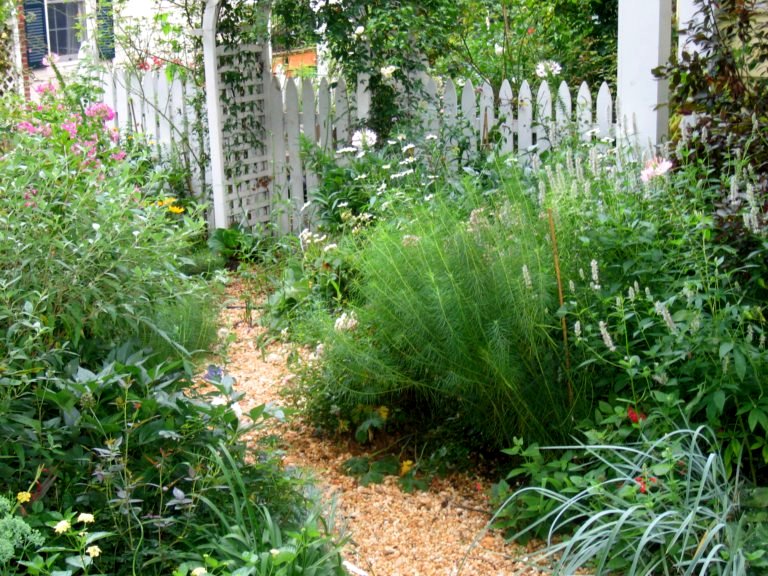
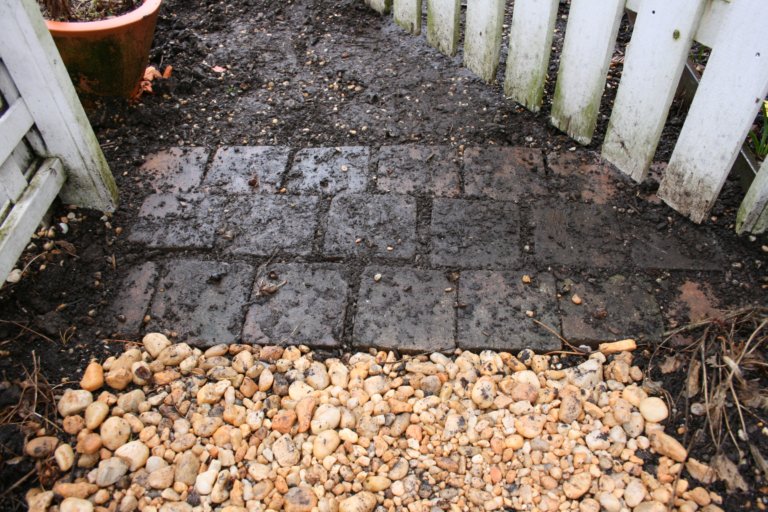
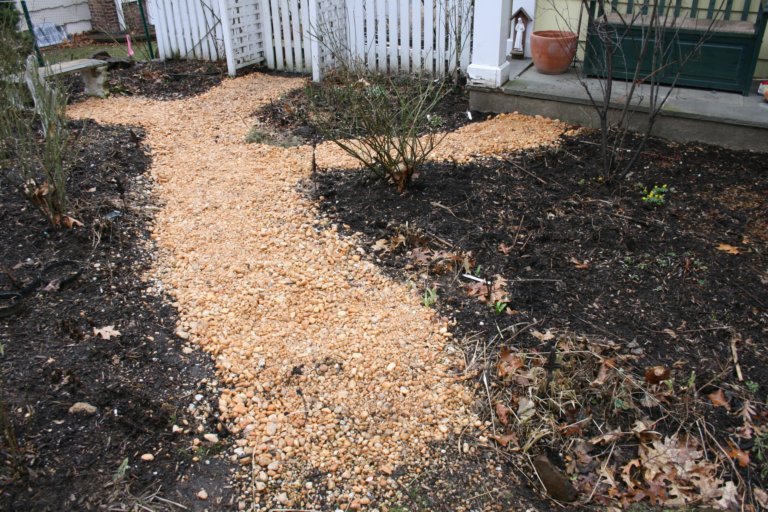 It was a wonderful day in the garden. The weather was warmish in the sun and there was very little wind. My husband and I worked today on the path in the Egg Garden that leads to the Cutting Garden. First, we added more pebbles–ten fifty pound bags or river stones–which is an annual necessity to maintain a good looking pebble path. Then, we replaced the temporary groundhog deterrent I had put down last year at the gate.
 In the Cutting Garden, I grow some of the groundhog’s favorite foods: Queen Anne’s lace, purple cone flower, and phlox. Knowing this, when I created the Cutting Garden, I dug around the border of the fence about two feet deep to install a chicken wire barrier which the groundhog couldn’t get through. You can see some of this chicken wire sticking up out of the earth in the picture above.
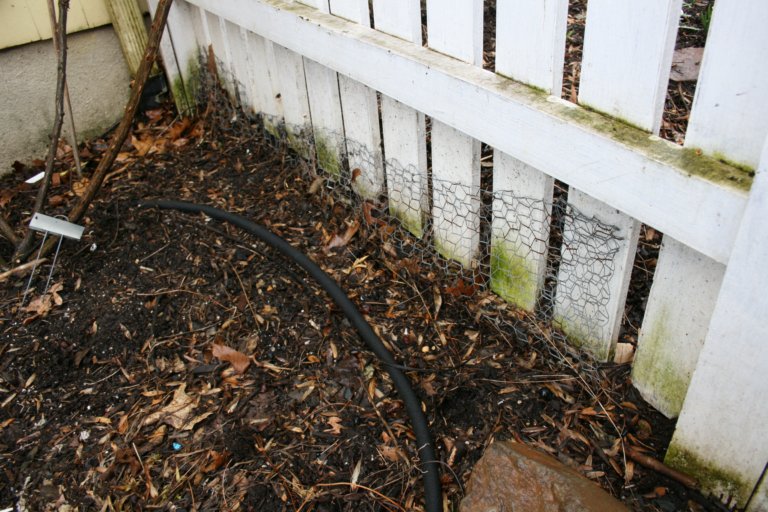
However, one spot was left without the barrier: the area where the gate goes into the garden. It took a few years, but the groundhog, who lives next door, discovered last year that he could dig under the gate. Looking for some immediate protection, I simply pegged a piece of chicken wire on the ground under the gate extending one foot on each side. I suppose he found enough food elsewhere that he didn’t take the effort to dig underneath this barrier, but it had two problems: it was not attractive and it easily caught on the gate or your foot as you passed through.
 Our project today was to replace the temporary chicken wire with three rows of six by six inch terracotta blocks that we were using for stepping stones in other places in the garden. While digging the space for the new barrier, I discovered more terracotta blocks and chicken wire that I must have buried in an earlier attempt. We placed the new blocks level with the fence (almost touching) over all the existing material for extra protection.
I don’t know why it took me so long to do this. Everything looks a lot neater now and I will no longer have to worry about tripping as I leave and enter the garden.
~
For a picture of the groundhog barrier around my vegetables, click here:
http://heirloomgardener.blogspot.com/2007/12/raised-vegetable-beds.html
~
For a prior post on the path to the Cutting Garden, click here:
http://heirloomgardener.blogspot.com/2008/01/egg-garden-path-makeover-replacing.html
~
For a prior post on keeping deer out of the backyard, click here:
http://heirloomgardener.blogspot.com/2007/12/keeping-deer-out-of-backyard-deer-fence.html
I love the plants of the American prairie. The simple forms are beautiful. They are undemanding, attract tons of butterflies, flower over a long period of time, and make me feel connected to the land. Unfortunately, I don’t have the setting and environment where I could create a meadow garden.
In the Long Border, I have tried to incorporate many of these plants–echinacea, black eyed susans, phlox, butterfly weed, goldenrod, joe pye weed, asters, liatris, veronicastrum, monarda, baptisia, rattlesnake master–into my planting.
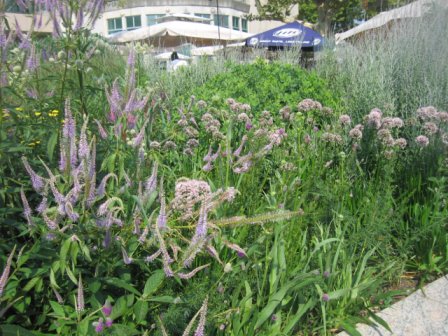
My inspiration for the Long Border came from a trip I took to the gardens of Battery Park in lower Manhattan. These American prairie plants compose a large part of the palette used by Piet Oudolf, the Dutch garden designer of the park. Below are some of the photographs I took on my visit.
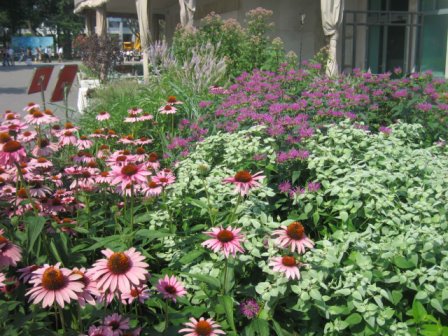 The first picture shows purple coneflower and mountain mint in the foreground, backed by monarda, veronicastrum, joe pye weed, and miscanthus.
 The second photo shows baptisia (not in flower), monarda, and daylilies with a mass of amsonia in the back.
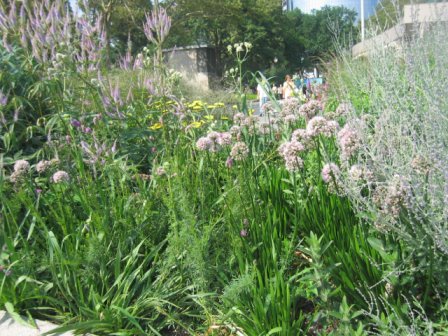 Photo three shows veronicastum, Russian sage, yarrrow, rattlesnake master, and alliums.
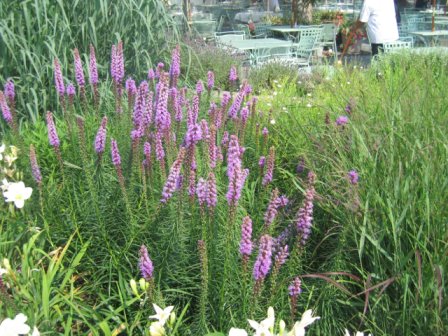 The fourth photo shows liatris and switch grass.
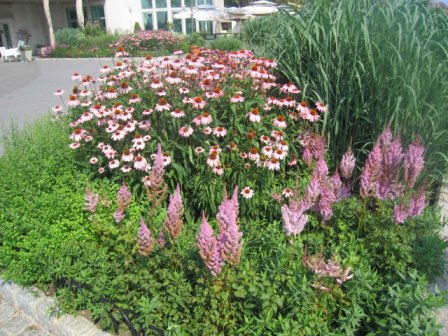
The fifth photo includes purple coneflower, switch grass, astilbe, and oregano.
For pictures of the Long Border, click here: http://heirloomgardener.blogspot.com/2008/01/garden-for-late-summer-long-border.html
For my prior post on Piet Oudolf, click here: http://heirloomgardener.blogspot.com/2008/02/winter-garden-inspiration-piet-oudulf.html
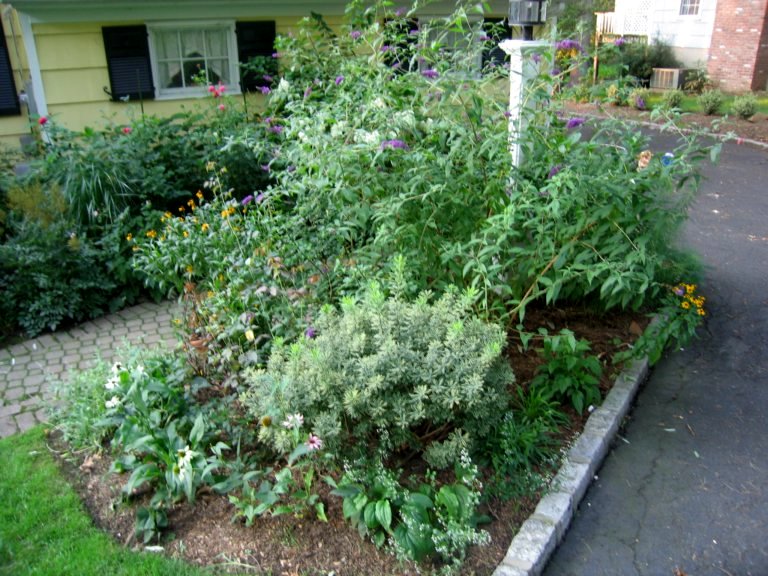
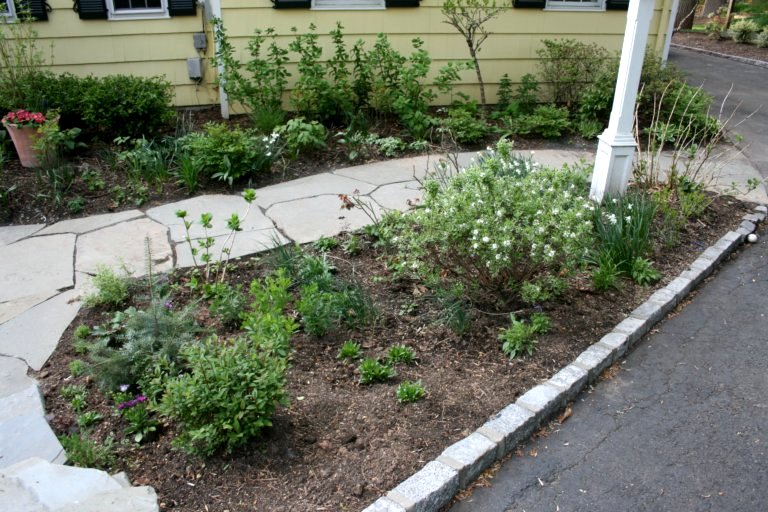
To help me plan for this coming gardening season, I am going through some of my pictures from last year. Here are some of Goldberry Hill from last summer. Goldberry Hill is the name of the garden in the front of my home on the hill between the street and my driveway. Goldberry Hill is made of small trees, shrubs, perennials and grasses.
In the first picture, there are newly planted phlox, shasta daisies, and lamb’s ear. Previously in that space, there were black eyed susans that were prone to a fungus that made the leaves turn black. Because this is right in the front of the house next to the road, I decided to pull them out and replace them. Given that the black eyed susans self-seed, you still see some in the third picture in the middle of the purple cone flowers where no one can see their black leaves.
The heirloom flox are Old Cellar Hole from Perennial Pleasures. The shasta daises are Becky and the lamb’s ear are Big Ears from my local nursery. Unfortunately, the deer started snacking on the flox at the end of the season, so I’ll have to wait and see if they come up again in the spring.
For pictures from last spring, click here: http://heirloomgardener.blogspot.com/2008/01/goldberry-hill-last-spring.html


