
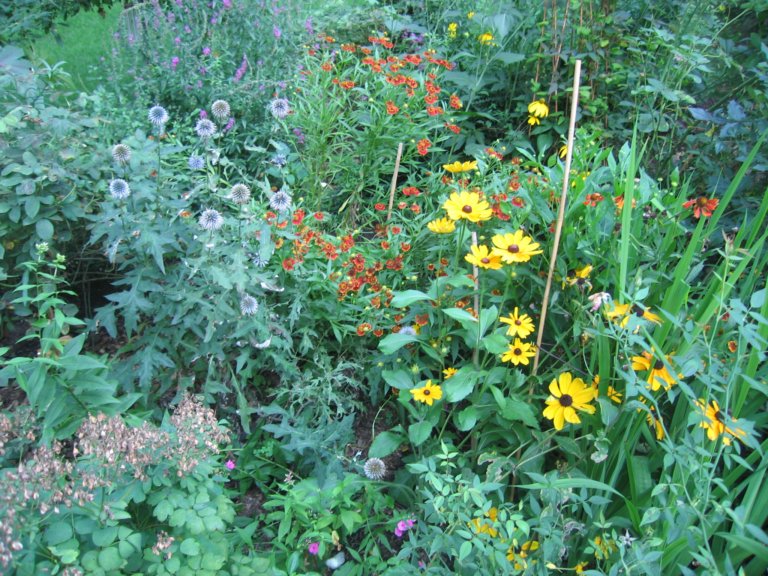
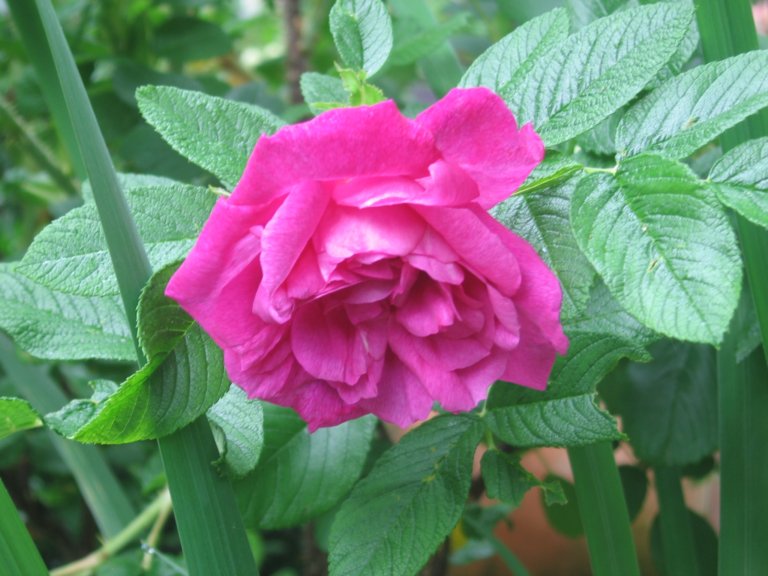
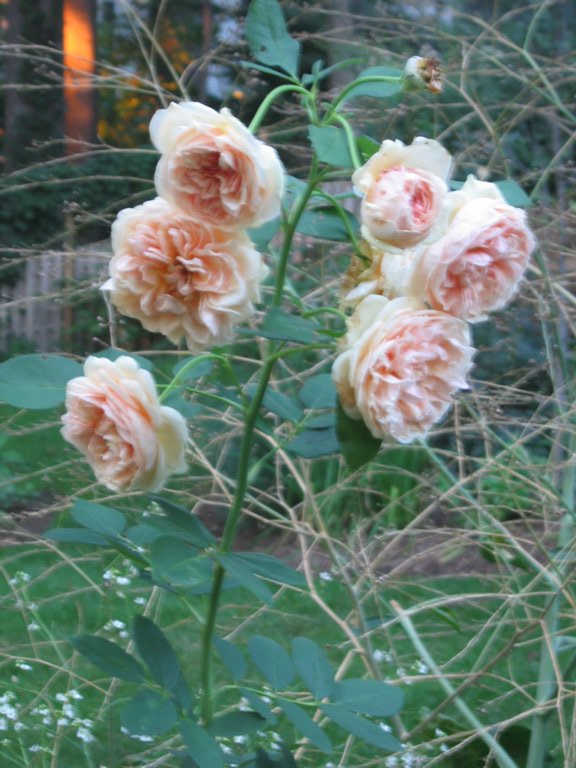
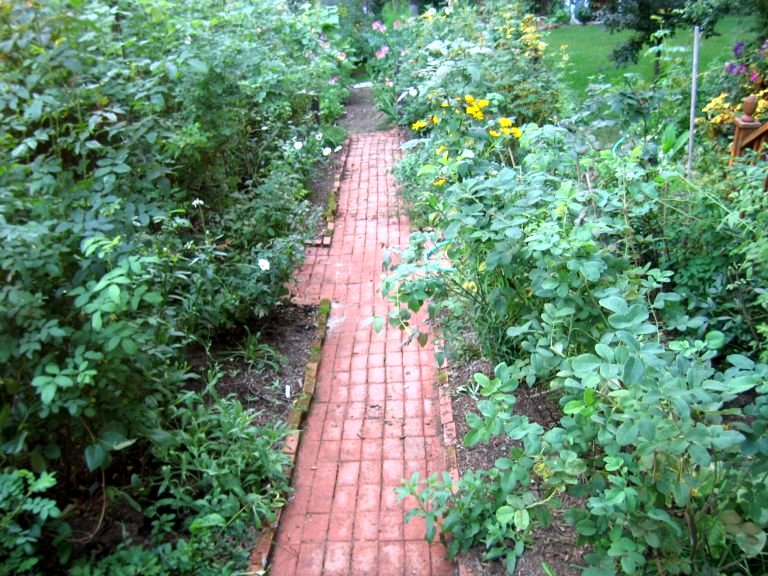
To help me plan for this coming gardening season, I am going through some of my pictures from last year. Here are two pictures of the Rose Garden from last spring and summer.
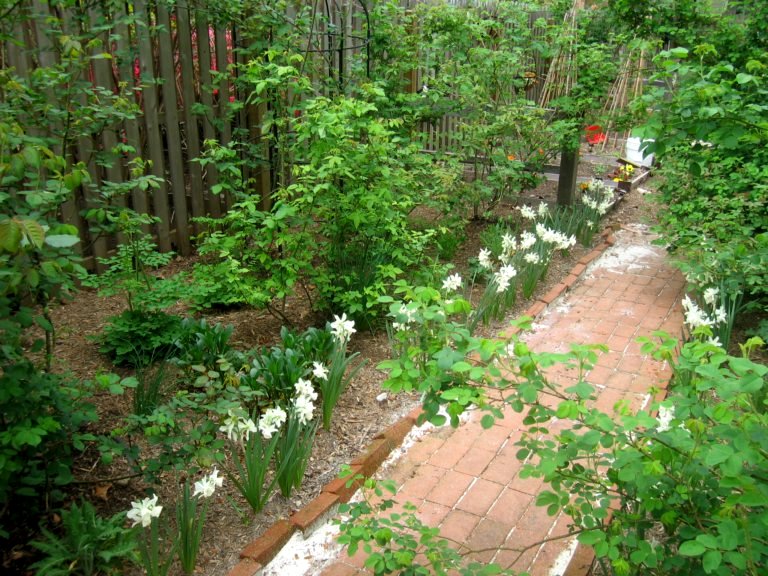
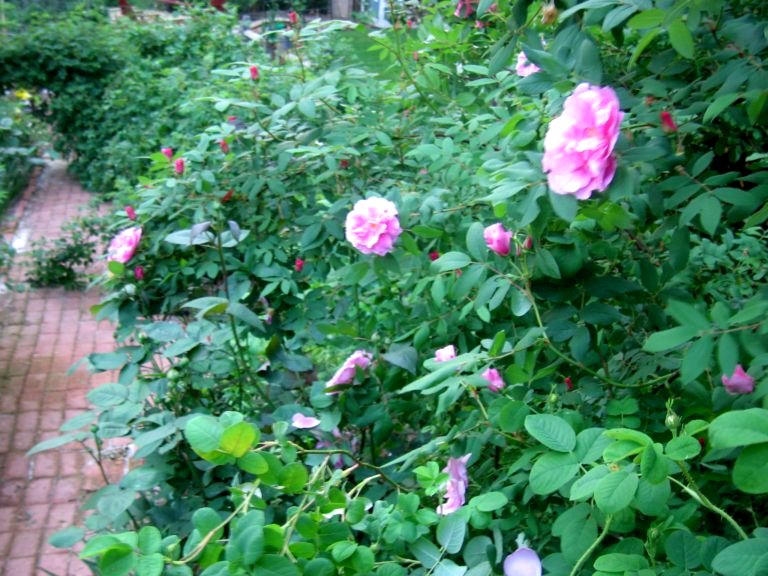
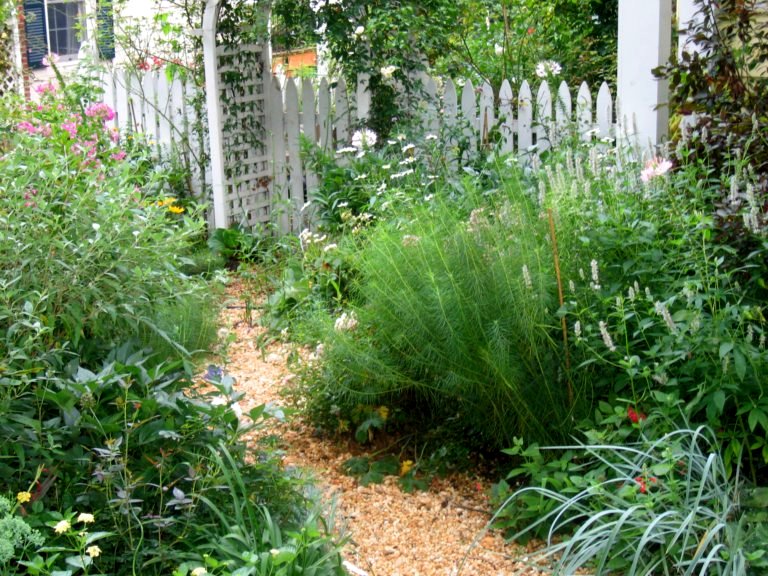
The first picture is from early spring before the roses bloom. Previously, the path was lined with lavender, but the lavender didn’t work. The purpose of lining the path was to provide interest before the roses started to bloom. The lavender looked great when I first put it in during the summer, but the next season I learned that it is one of the last perennials to wake up from winter–later than the roses themselves. Thus, I pulled out all of the lavender and replaced it with daffodil bulbs. As you can imagine, the daffodils looks much better in spring than the lifeless lavender. The second picture is from late spring when the roses have started to bloom.
The Rose Garden was created from a strip of previously unused lawn. The central brick pathway starts at the back of the Cutting Garden runs through the Rose Garden and ends at the Children’s garden. For more information on the creation of the Rose Garden, click here: http://heirloomgardener.blogspot.com/2007/12/creating-rose-garden.html


