
Before I was a gardener, I thought of daffodils and tulips as the first flowers of spring. Now, people frequently ask me how I get color so early. I have two answers: first, I plant more bulbs; and second, I keep a record of what blooms early. Here are five of my favorites:
.
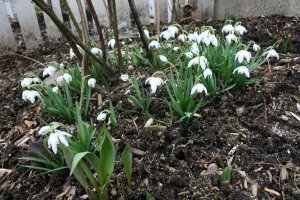 1. Snowdrops. You can’t get enough of them and they last for a very long time. They have been blooming in my garden since February. I find that the double-blooming snowdrops bloom later, so you can add them if you want an even longer bloom period. Also, I’m not sure if they are poisonous, but no one (chipmunks/squirrels) eats them in my garden.
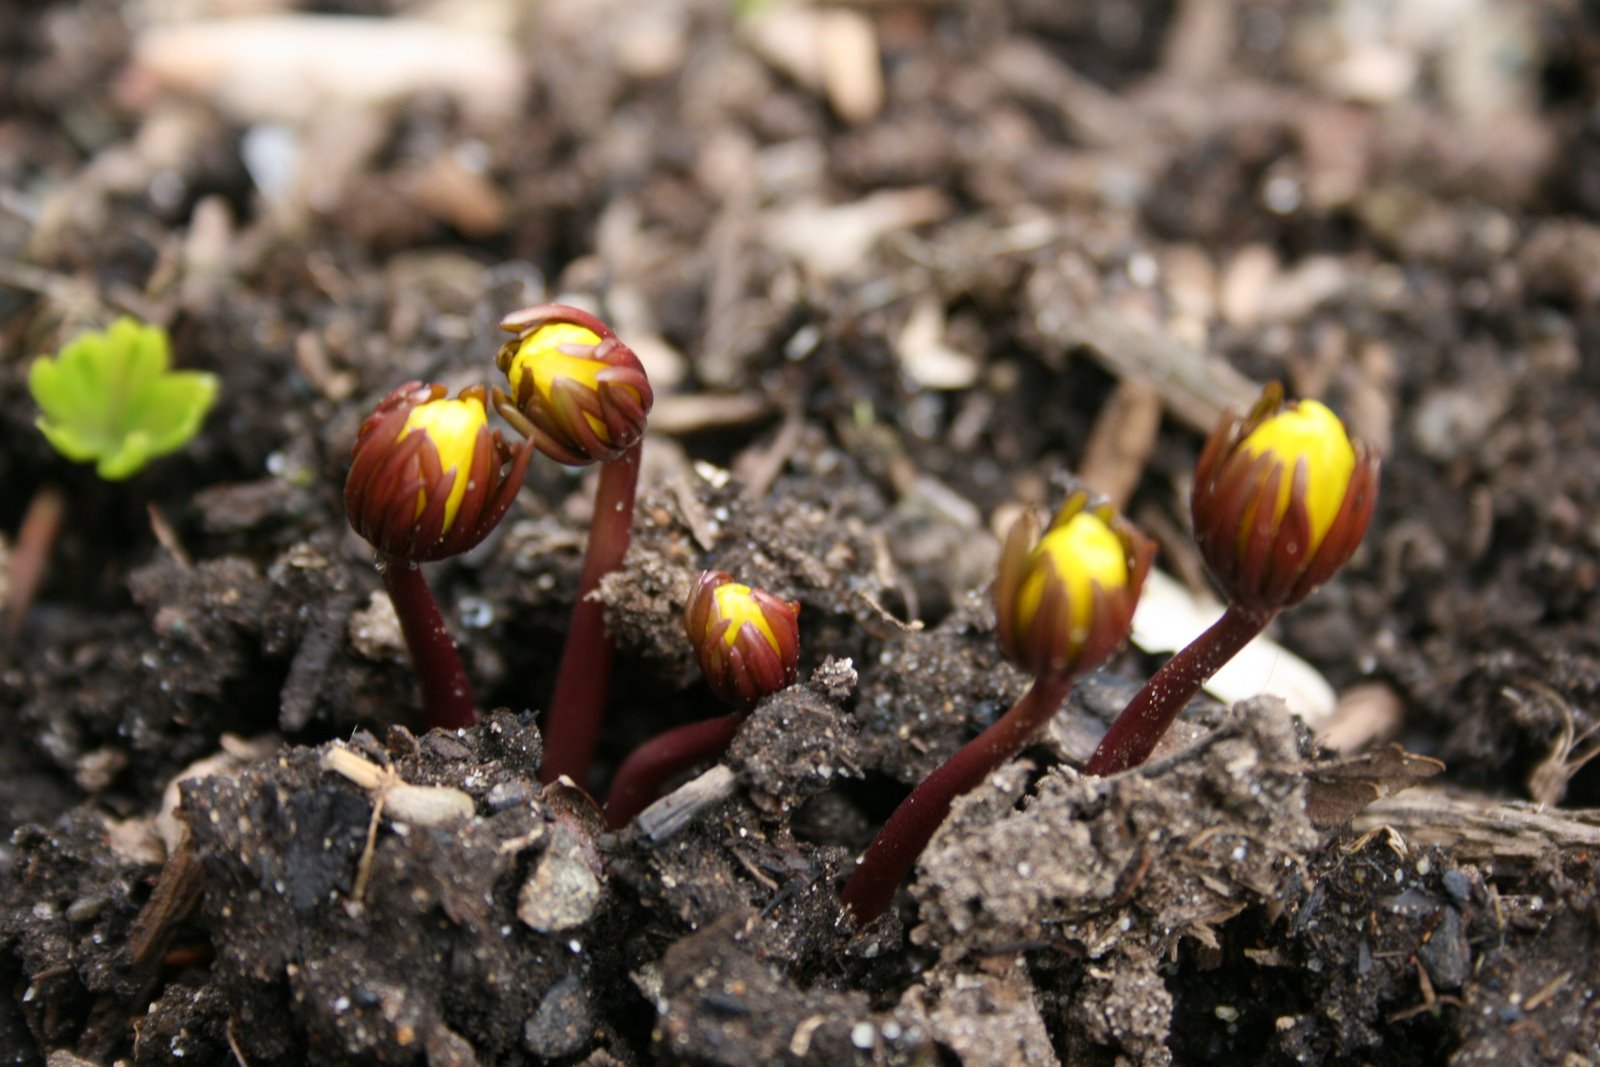
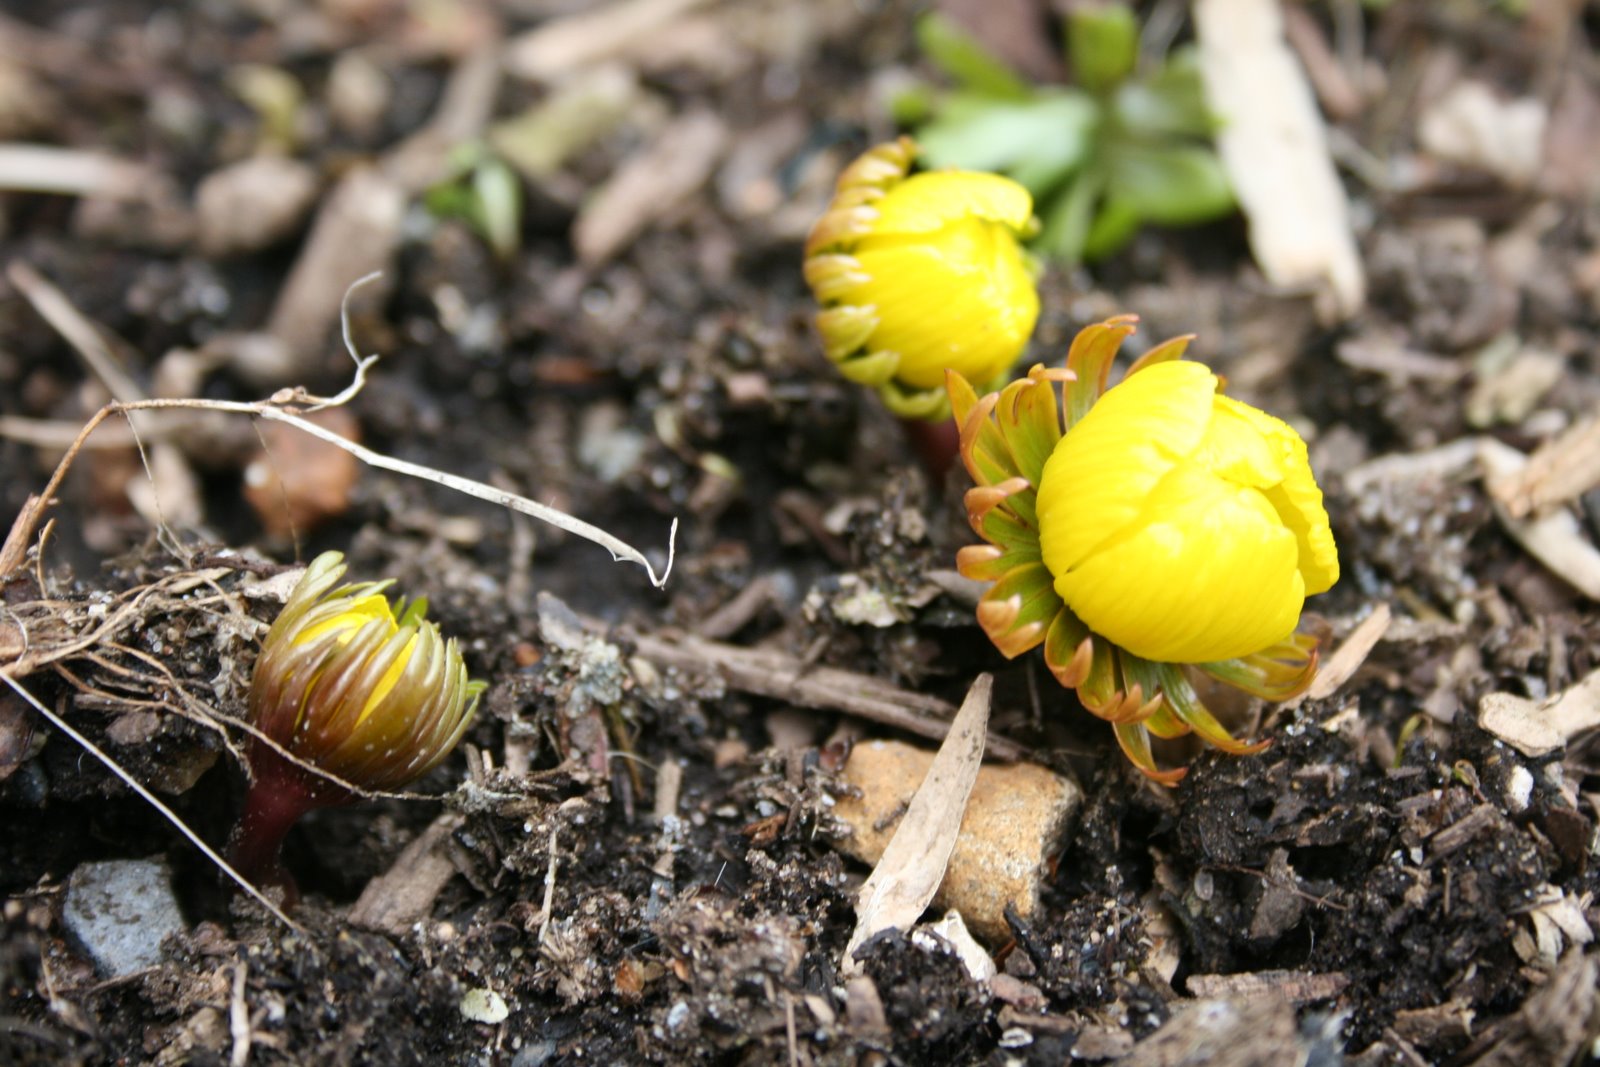
 2. Winter Aconite. Be sure to buy super-fresh bulbs (I suggest Old House Gardens) or you can try soaking them in water before planting. If they do not work, it is most likely because they dried out before planting. They are poisonous to rodents (chipmunks/squirrels).
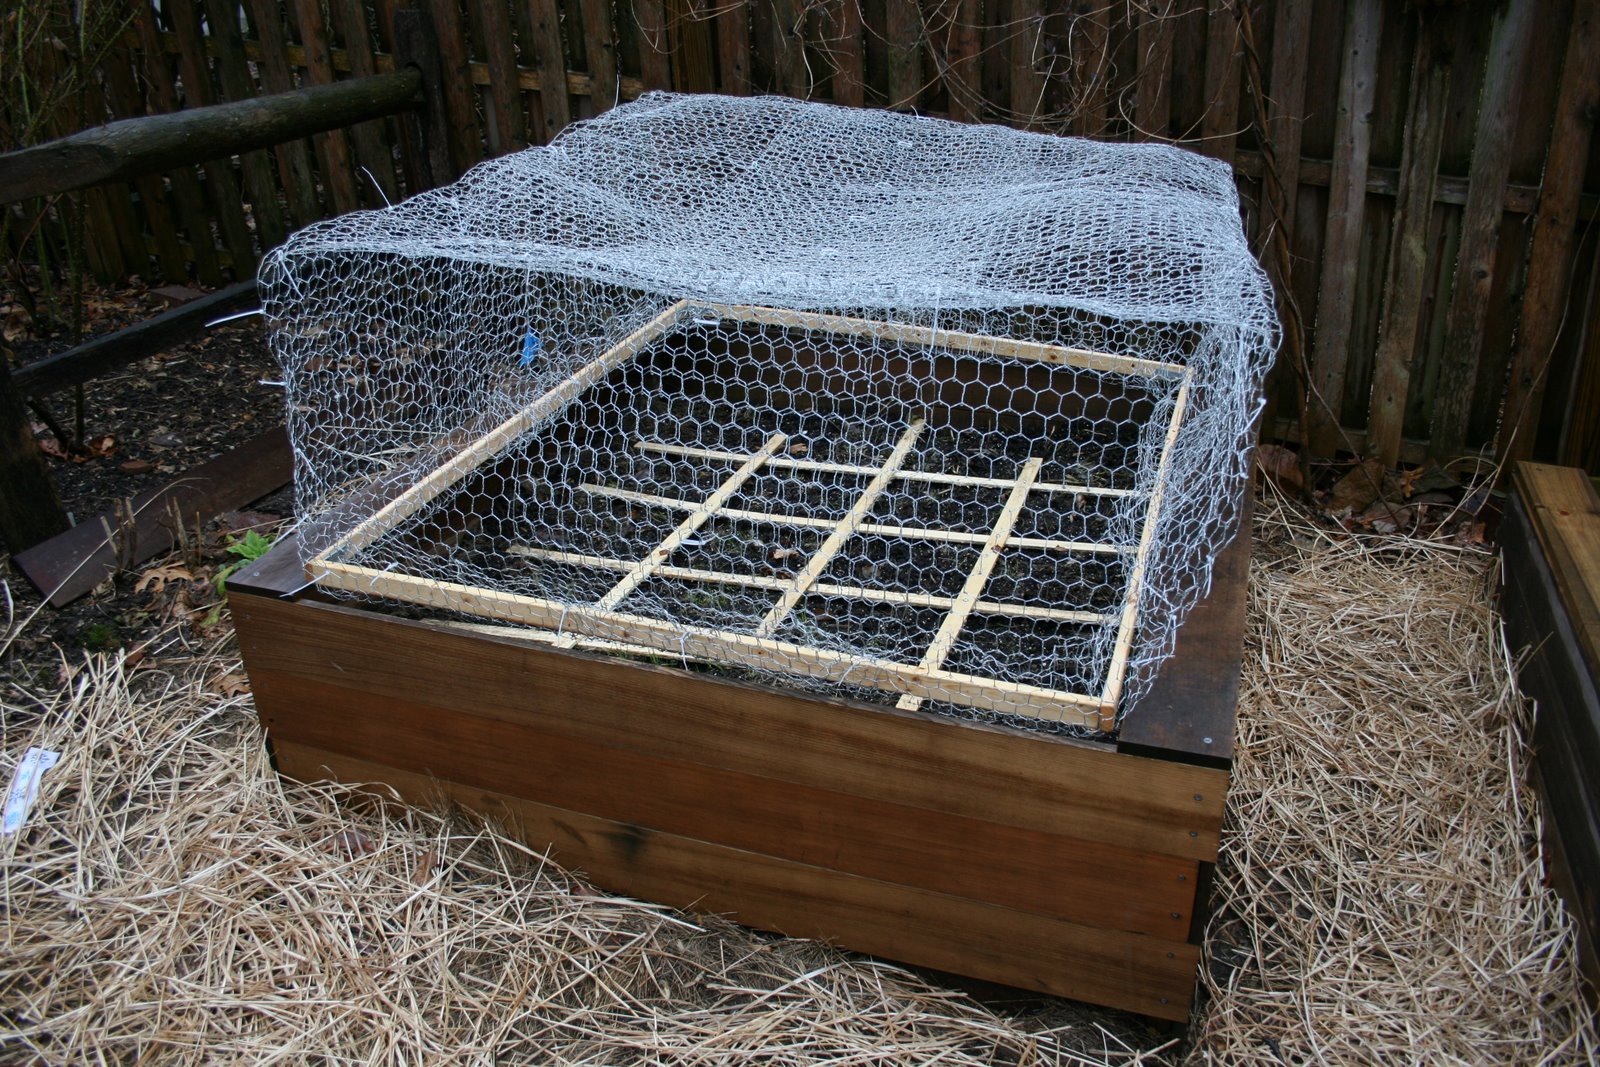
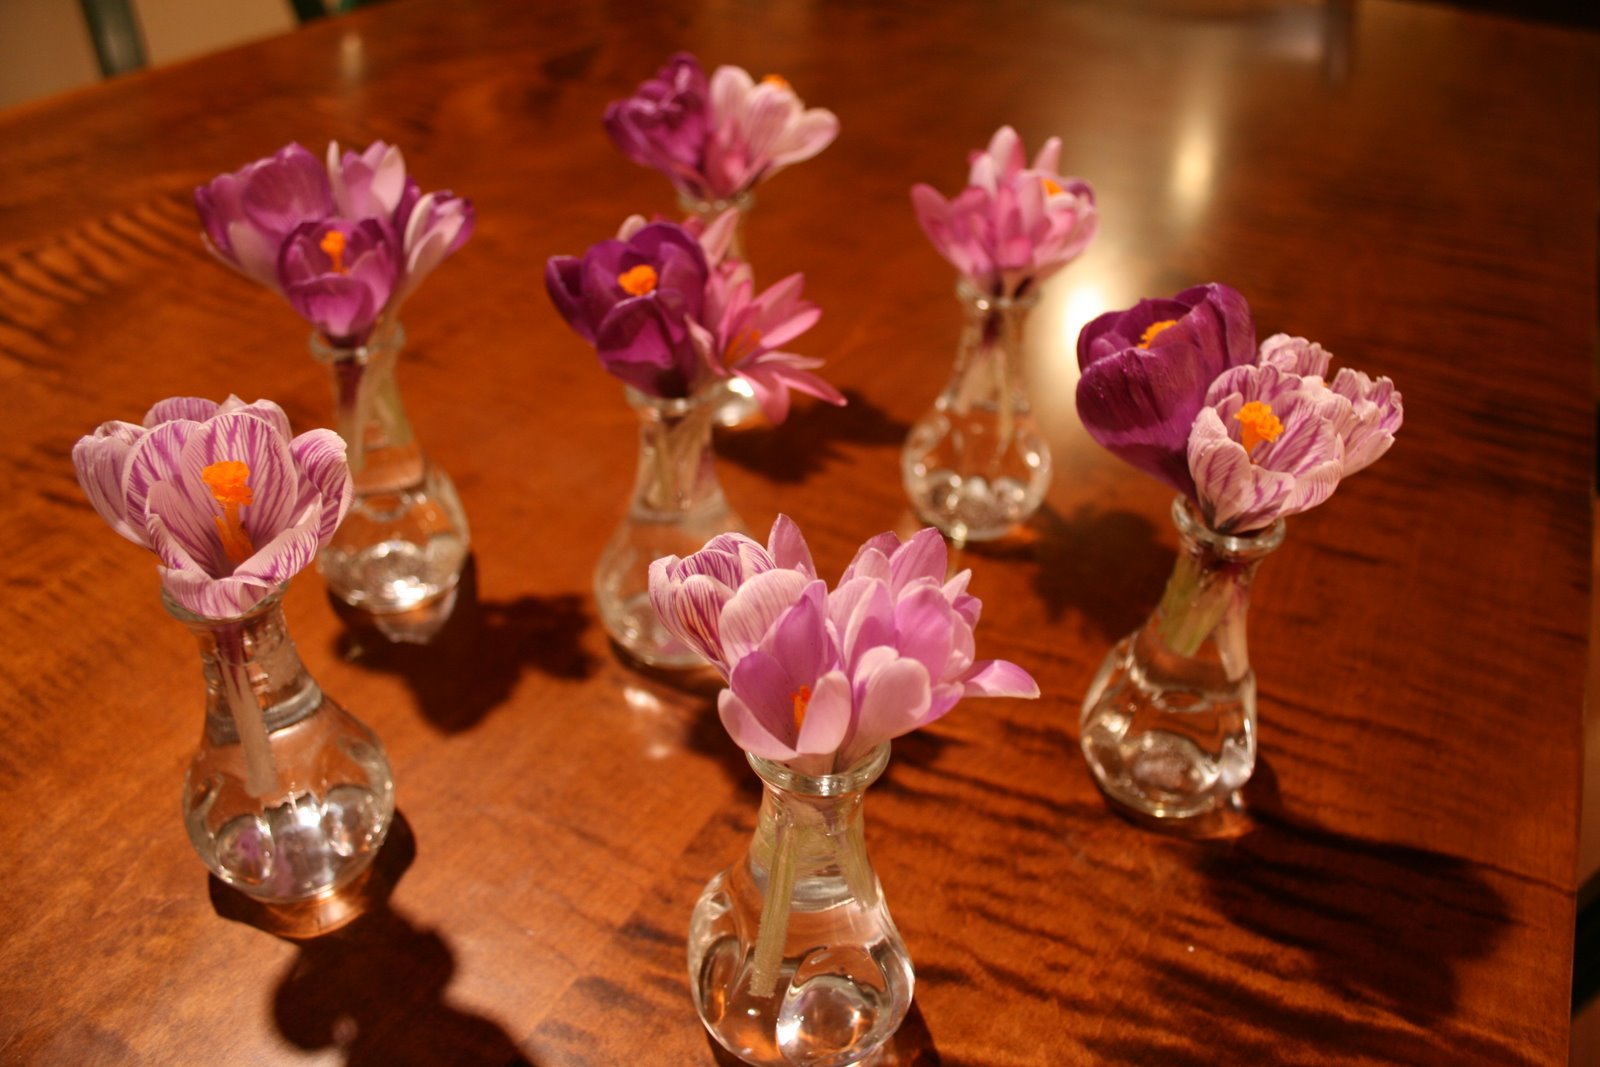
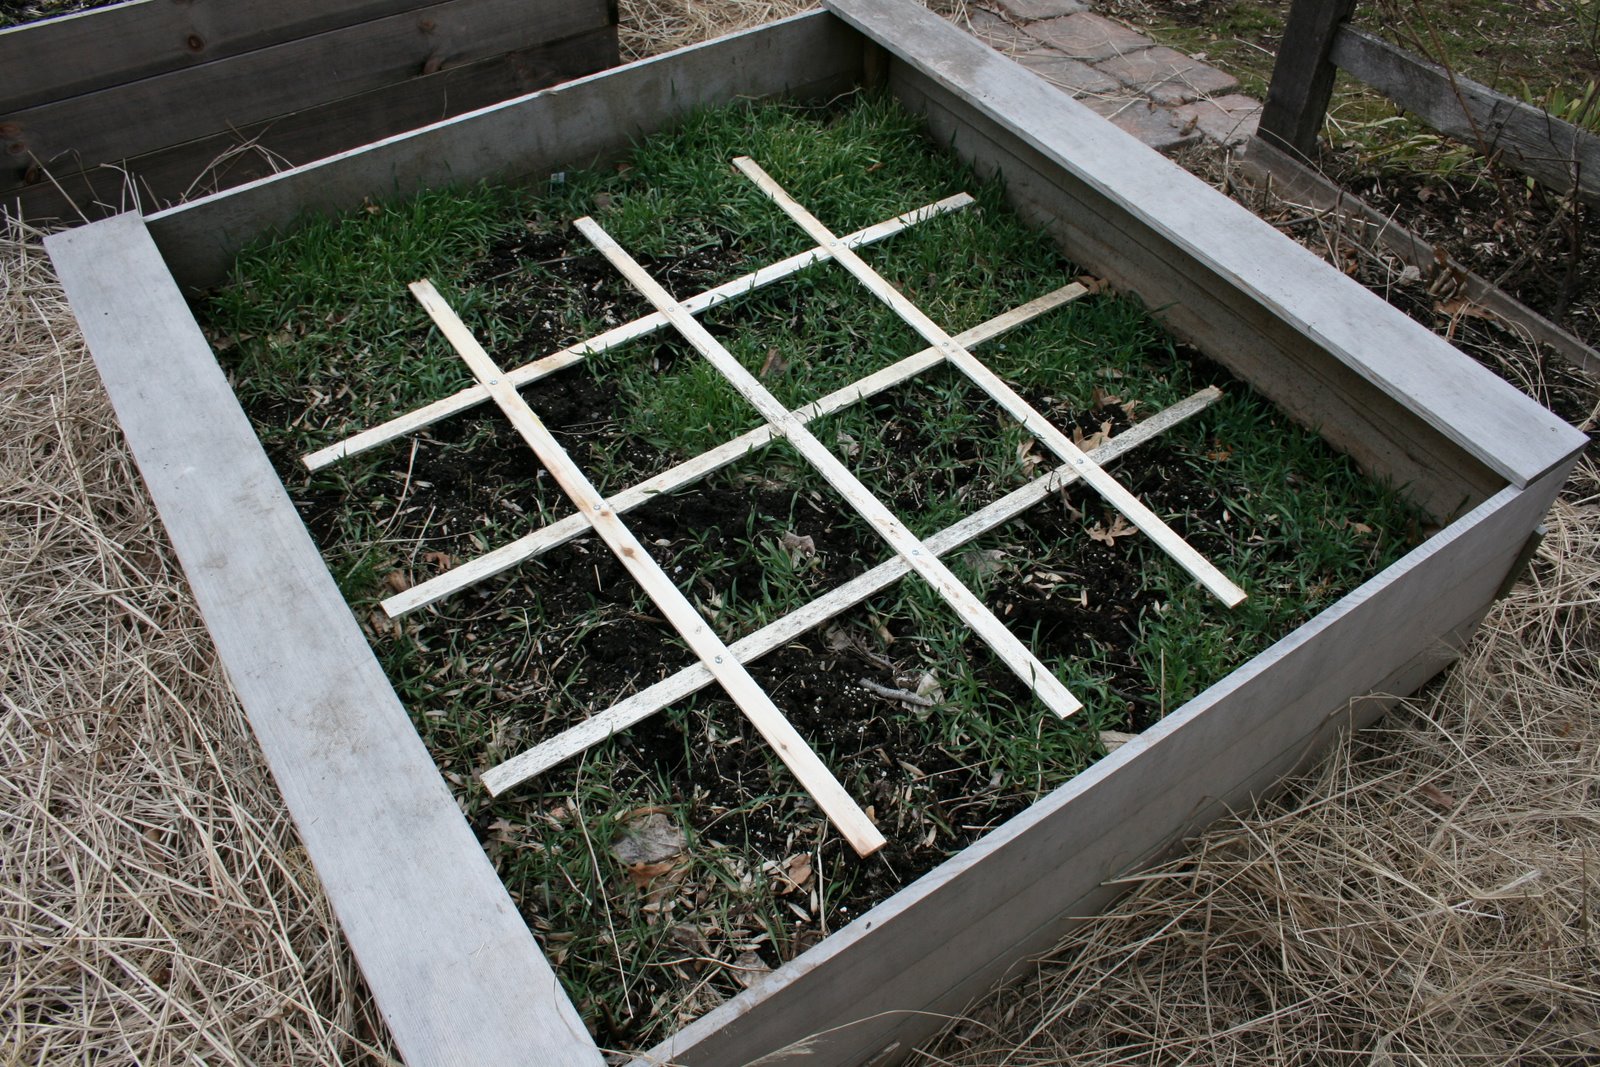
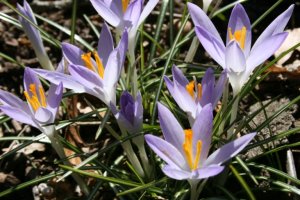 3. Crocuses. You can’t get enough of them. Tommies are the most rodent (chipmunk/squirrel) resistant and the earliest blooming. I have mainly purple and some rosy purple varieties. I also plant vernalis, which are the larger crocuses that also bloom early. Before planting, I dip the bulbs in Ropel or my home-made deer mix. I love mixes of purples, lavenders, purple-stripes and whites.
 4. Violets. Violets are lovely. They are great as an underplanting beneath roses and other shrubs. They require no care whatsoever. They produce beautiful, sweetly scented blooms during the early spring (and even during the winter on particularly warm days). You have to be careful not to choose wild varieties that self-seed too much. I grow sweet violets as parma violets are not hardy in my region.
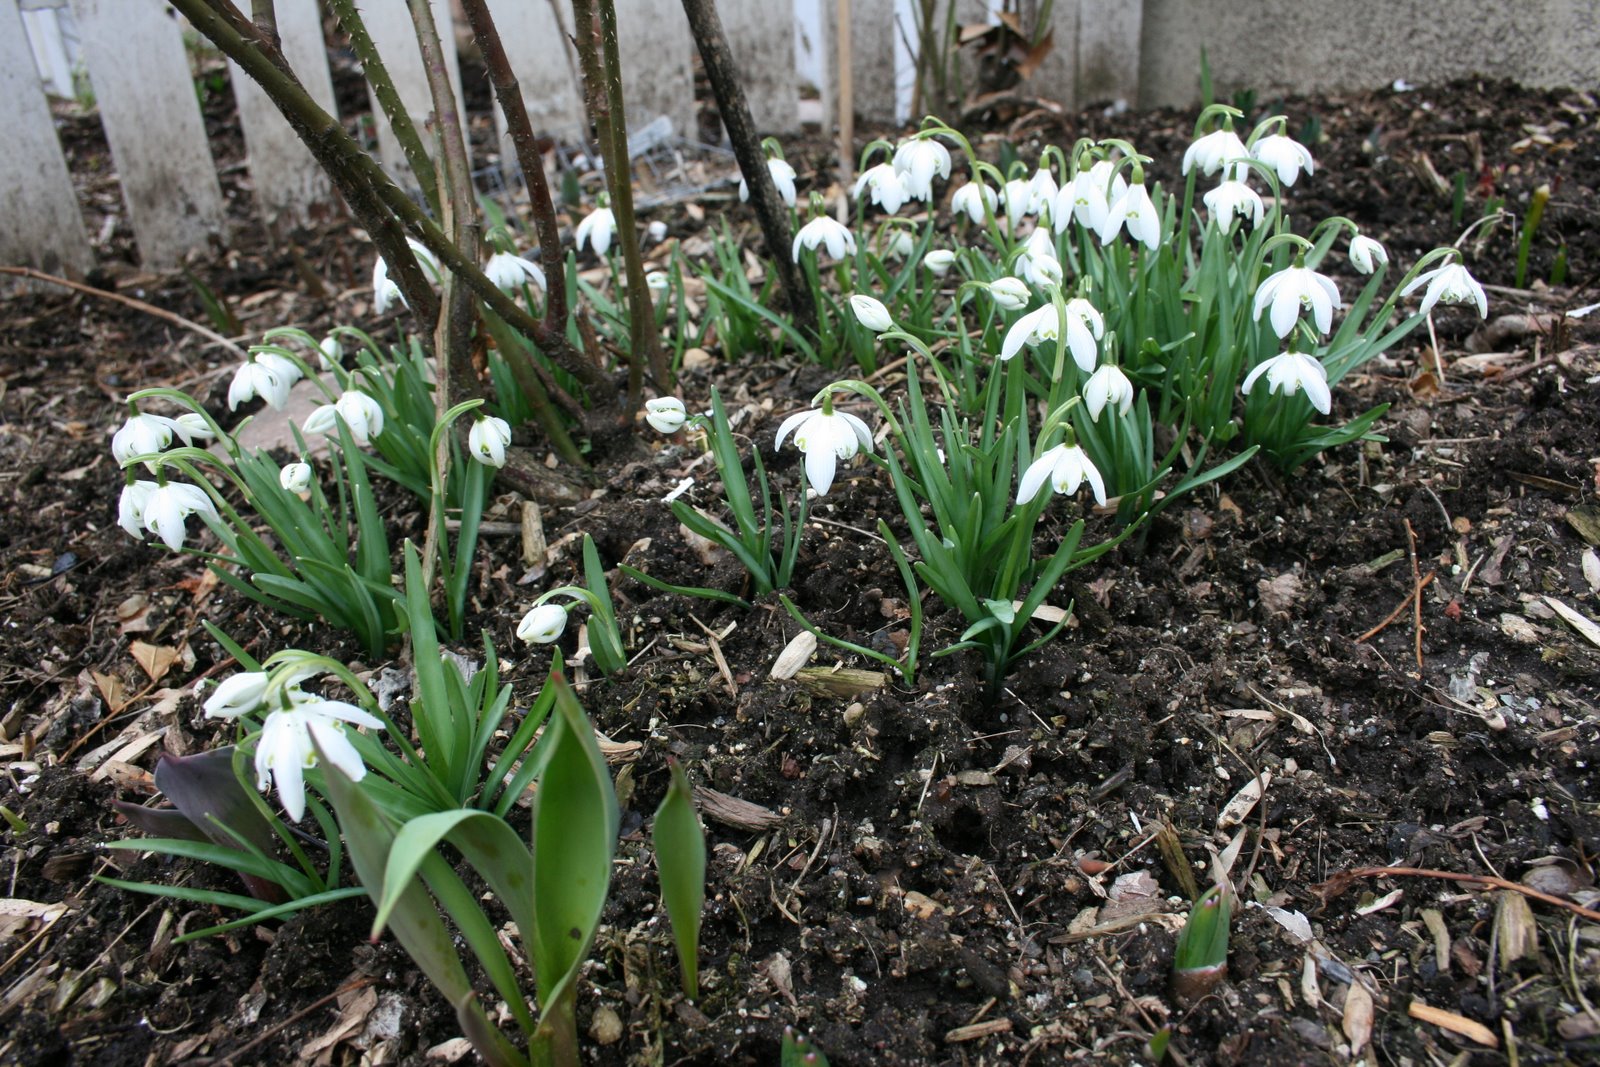 1. Snowdrops. You can’t get enough of them and they last for a very long time. They have been blooming in my garden since February. I find that the double-blooming snowdrops bloom later, so you can add them if you want an even longer bloom period. Also, I’m not sure if they are poisonous, but no one (chipmunks/squirrels) eats them in my garden.
.
 2. Winter Aconite. Be sure to buy super-fresh bulbs (I suggest Old House Gardens) or you can try soaking them in water before planting. If they do not work, it is most likely because they dried out before planting. They are poisonous to rodents (chipmunks/squirrels).
.
 3. Crocuses. You can’t get enough of them. Tommies are the most rodent (chipmunk/squirrel) resistant and the earliest blooming. I have mainly purple and some rosy purple varieties. I also plant vernalis, which are the larger crocuses that also bloom early. Before planting, I dip the bulbs in Ropel or my home-made deer mix. I love mixes of purples, lavenders, purple-stripes and whites.
.
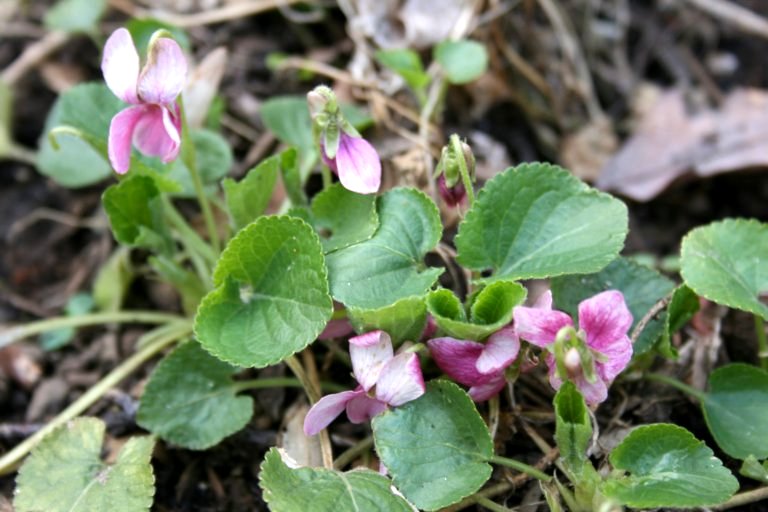 4. Violets. Violets are lovely. They are great as an underplanting beneath roses and other shrubs. They require no care whatsoever. They produce beautiful, sweetly scented blooms during the early spring (and even during the winter on particularly warm days). You have to be careful not to choose wild varieties that self-seed too much. I grow sweet violets as parma violets are not hardy in my region.
.


