
 “Glory to God in the highest, and on earth peace, good will toward men.” (Luke 2:14)
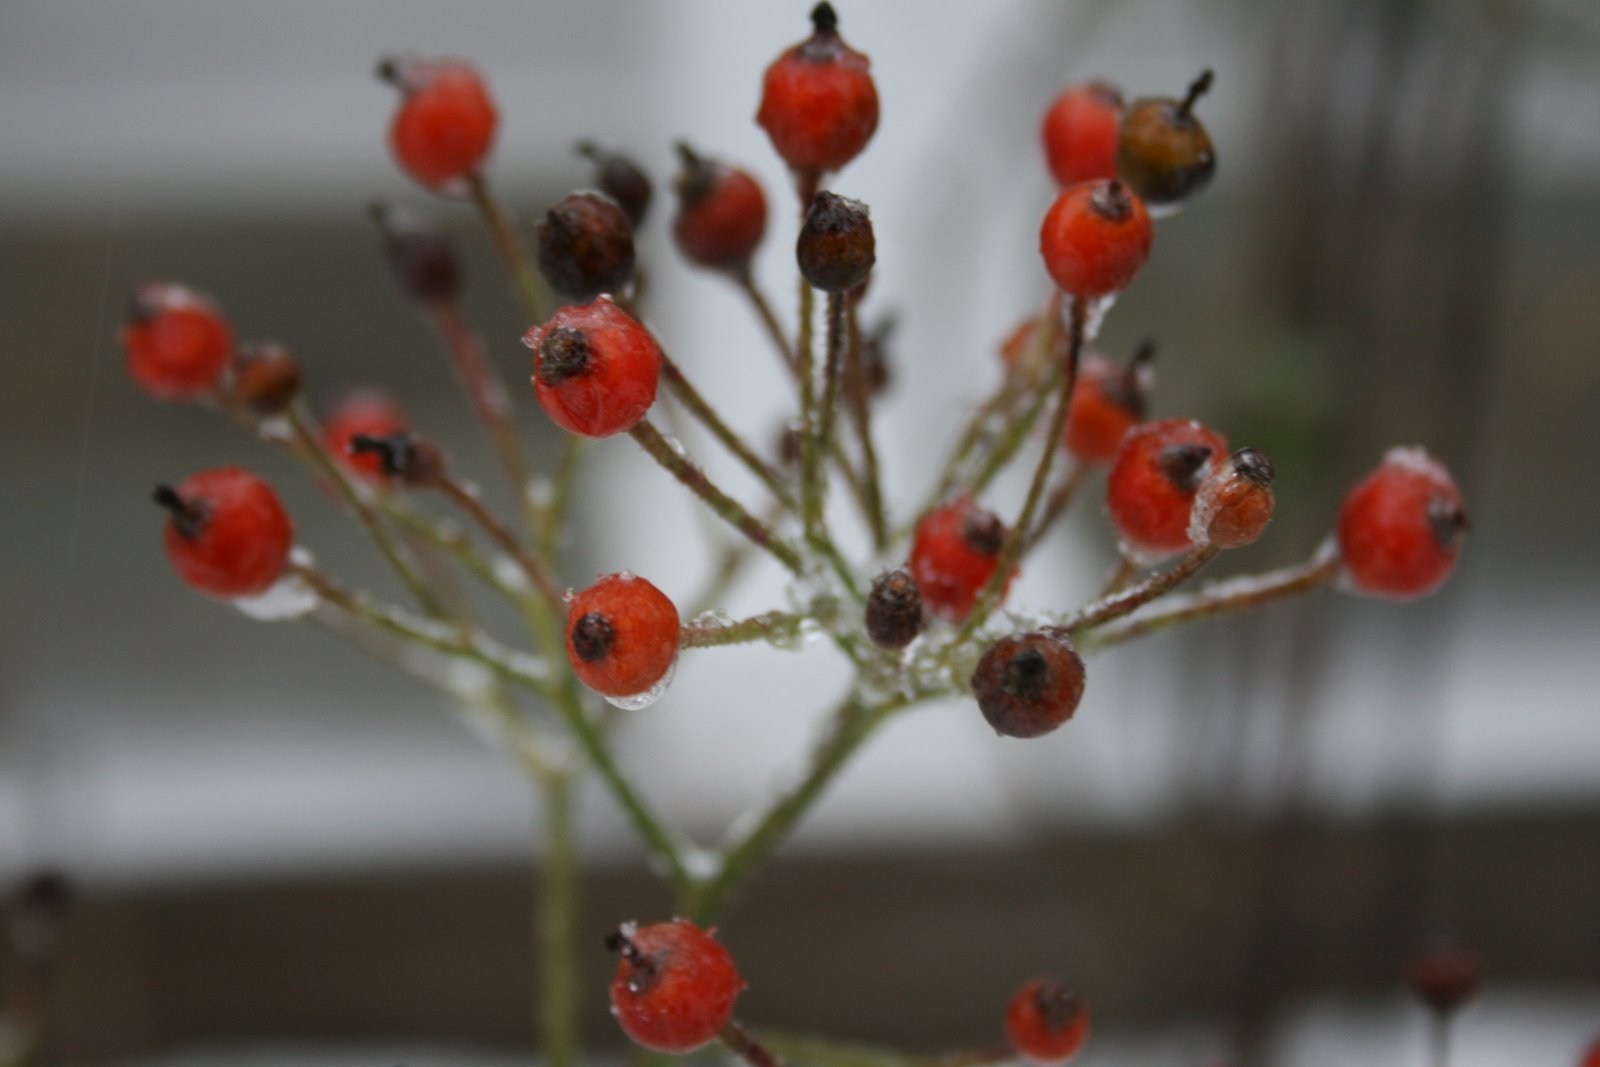
Picture: Ballerina Rose Hips

Sadly, today was the last day of my local farmers’ market in Summit, New Jersey. It was half-raining, half-sleeting and about 32 degrees, but my boys (ages 8 and 5) and I would not have missed it for anything. Tony and his faithful family from Vacchiano Farms with their fresh meat and produce were there. Brad and his faithful crew from Hoboken Farms with their specialty foods were there too. We will miss all of you until next June.
Chatham Farmers’ Market (Chatham)
Summit Farmers’ Market (Summit)
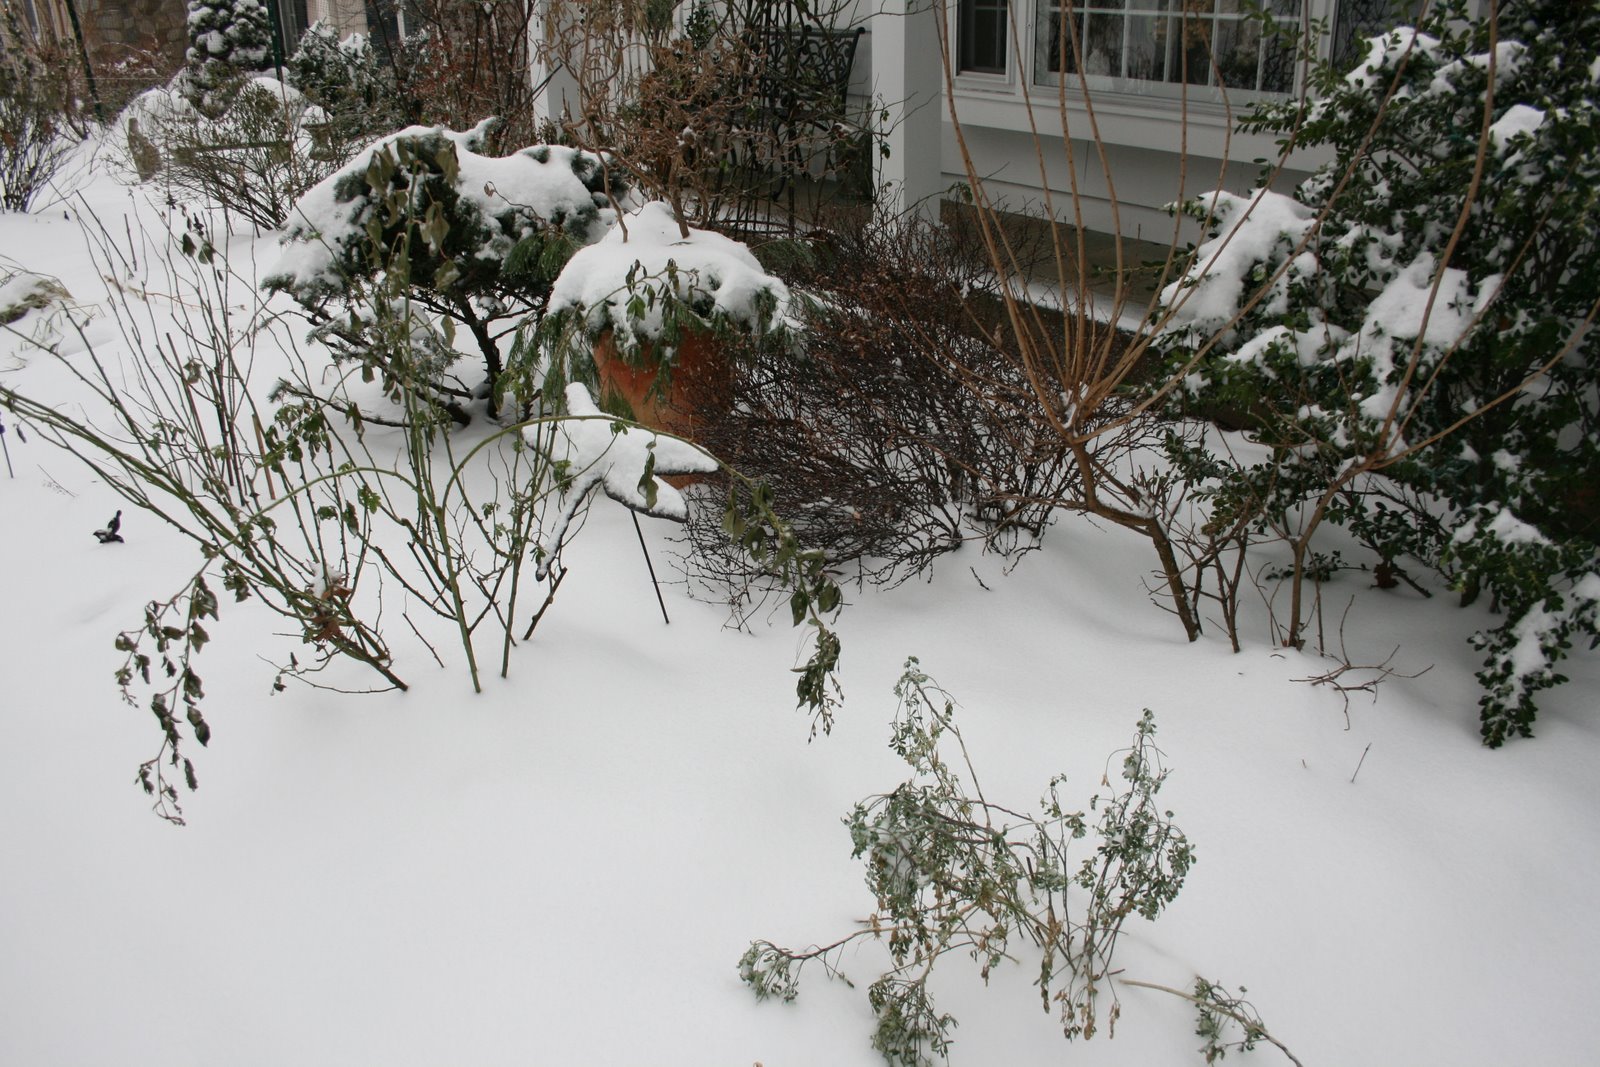
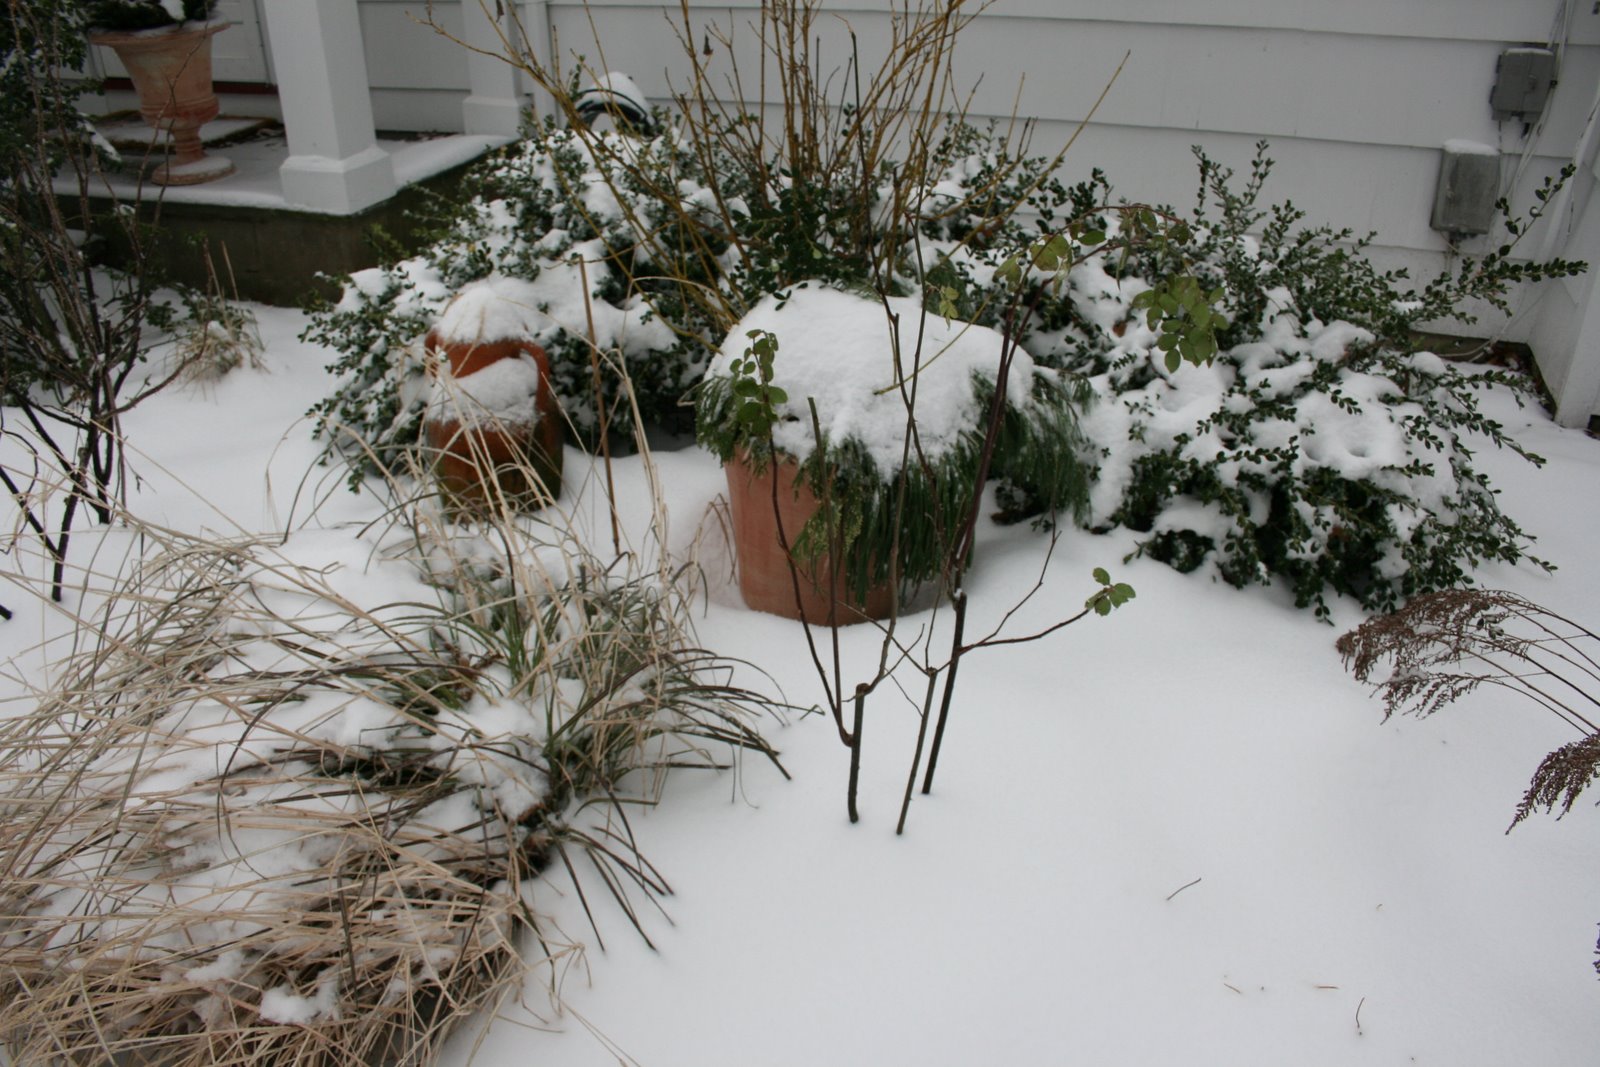
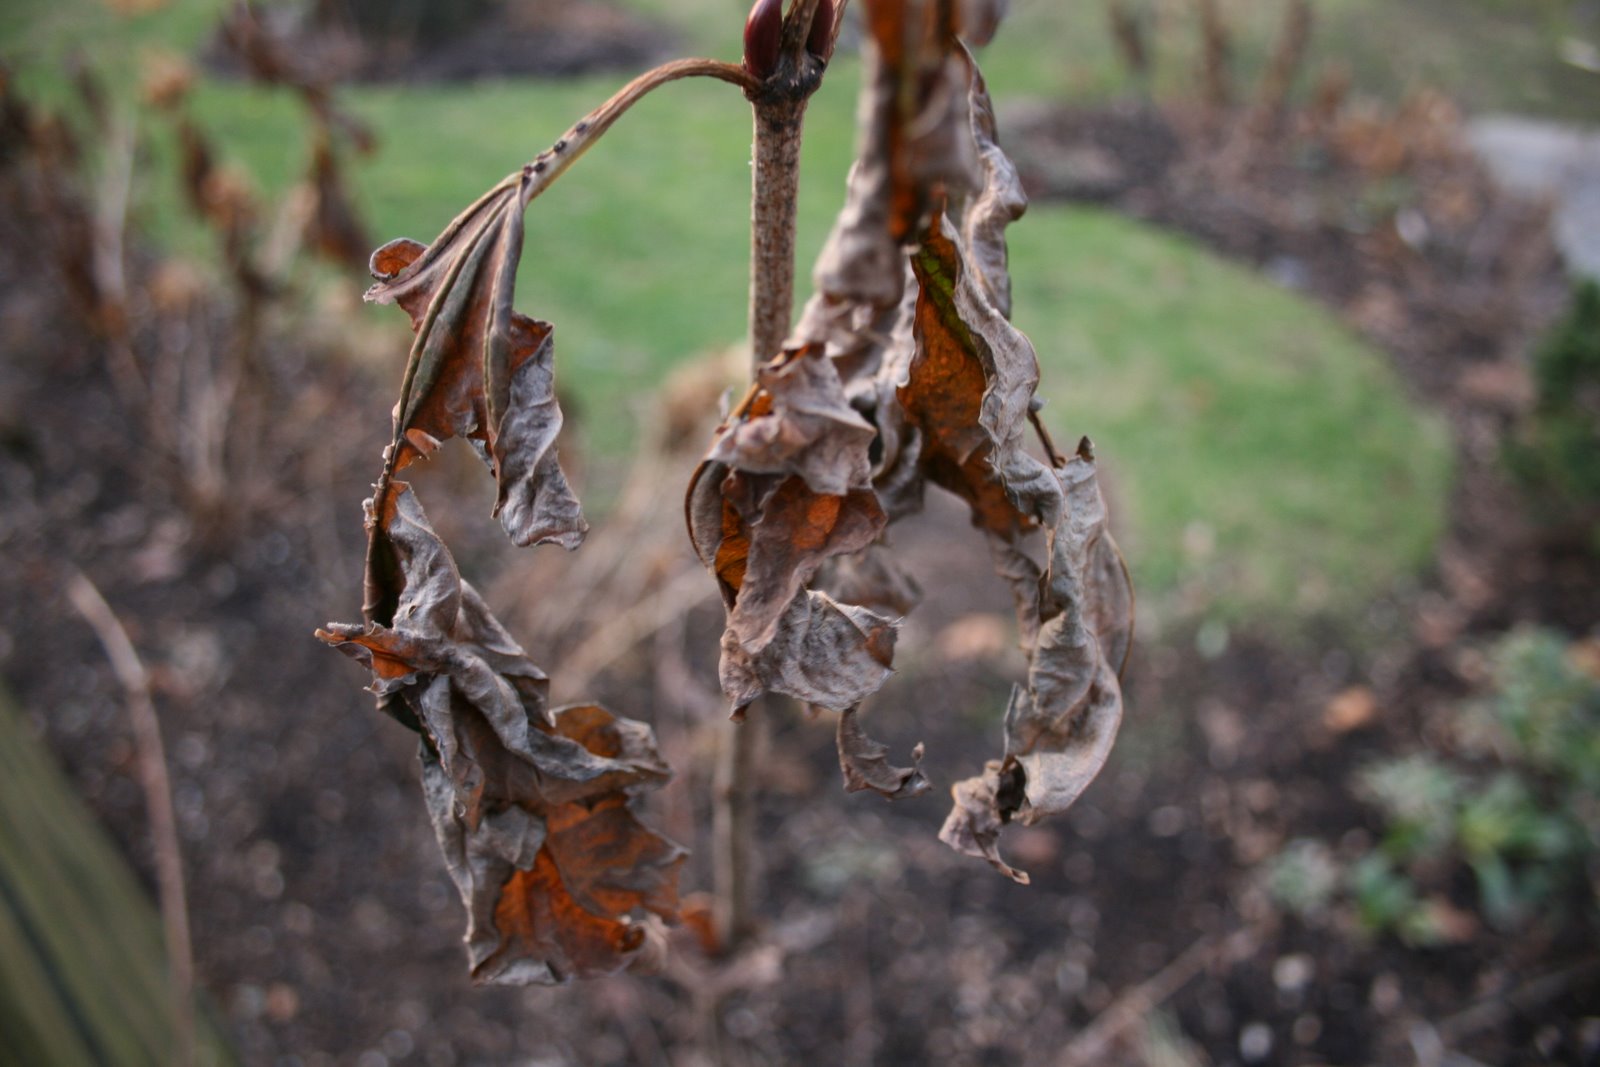
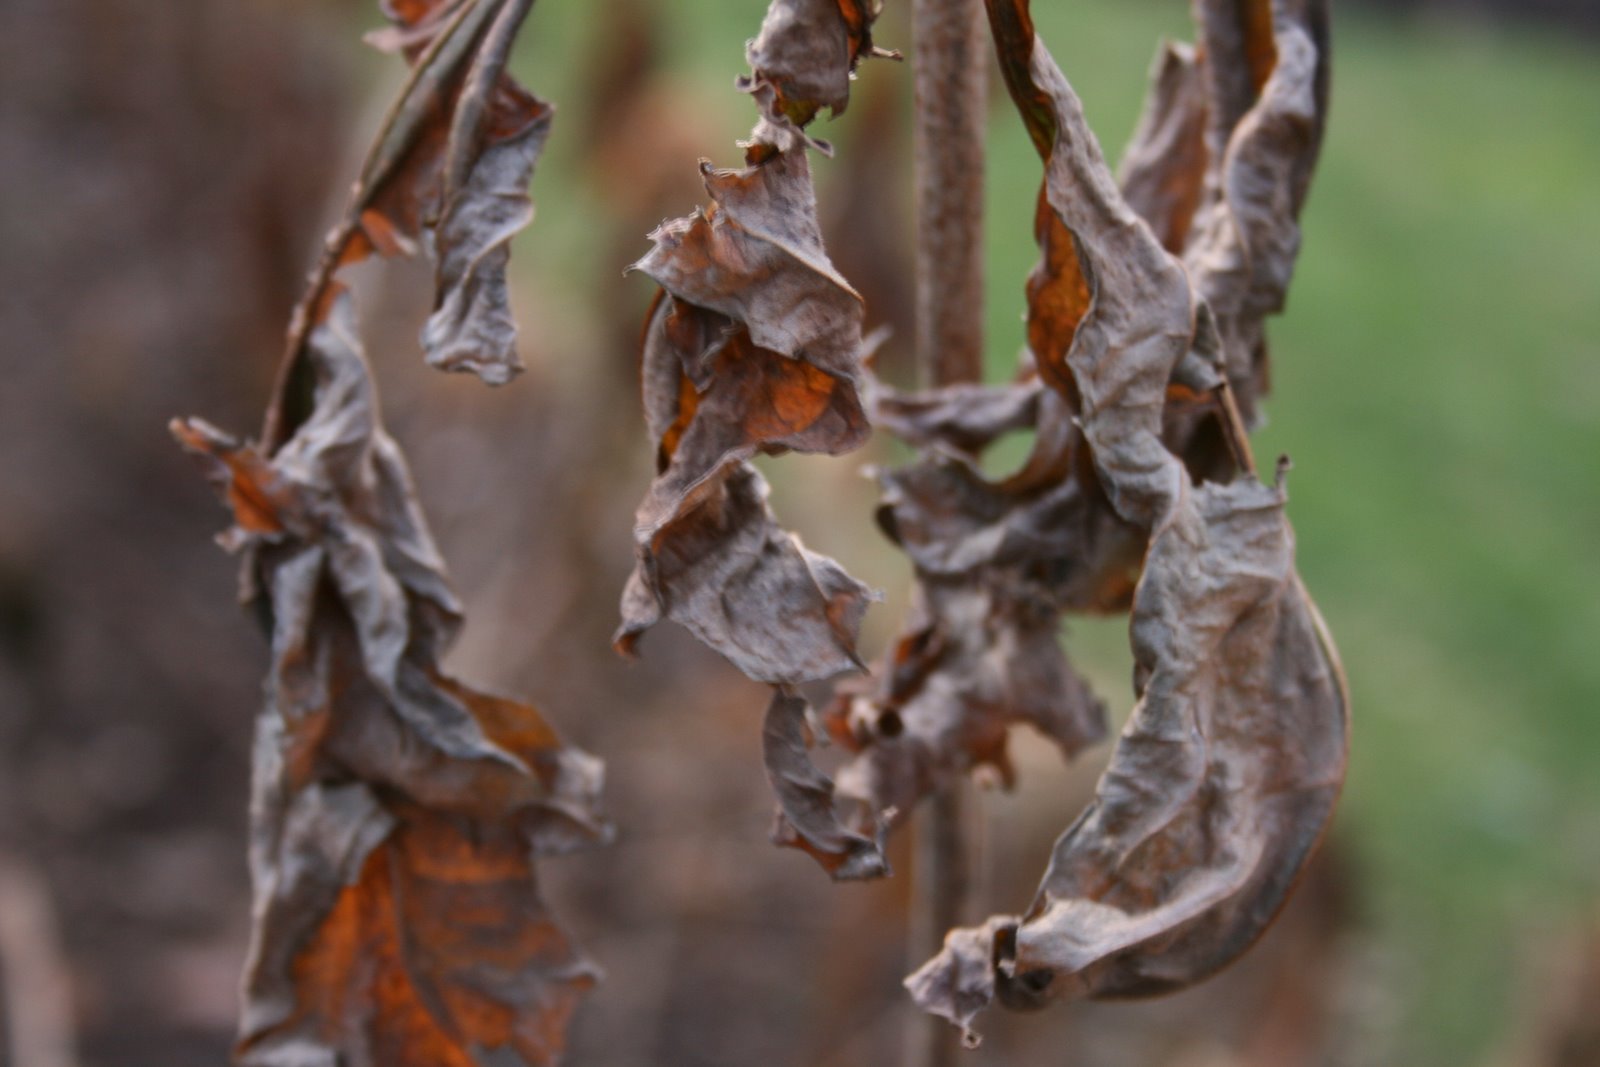
What a difference a month makes. A warm November and a later-than-expected frost (for zone 6b) combined for some fabulous blooms. But now, the cold December weather has set in and almost all the blooms are gone. Alas, I was able to find at least a few to share with all of you.
~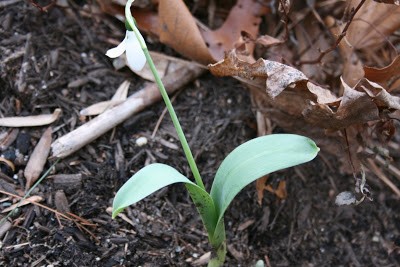 A snowdrop in the Front Border
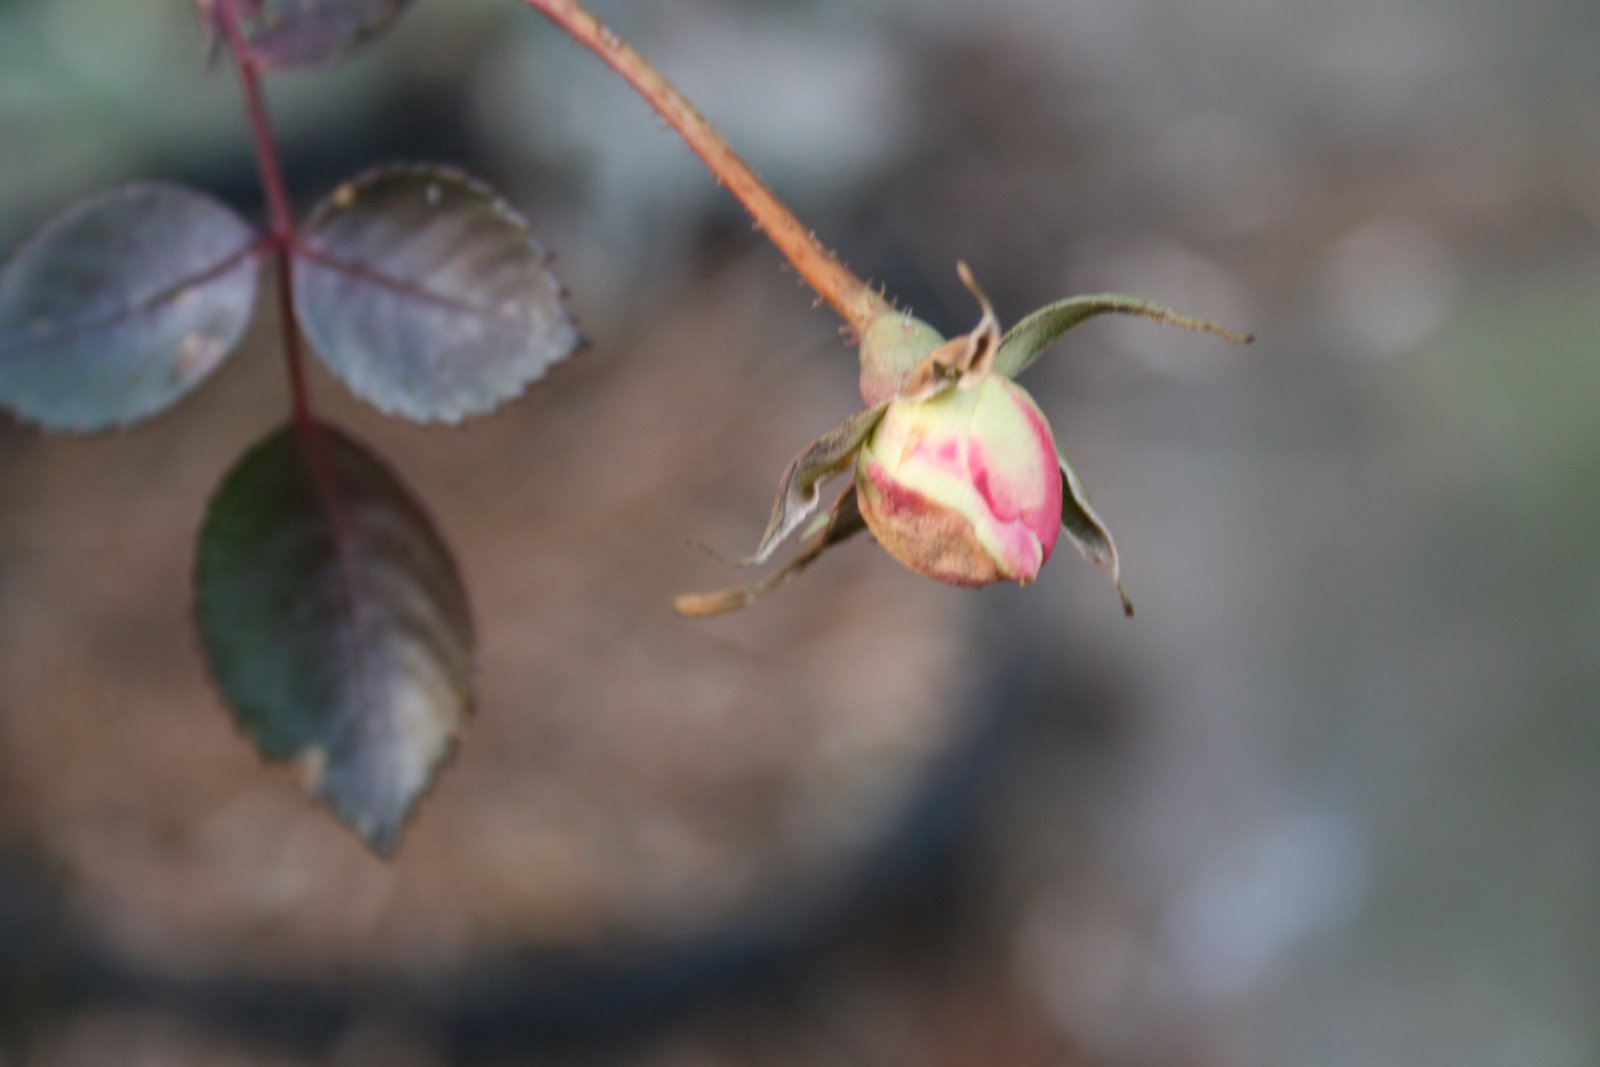 A final rosebud on Goldberry Hill
 Autumn cherry in the Walled Garden
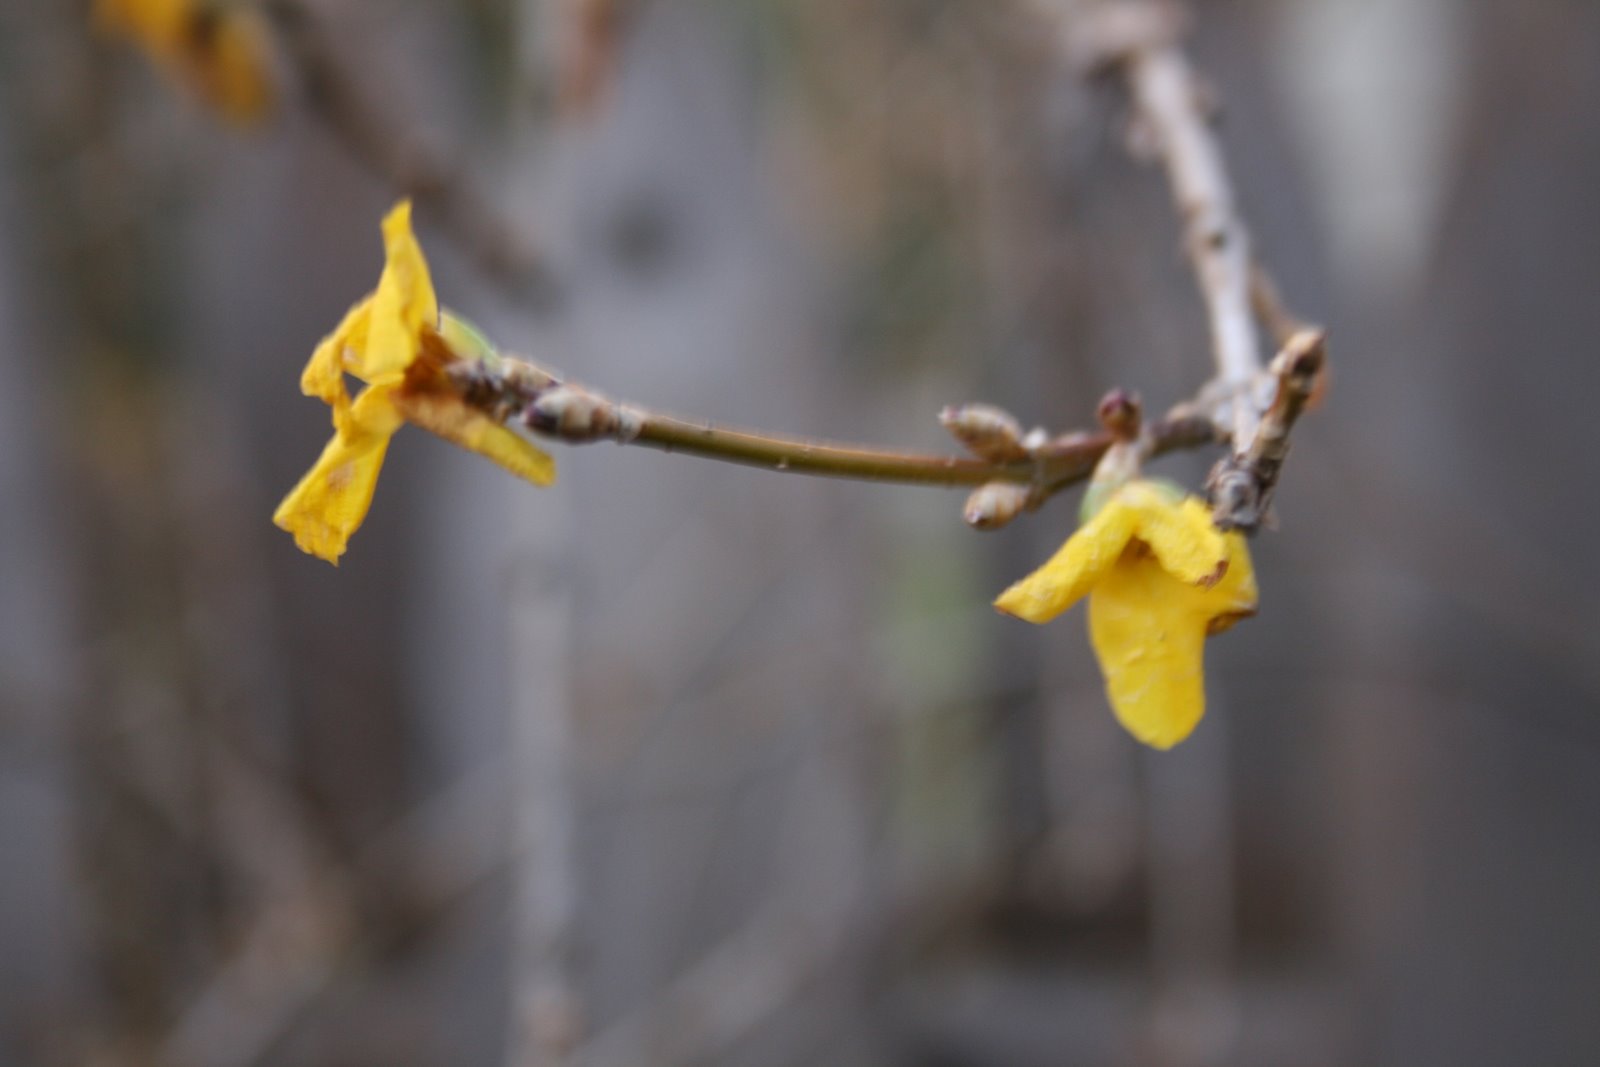 Forsythia in the Walled Garden
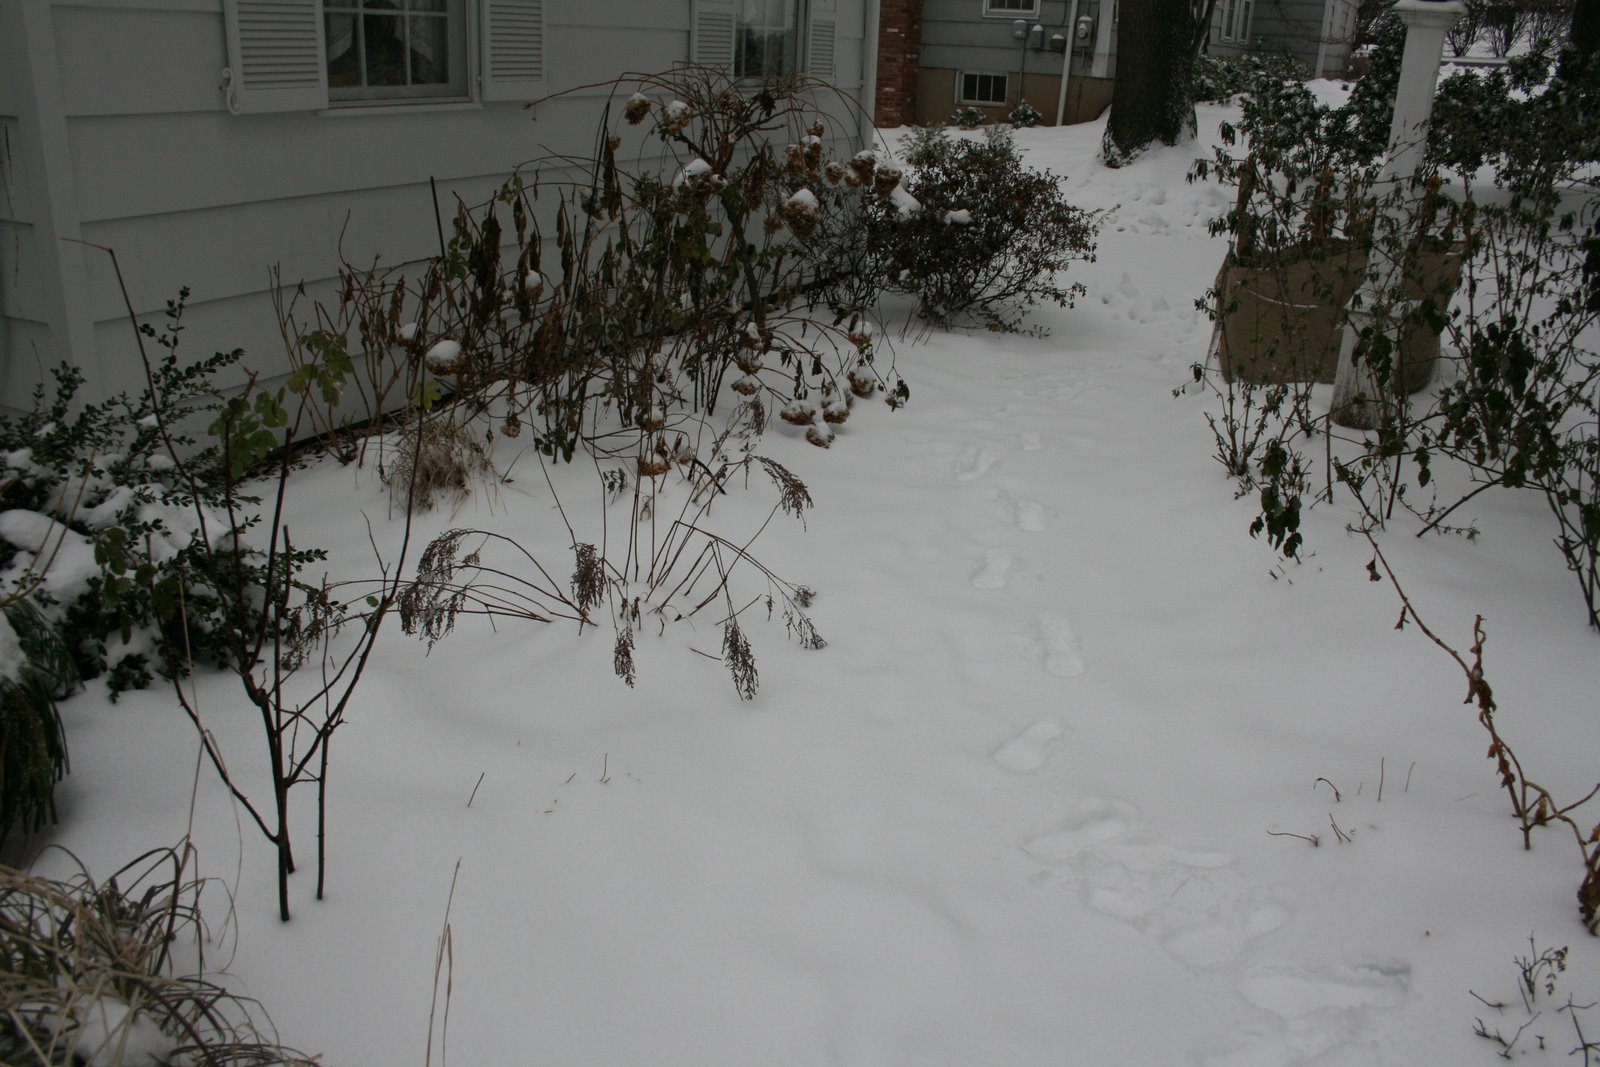
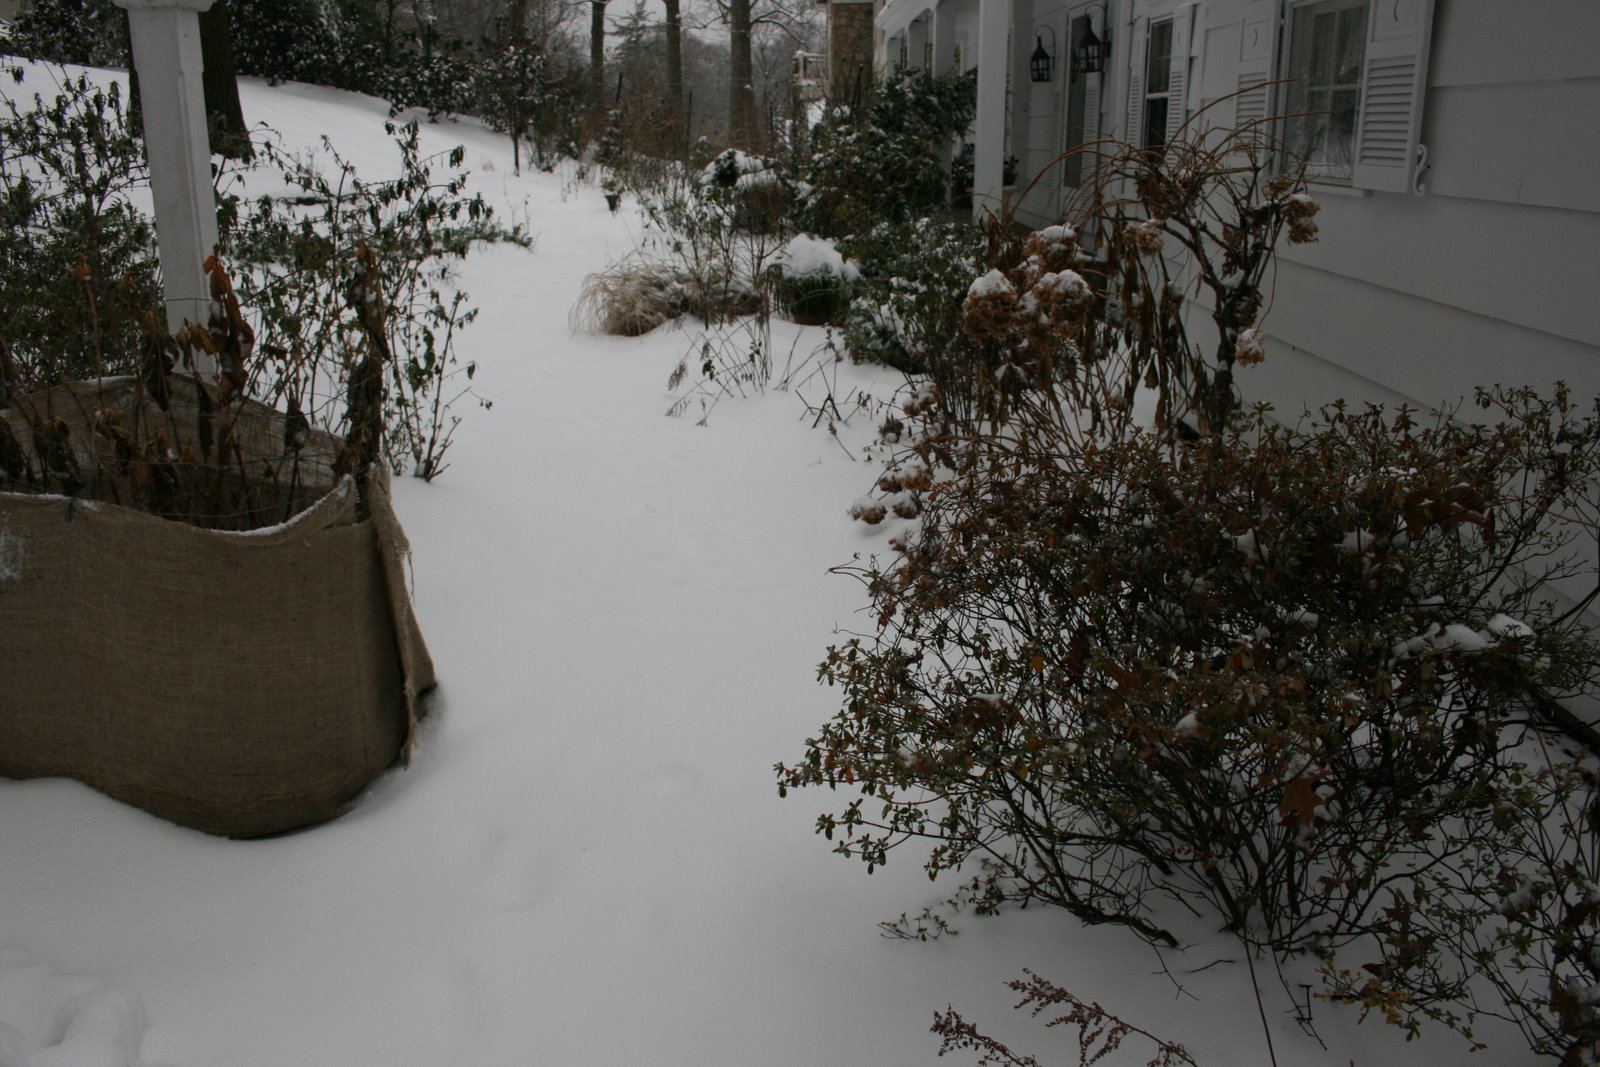
As a follow-up to last Wednesday’s post, here are the rest of this year’s winter containers.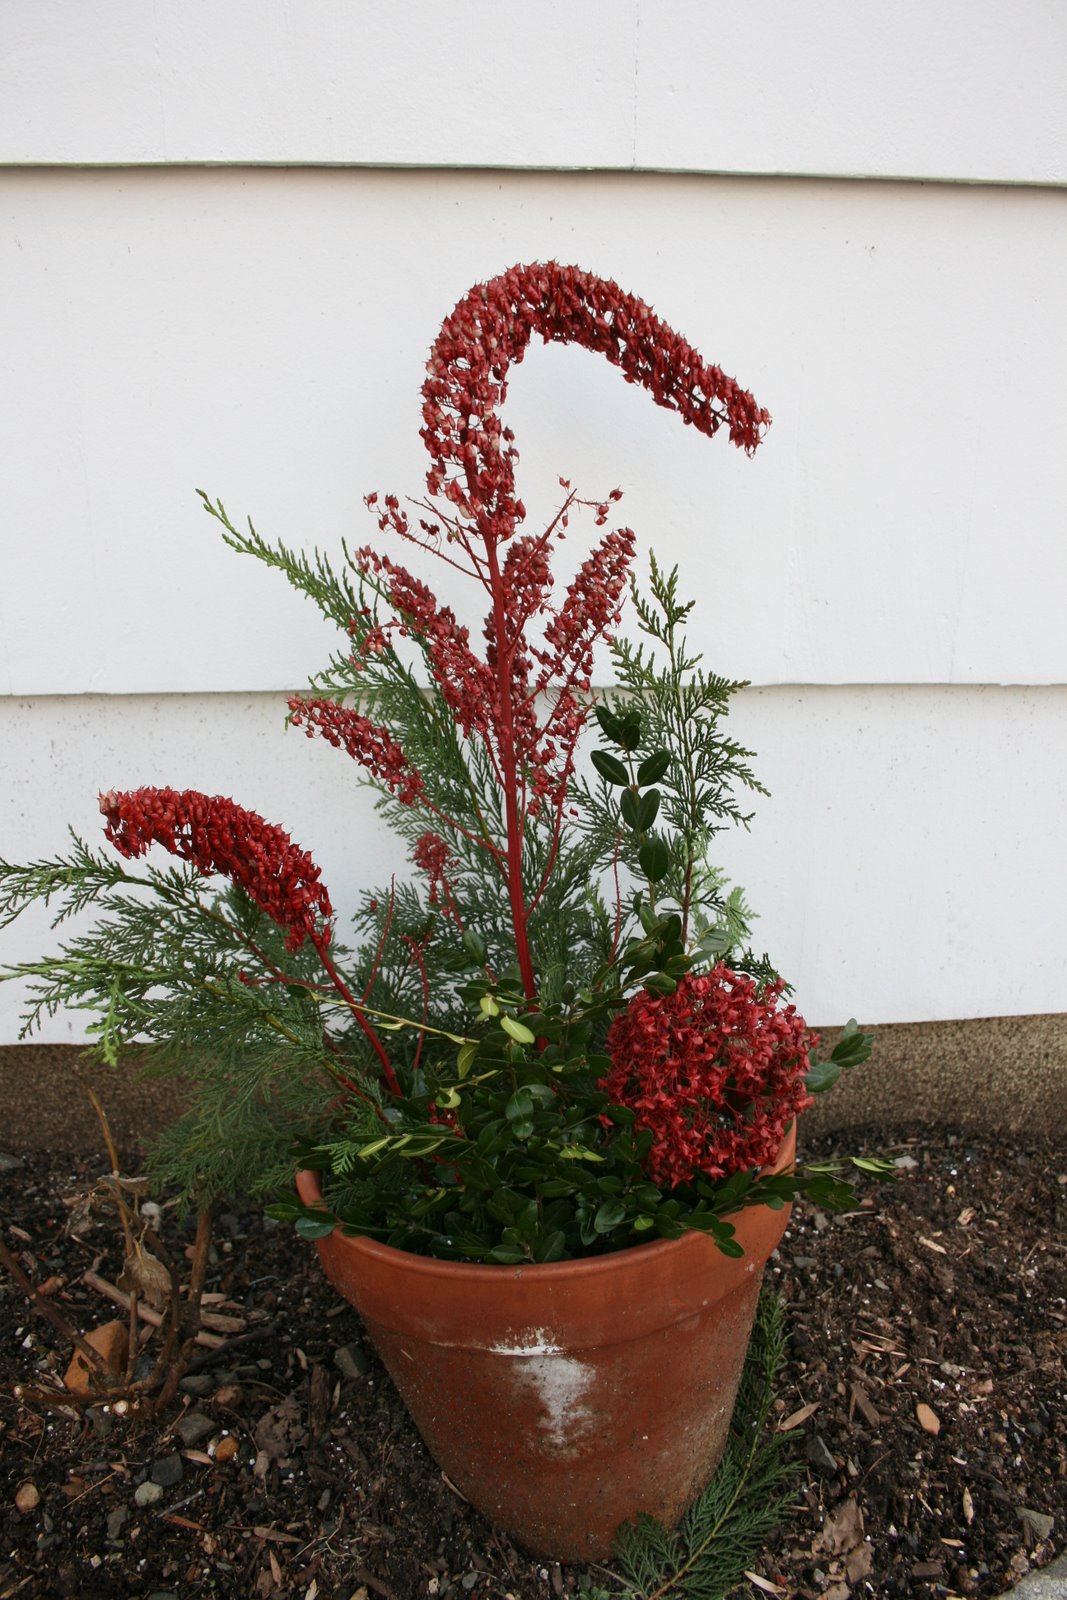

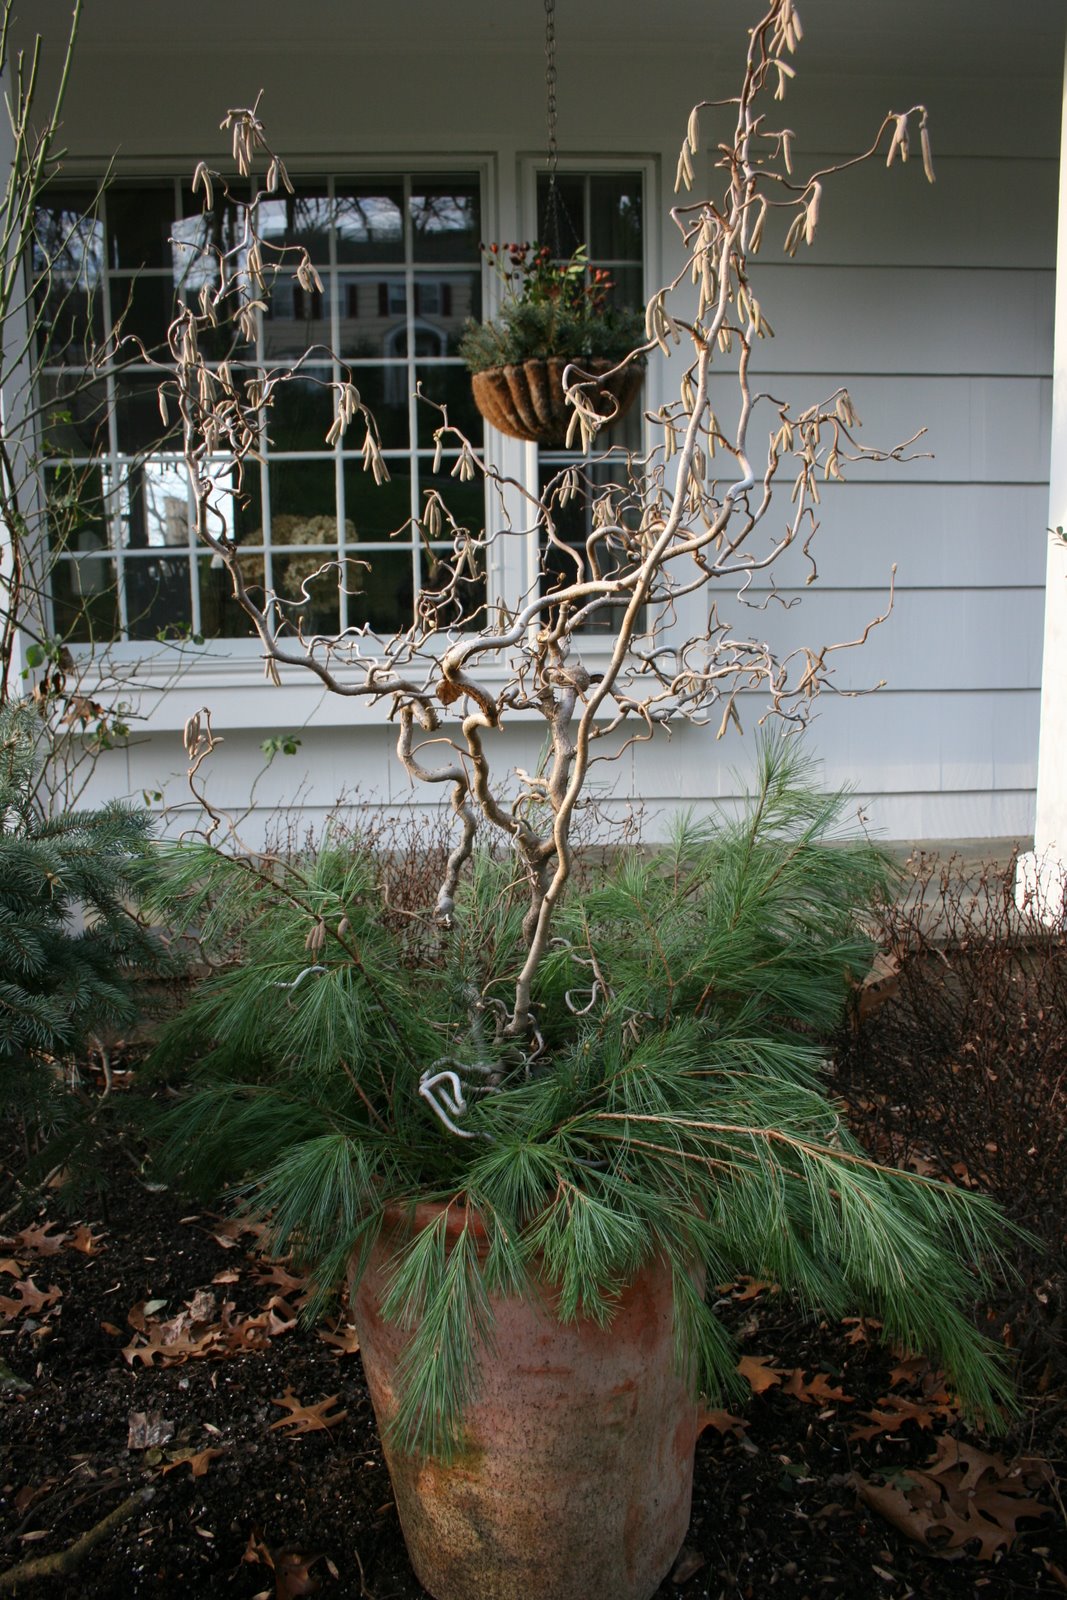
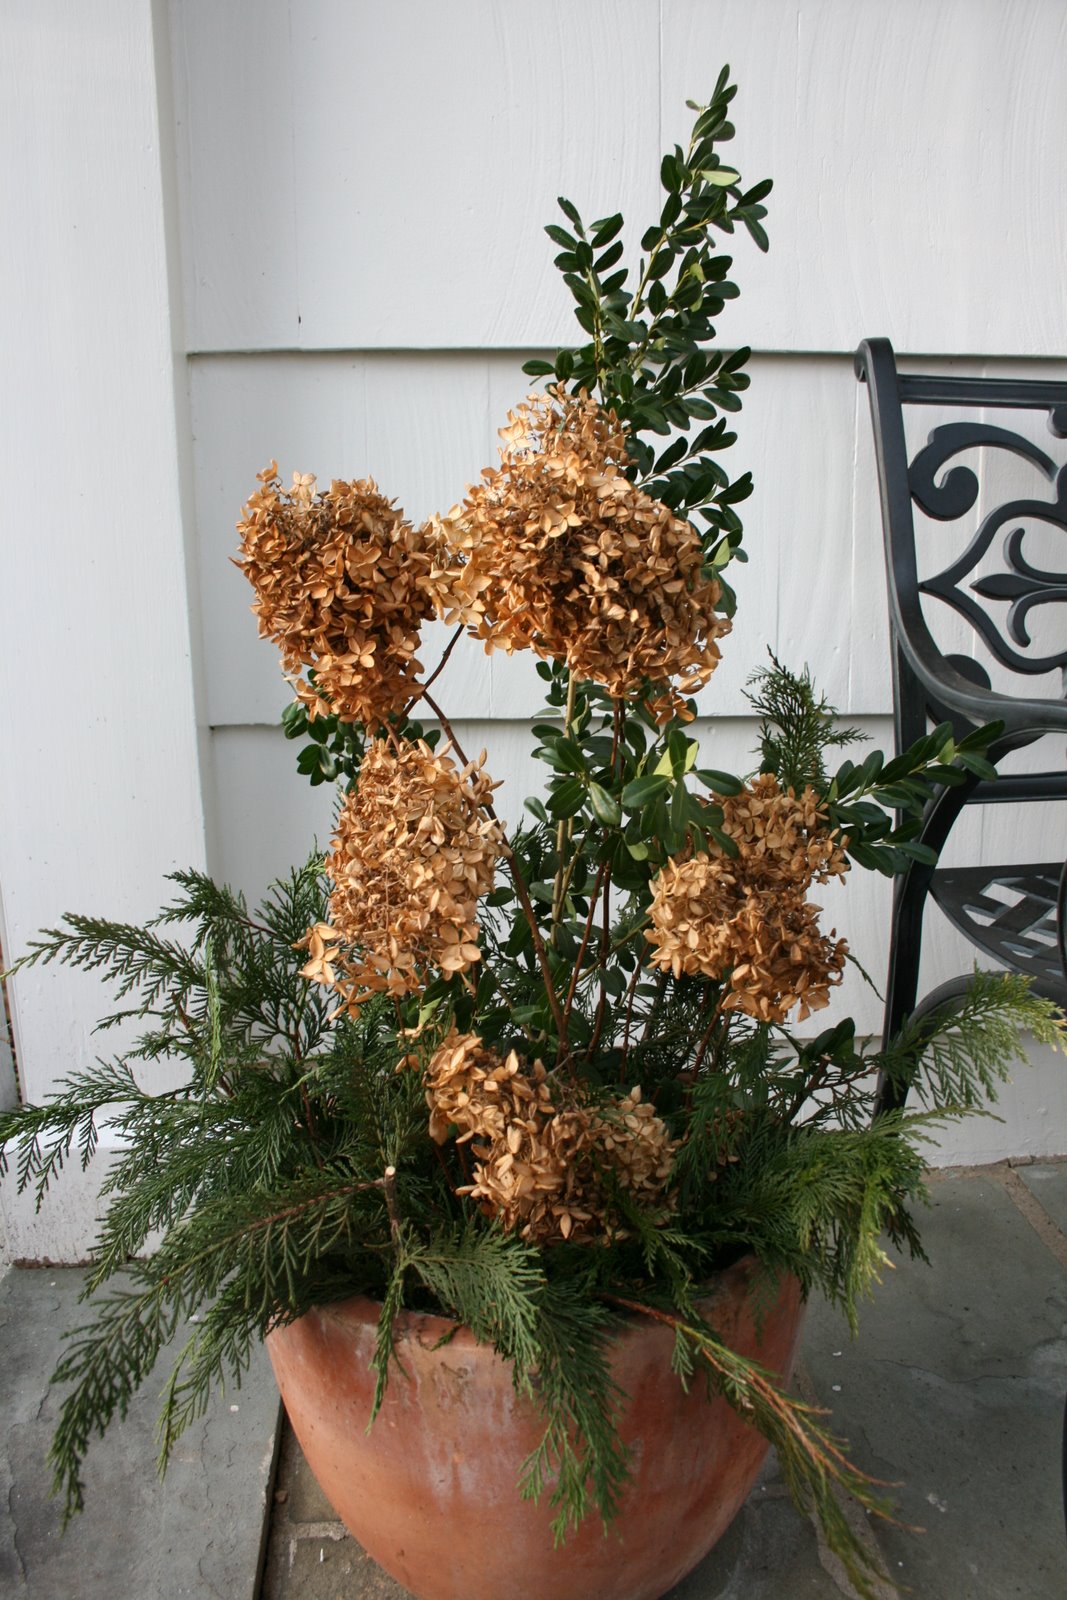
As per my recent posts on spray-painted alliums and wreath-making, I am trying do most of my indoor and outdoor Christmas decorating with cuttings from my garden. As a part of this effort, here are some of the winter containers that I have put together this past week. I’m about half-way done and will post pictures of the others after I finish them. If you want to see how they differ from last year’s winter containers, click here.
~ Winterberry and Leyland Cypress
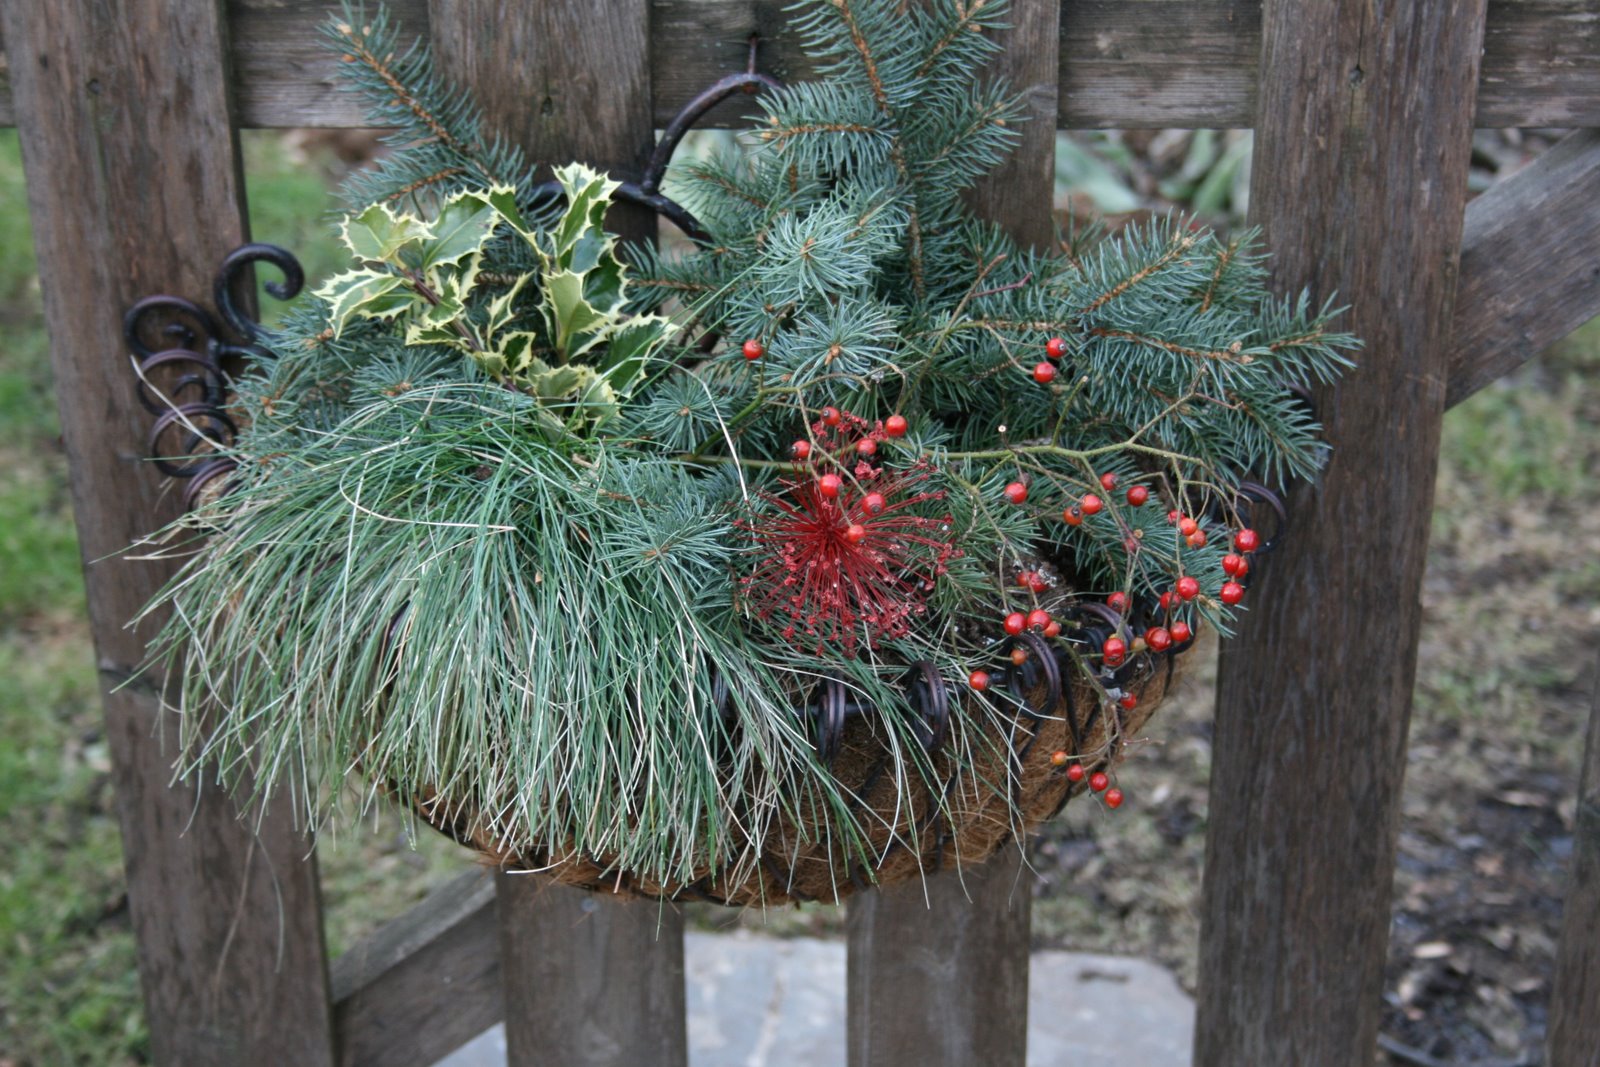 Carex, blue spruce, variegated holly, Ballerina rose hips, and spray-painted allium
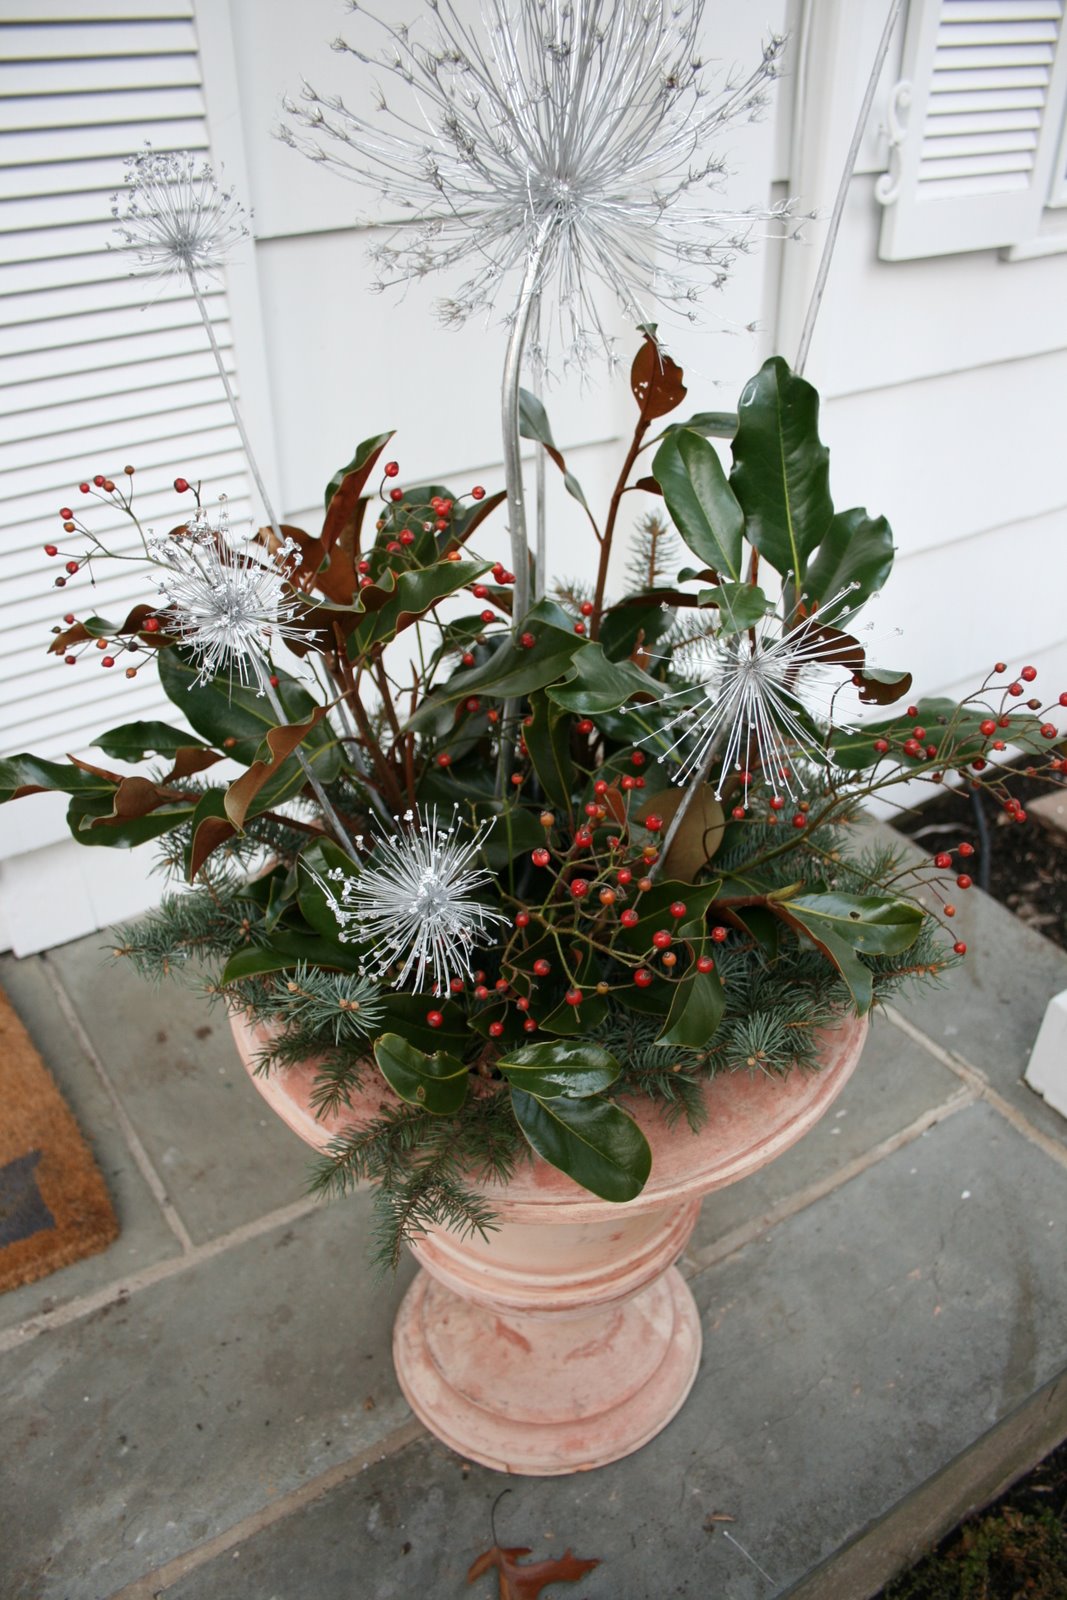 Spray-painted alliums, Southern Magnolia leaves, blue spruce and Ballerina rose hips
 Ilex, Dortmund rose hips and blue spruce
~
~
~
