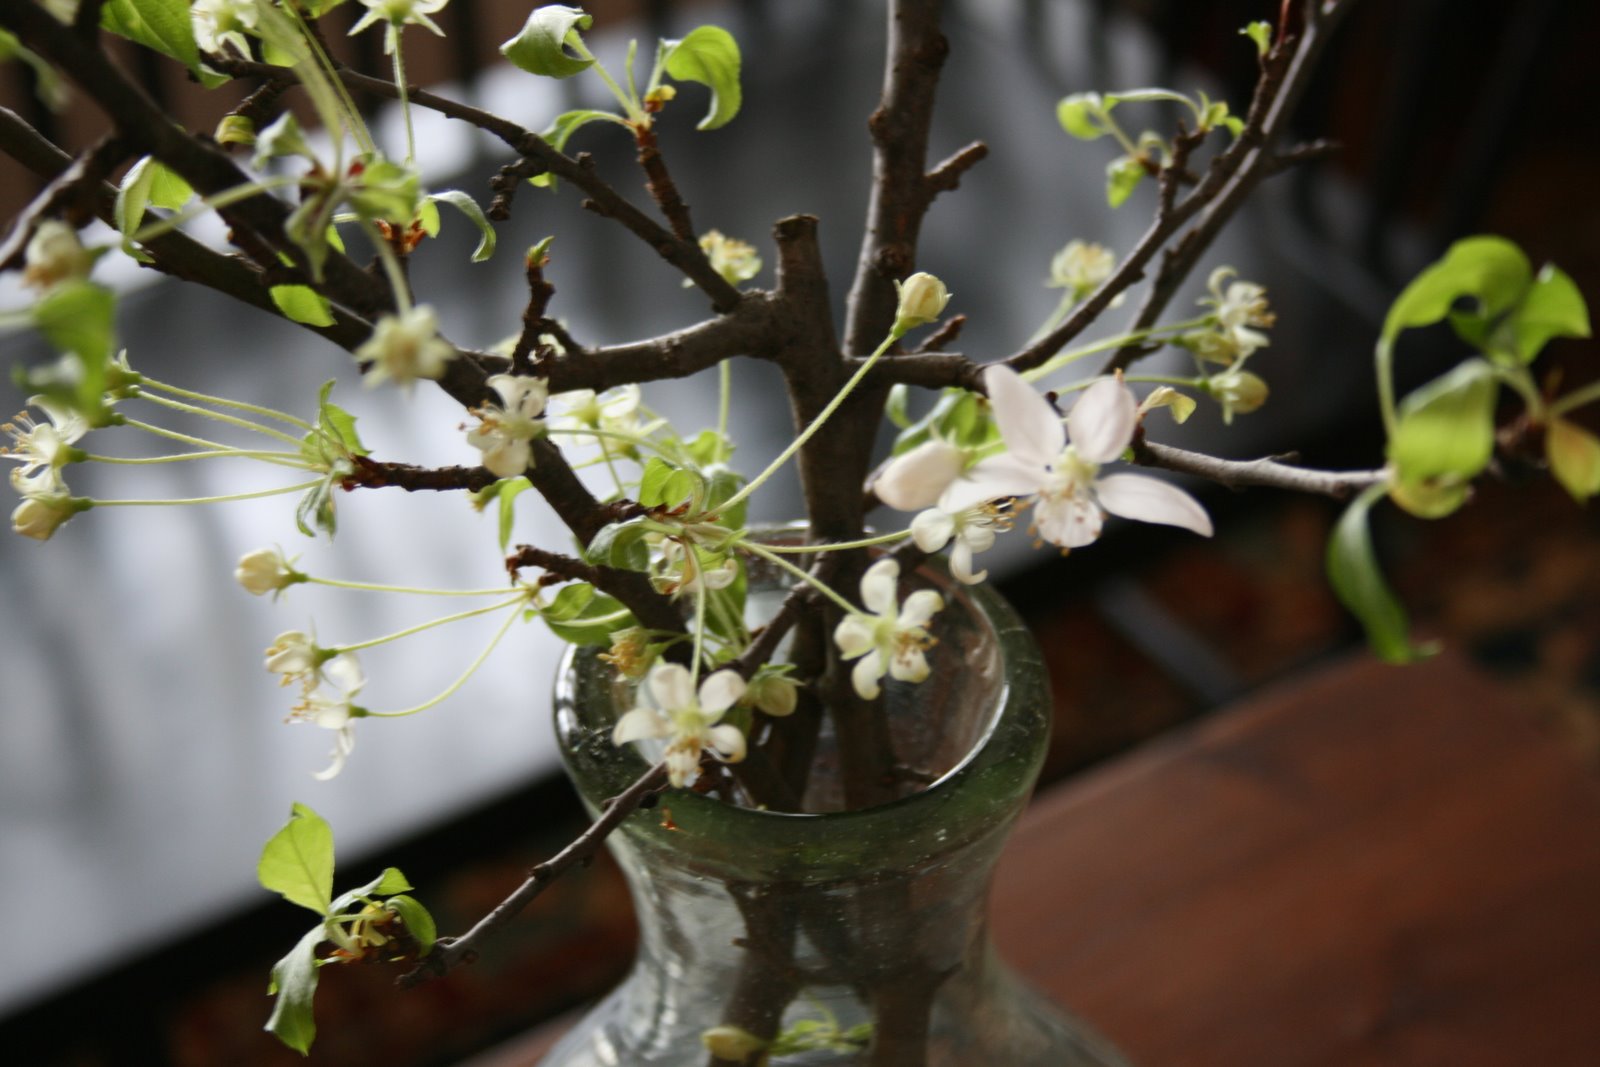
The Accent Plants
~
The accent types tend to be large: having height, large leaves, or heavily textured leaves. They draw attention to themselves. They cause you to stop and touch them. These have to be ruthlessly thinned out, or else they loose their impact.
 Amaranthus
 ‘Hopi’ is a very tall, red stemmed plant which I grow in the Cutting Garden, Egg Garden, and Long Border (it is pictured here between the Egg Garden and the Front Border). I bought Hopi from Annie’s Annuals three years ago. It is a generous self seeder which requires thinning out of the seedlings in the spring since I only want about five or six plants. The birds love the seeds so I usually don’t worry about too many seedlings. I also cut off some of the flowers as the seeds mature to keep for fall decorations.
When the amaranthus is young, I transplant some into containers or to other spots where I want them to grow. I keep more in the cutting garden for arrangements and to be dug up at a later date to fill in any holes which develop.
Sunflowers are always welcome. Due to the birds, I only get a few of these, but they are greatly appreciated.
Verbascum bombyciferum is a plant I love. The rosette of large, felted, silver leaves are even more spectacular than the yellow candelabra flower spikes. I had a hard time establishing this biennial. Since it likes better draining soil than the clay in most of my garden, it took me several tries before I got it to survive the winter, flower, and set seed. The seedlings, however, have found the better draining soil or the areas that get the least water. So now, every year I am assured of having this in my garden.
On the opposite end of the spectrum is
nicotiana which seems to grow everywhere. Luckily, the roots are shallow making it easy to thin out. I have a tall variety named ‘Bella’ growing in my garden. It has white, pink, and lavender flowers which open during the day and are fragrant. I bought the original plant for
Select Seeds.
Each year I get one or two hyacinth bean plants in the Cutting Garden. As self seeded plants, they do not come up until well into summer, but grow quickly.
Plectranthus appears very late in the season. This is a beautiful plant for it’s soft, grey leaves. It’s good to place this near a plant whose leaves die down in the summer like oriental poppies. It very nicely fills its place. The seeds do not travel around my garden, so plant it where you would like it to reappear. It usually blooms for me in September.
The Unifiers
The unifiers are allowed to seed more prolifically, mixing with the other plantings. Usually, they look better in groups and often have thin, wiry stems that mix with other plants and grow up through them. I allow only one of these per border, so the border does look jumbled. Below are my top ten unifiers.
Verbena bonariensis generously weaves itself between and among other plants. It adds interesting height, butterflies love it, and it makes great filler in the border as well as in floral arrangements.
Cosmos are great as reseeded plants because they usually grow a lot stronger than the ones bought as a six pack or transplanted as seedlings. The stems don’t tend to fall over as much either. However, since the plants seem to slow down once they set seed, I deadhead them until the end of August.
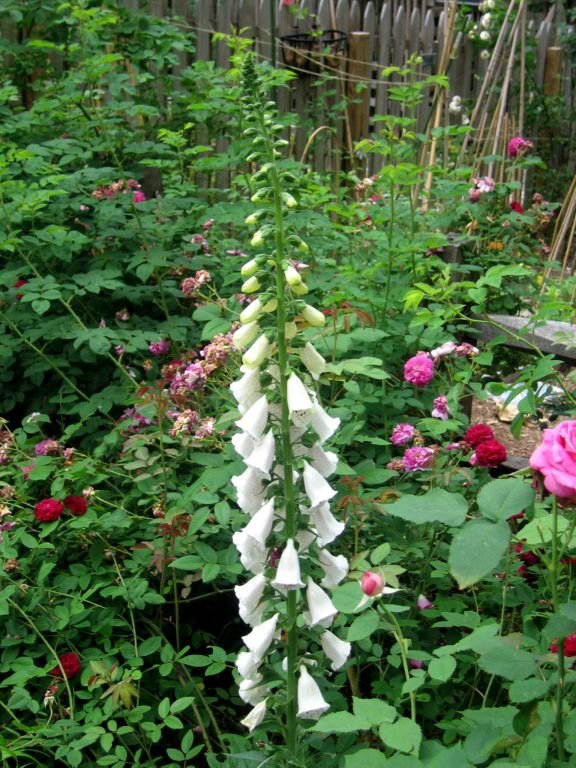
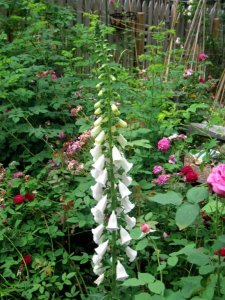 Inspired by Mottisfont Abbey (http://www.nationaltrust.org.uk/main/w-vh/w-visits/w-findaplace/w-mottisfont/), I have white foxglove in the Rose Garden. Most of the seedlings which I don’t thin out grow in situ, but others are moved to the Cutting Garden. I try to keep the foxglove in the Rose Garden white, so any which bloom non-white are cut for arrangements. If you don’t like having the spent flower stem left up, it works quite well to cut the stalk and lay it on the ground. I find that once the upper most flowers have bloomed the seeds from the bottom ones are mature. Cutting the stems also has the added advantage of stimulating the plant to produce more flowering side shoots.
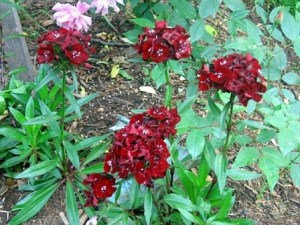 Sweet William
, a biennial, is another heirloom plant which is extremely easy to grow, but often overlooked (pictured here under the wisteria). The flowers of the older varieties like
Holborn’s Glory are fragrant and make a nice edging in the front of a border. I have these in the Cutting Garden and Long Border.
Larkspur is a wonderful, old fashioned annual. It needs very little care to produce long wands of deep blue flowers for the front to middle of the border.
Blooming calendula is always a happy sight in the garden. The glory of self seeded calendulas is that they come into bloom at different times, so you’ll have calendula in the garden from the early spring to the hard frost. I also like the light green leaves of calendula which add a lot of freshness to the look of the garden.
Forget me nots are wonderful grown as a carpet underneath tulips and daffodils. After they have had their show, I pull the plants up and scatter the seeds throughout the garden where I want them to grow on for the coming spring.
 Queen Anne’s Lace
 is confined to the Cutting Garden as it is great mixed with other cut flowers. It took me several years to get it to grow which leads me to believe that the freshness of the seed makes a great difference in establishing it. Since then, I have had no problems keeping it. With fresh seed it reseeds quite a lot; after all, it is a weed to many. To prevent it from going beyond its welcome, I do not allow it into other areas of the garden; I cut a lot of it; and I thin it out when I have too much.
 Spider flowers (cleome)
 are big and are sometimes hard to plant in the garden without them looking like stiff soldiers. But once spider flowers are allowed to self seed, it transforms them. They look very natural growing through other plants and often to different heights depending on where they are. They also have a range of color. In the front of
Goldberry Hill, I only allow violet ones. In the Egg Garden, I try to keep more white than pink. In the Children’s Garden (pictured), they are mostly pink because my daughter loves pink. Also, as the first plants become
leggy, plants from seed which germinated later reach up to cover up the old bare stalks.
~
Bloodflower (Asclepias curassavica) is another treasure in my garden. Each year it is one of the favorite sources of nectar for the butterflies and a food for monarch caterpillars. It also gives me wonderful orange and yellow flowers right up to the hard frost in addition to great seed pods.

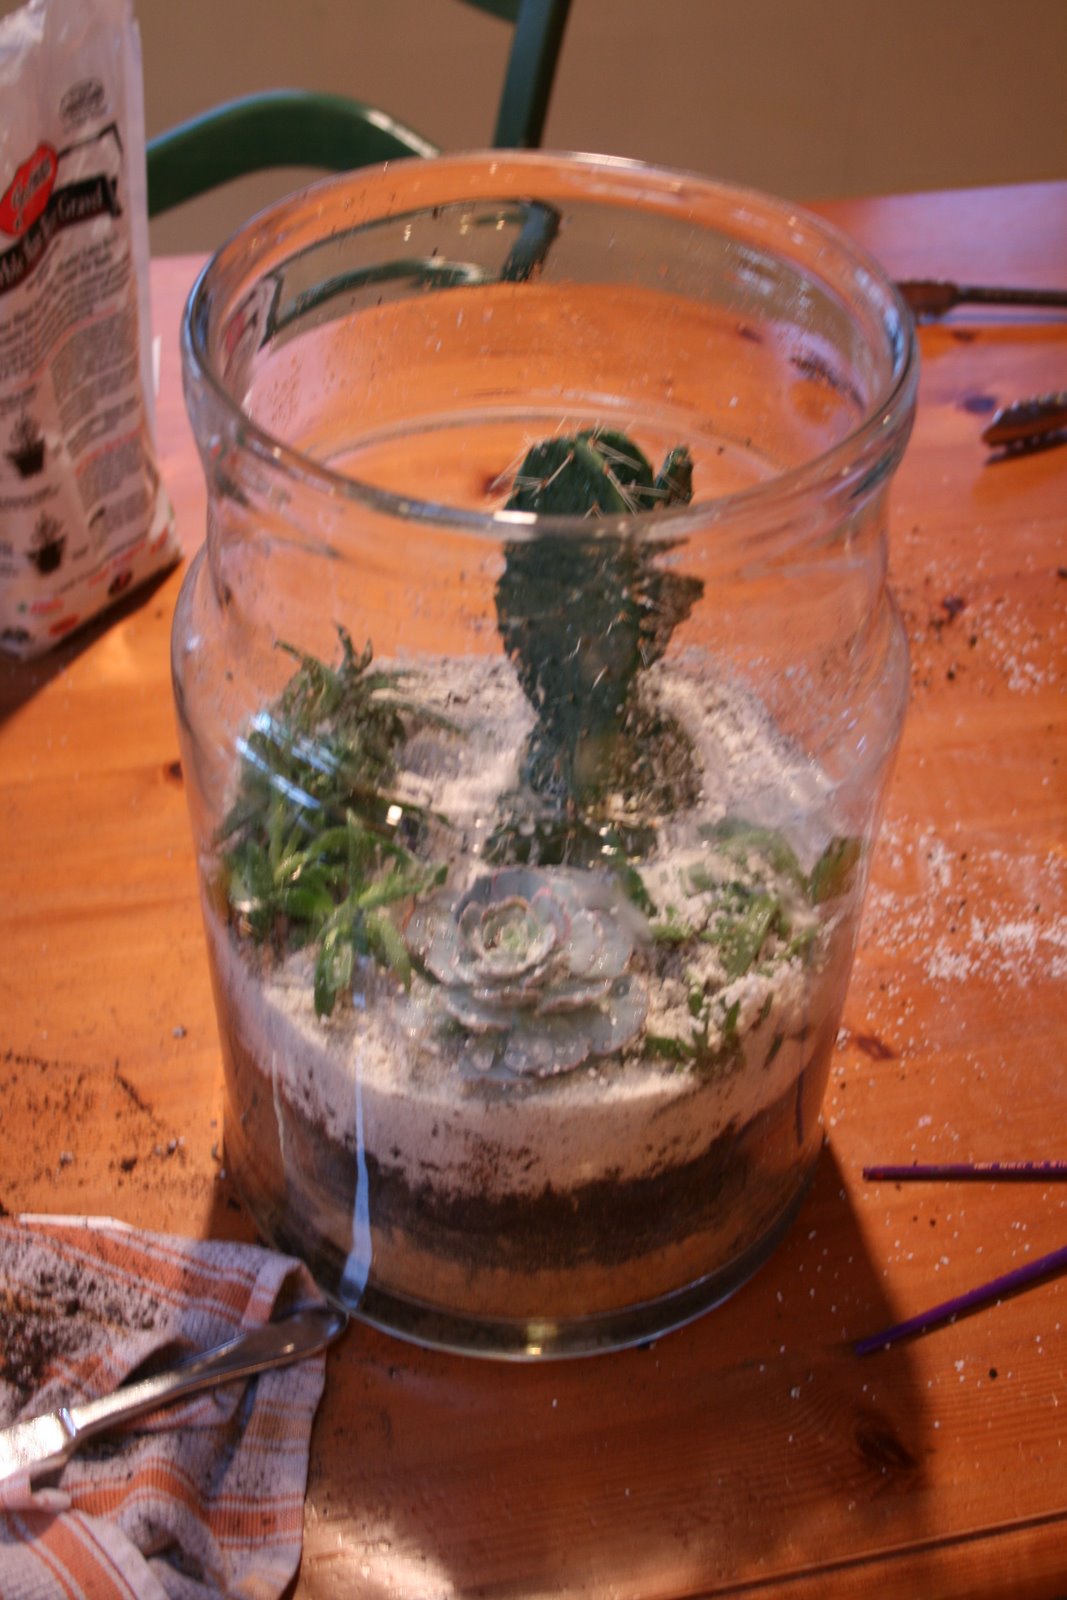
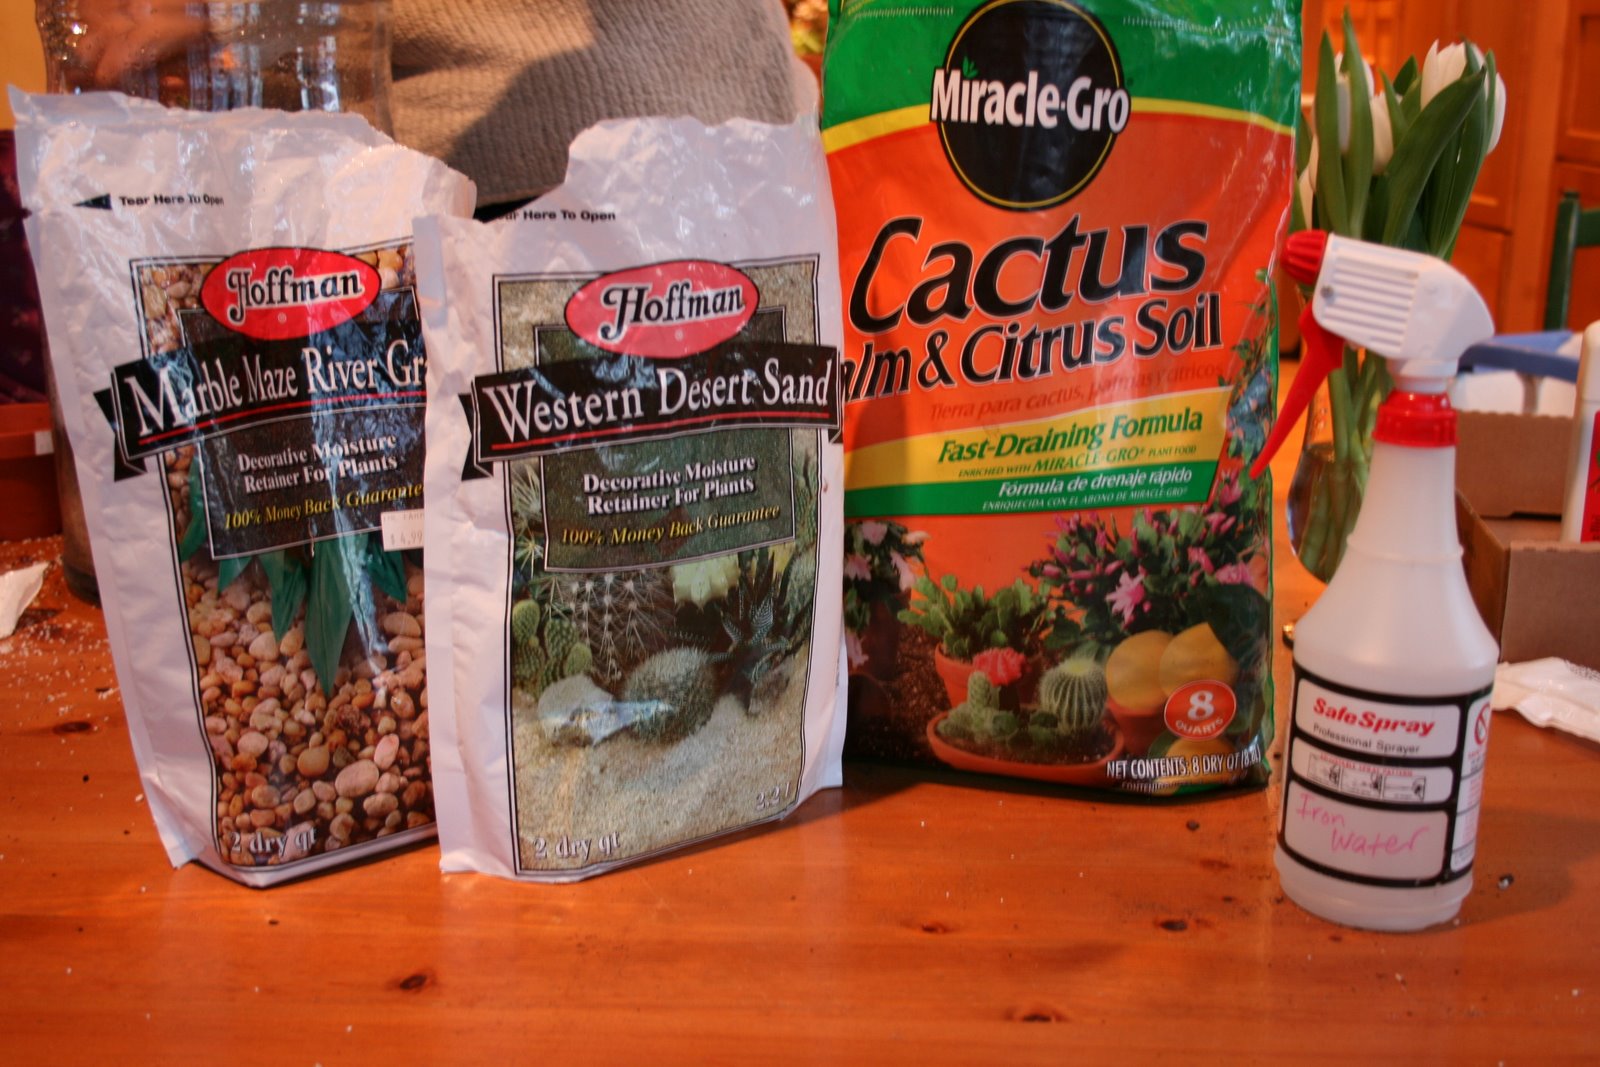 1. Gather together your supplies: a suitable container, succulents, gravel, soil, sand, a small paintbrush, and a spray bottle.
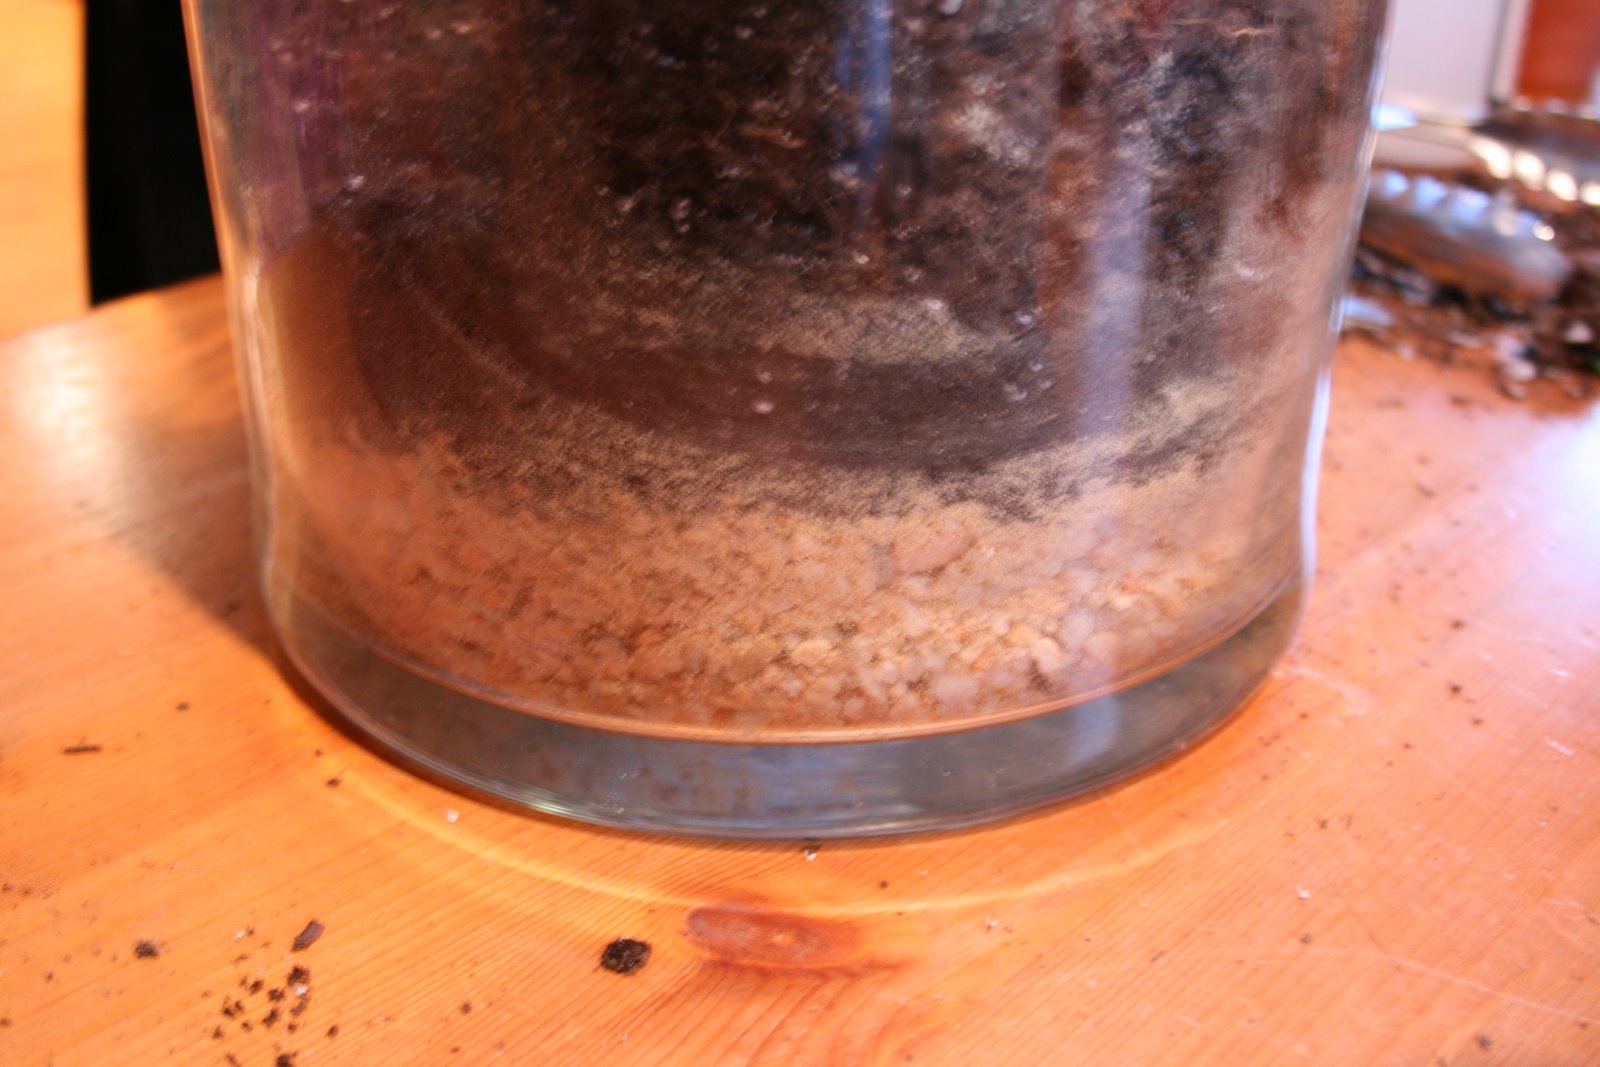 2. Pour the bottom layer of gravel and the middle layer of soil.
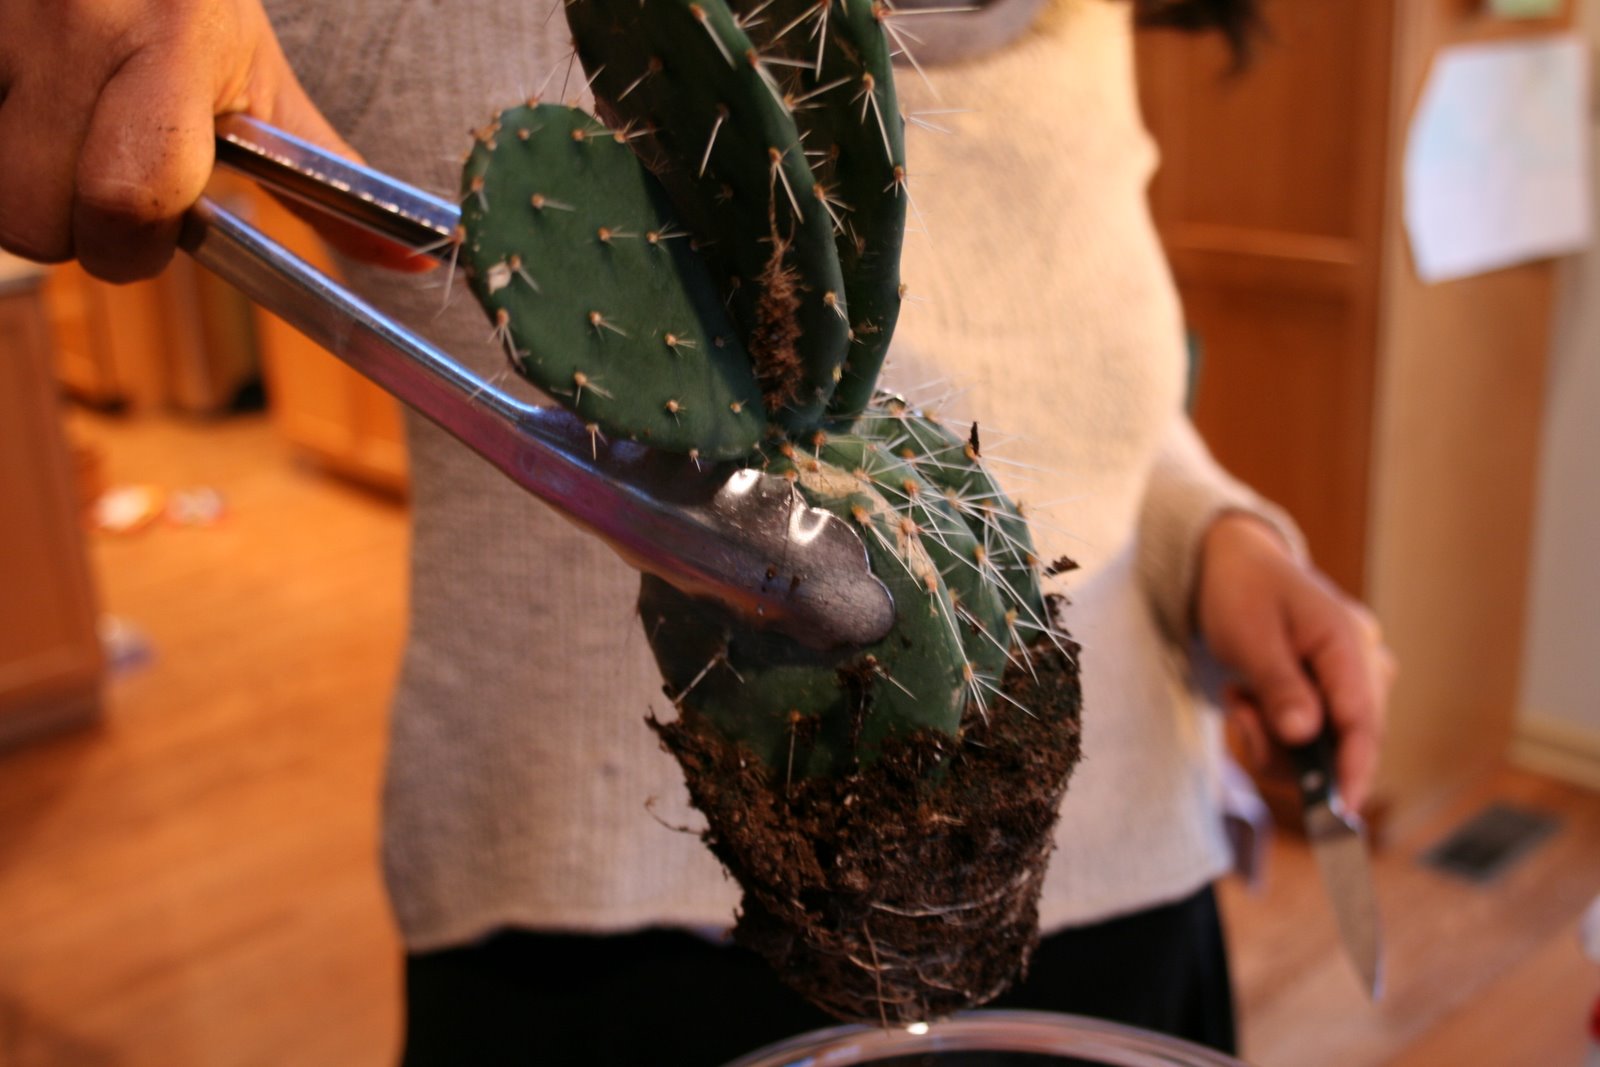 3. Place your succulents on top of the soil.
 4. Add the top layer of sand.
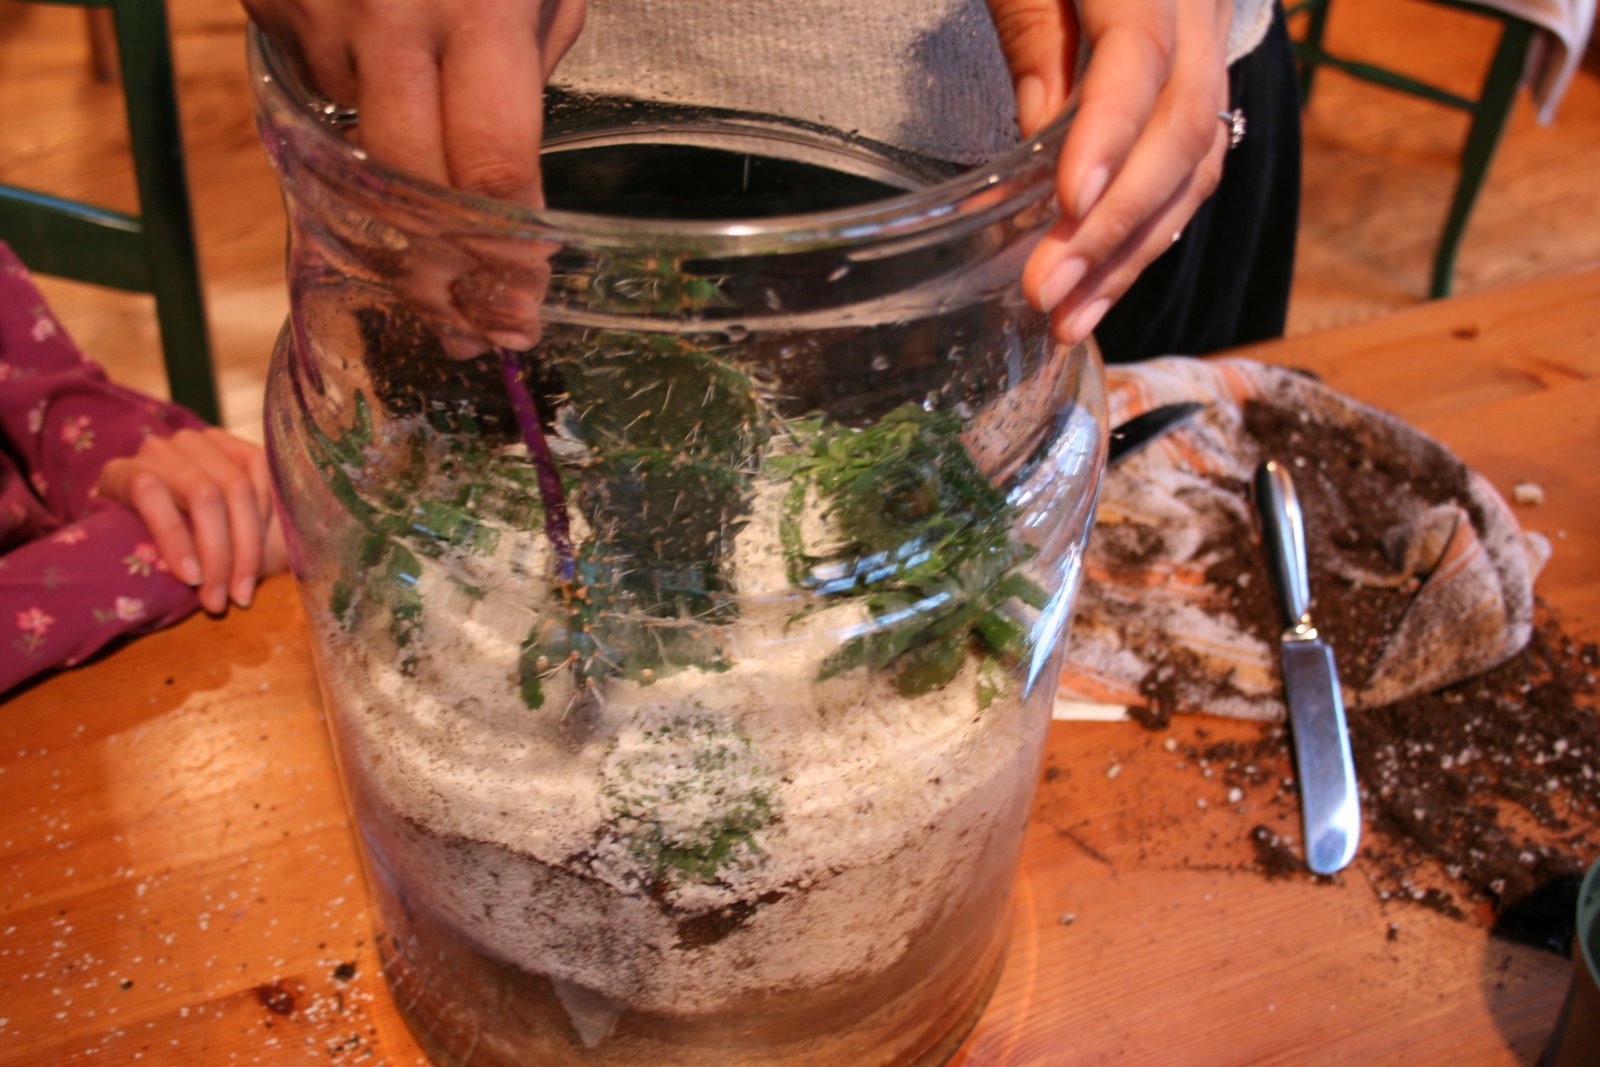 5. Level and brush the sand off your succulents with the paintbrush.
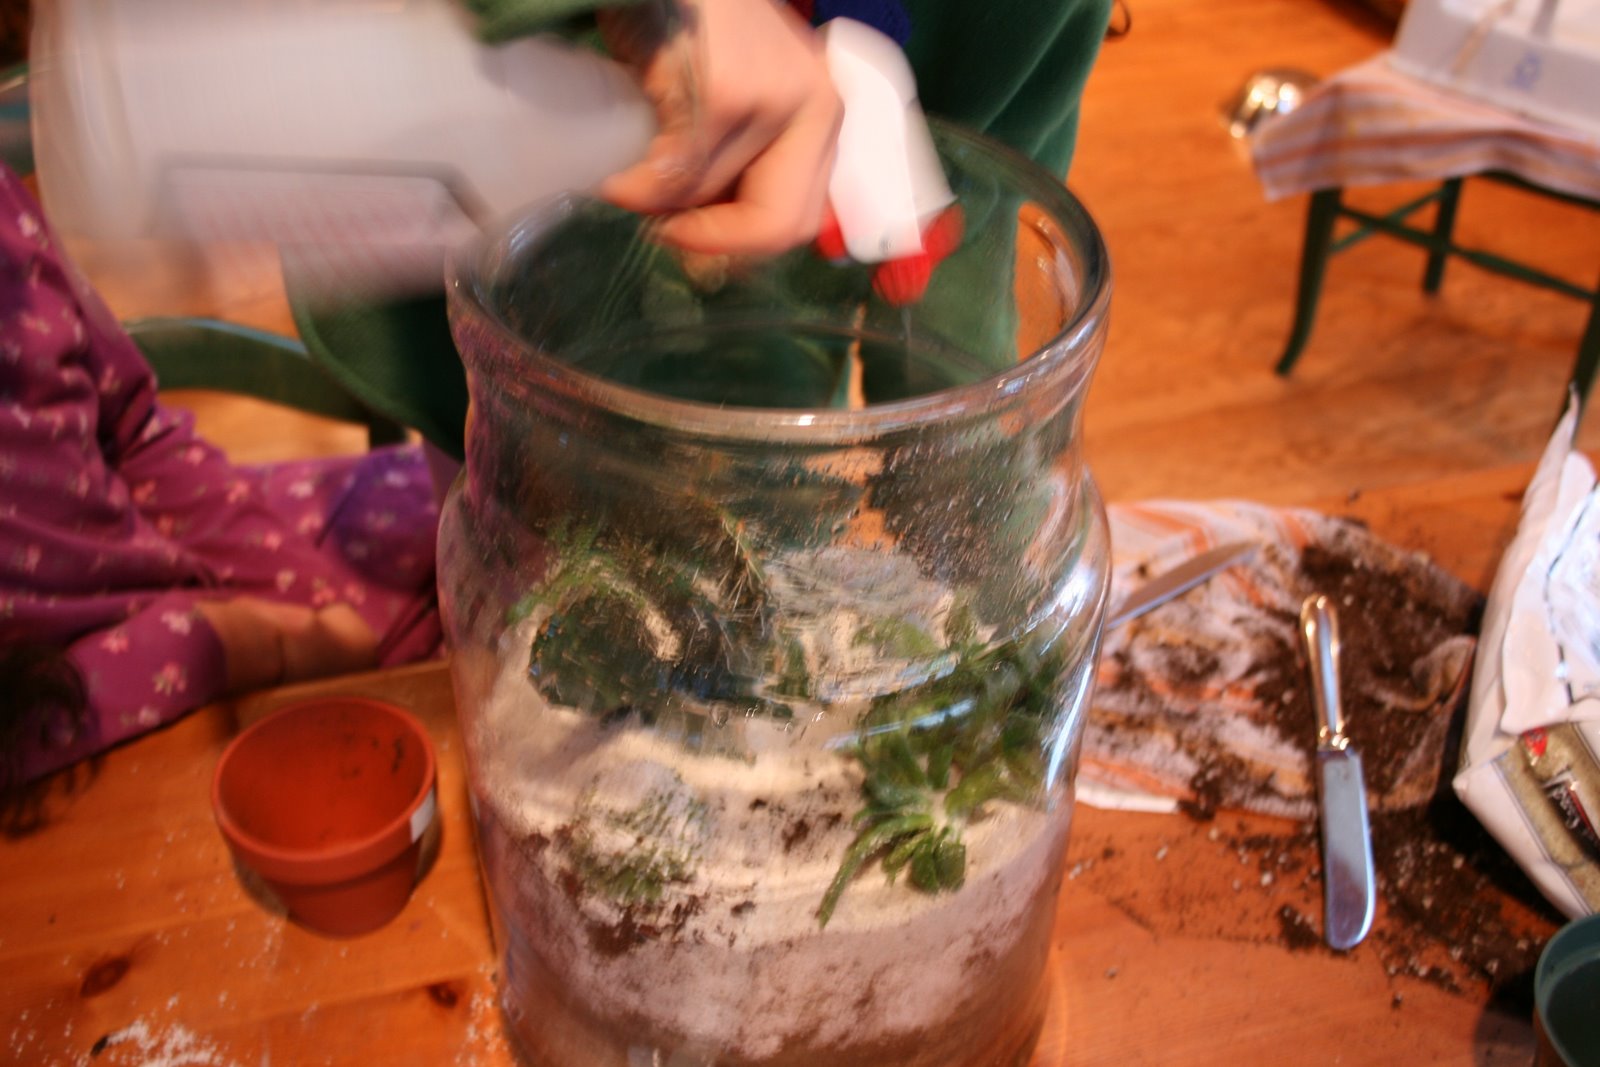 6. Spray the sand off the succulents and walls of the terrarium with the spray bottle.
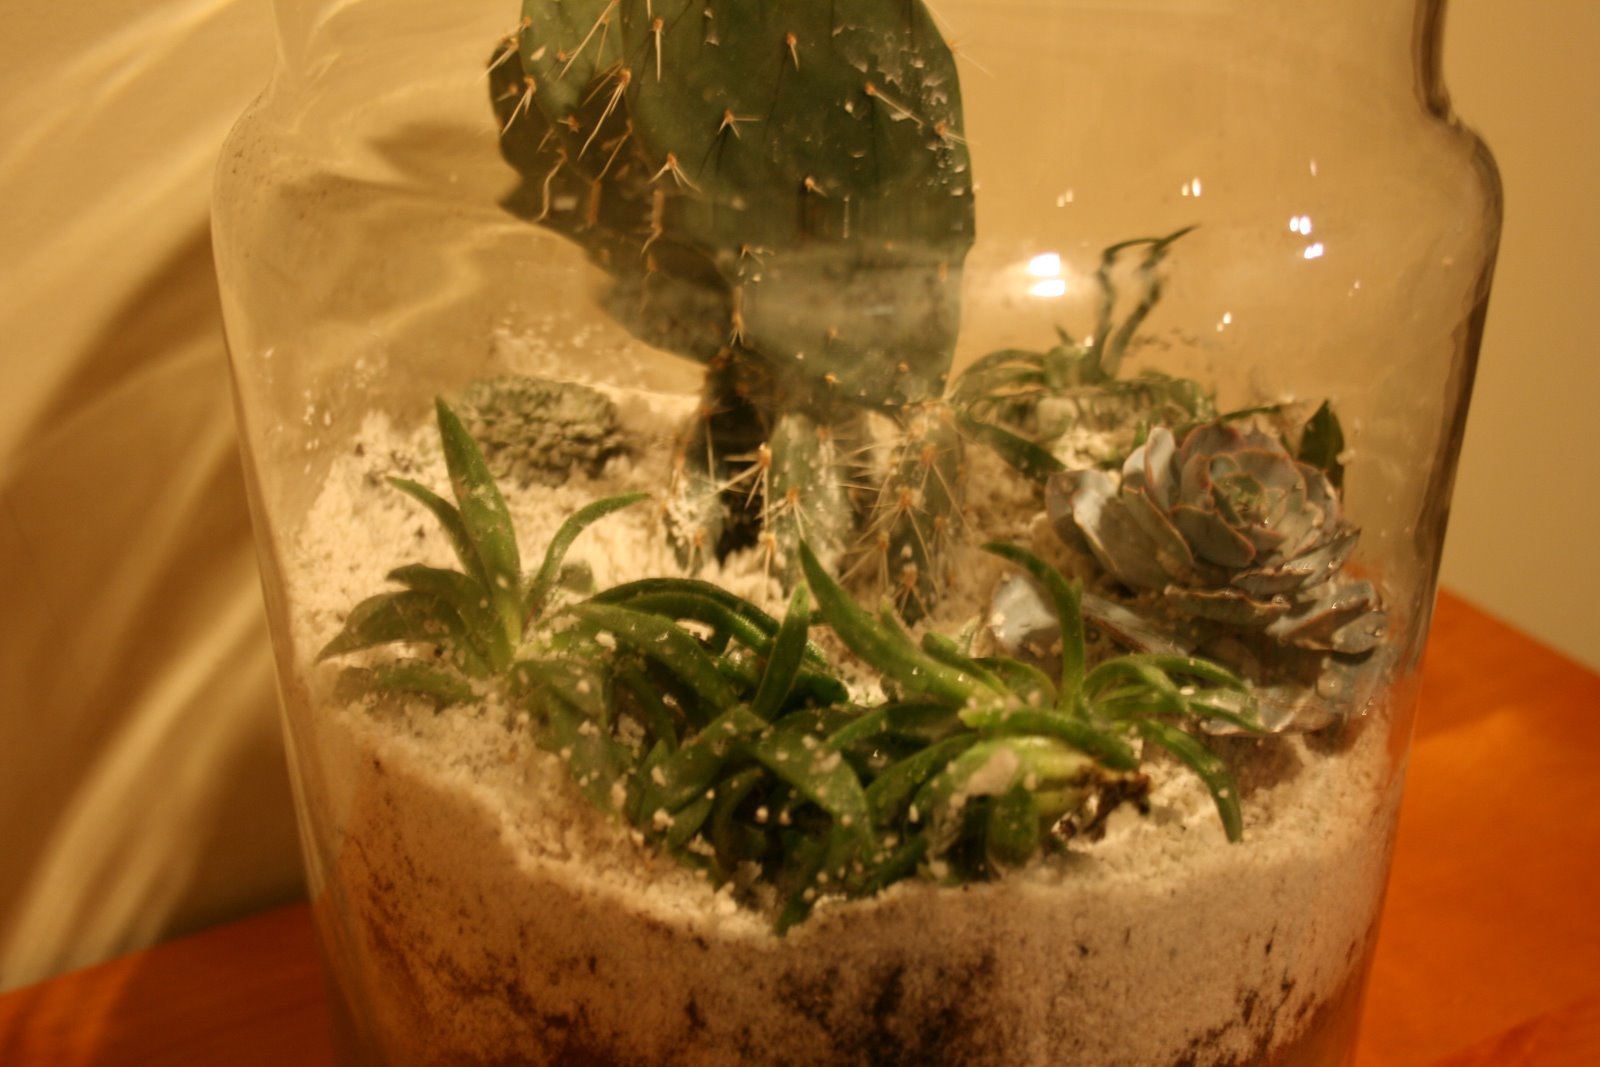 7. Your succulents terrarium is complete.
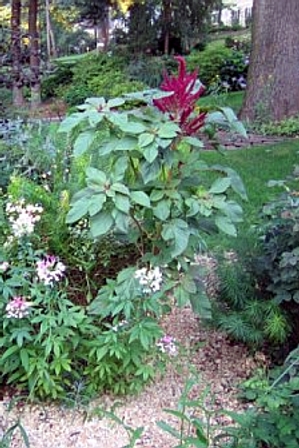


